Routing Streams
You can route a stream by clicking on an output and input in the ‘sources’ and ‘destinations’ panels, or by using the ‘output to’ and ‘input from’ menus in the source and destination ‘setup’ panels.
Routing Using the Sources and Destinations Panels
Routing streams using the ‘sources’ and ‘destinations’ panels is fast and intuitive. This section describes routing an input to a single output. You can click an output at any time to see which input it is connected to.
To route a stream:
-
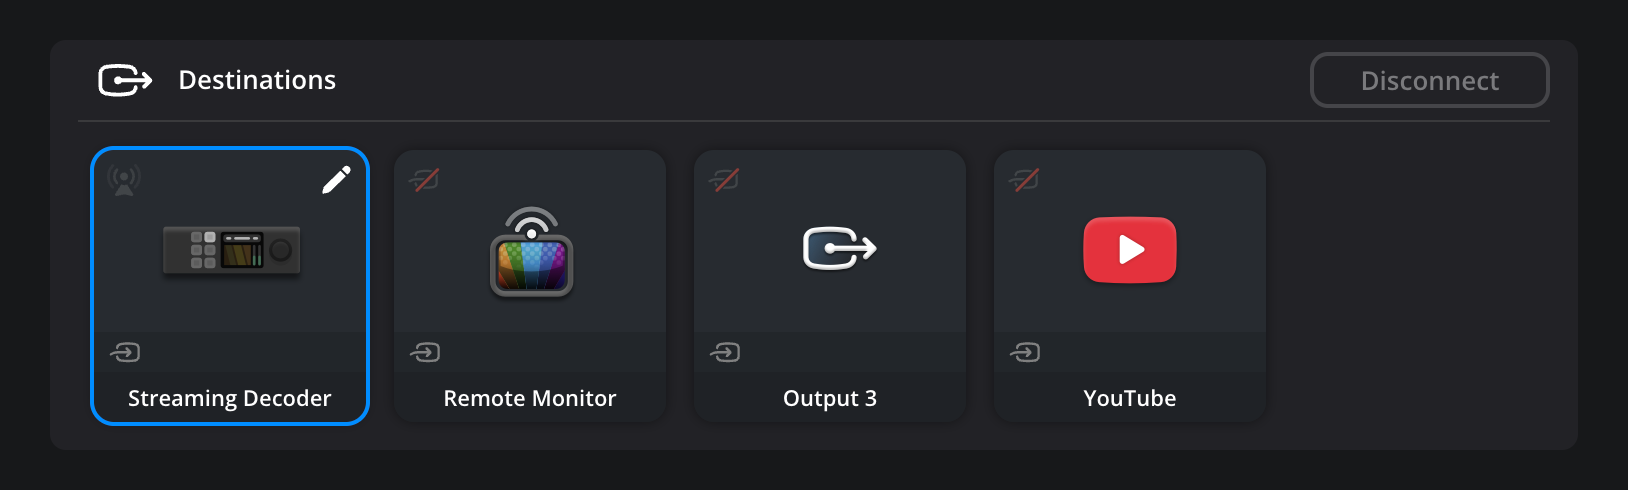
In the ‘destinations’ panel, click on the output that you want to stream to. The output will be highlighted with a blue border.
-
In the ‘sources’ panel, click the input that you want to stream from. Both the input and output will now illuminate blue. You will see a blue streaming icon appear in the output and the name of the connected input will be displayed.
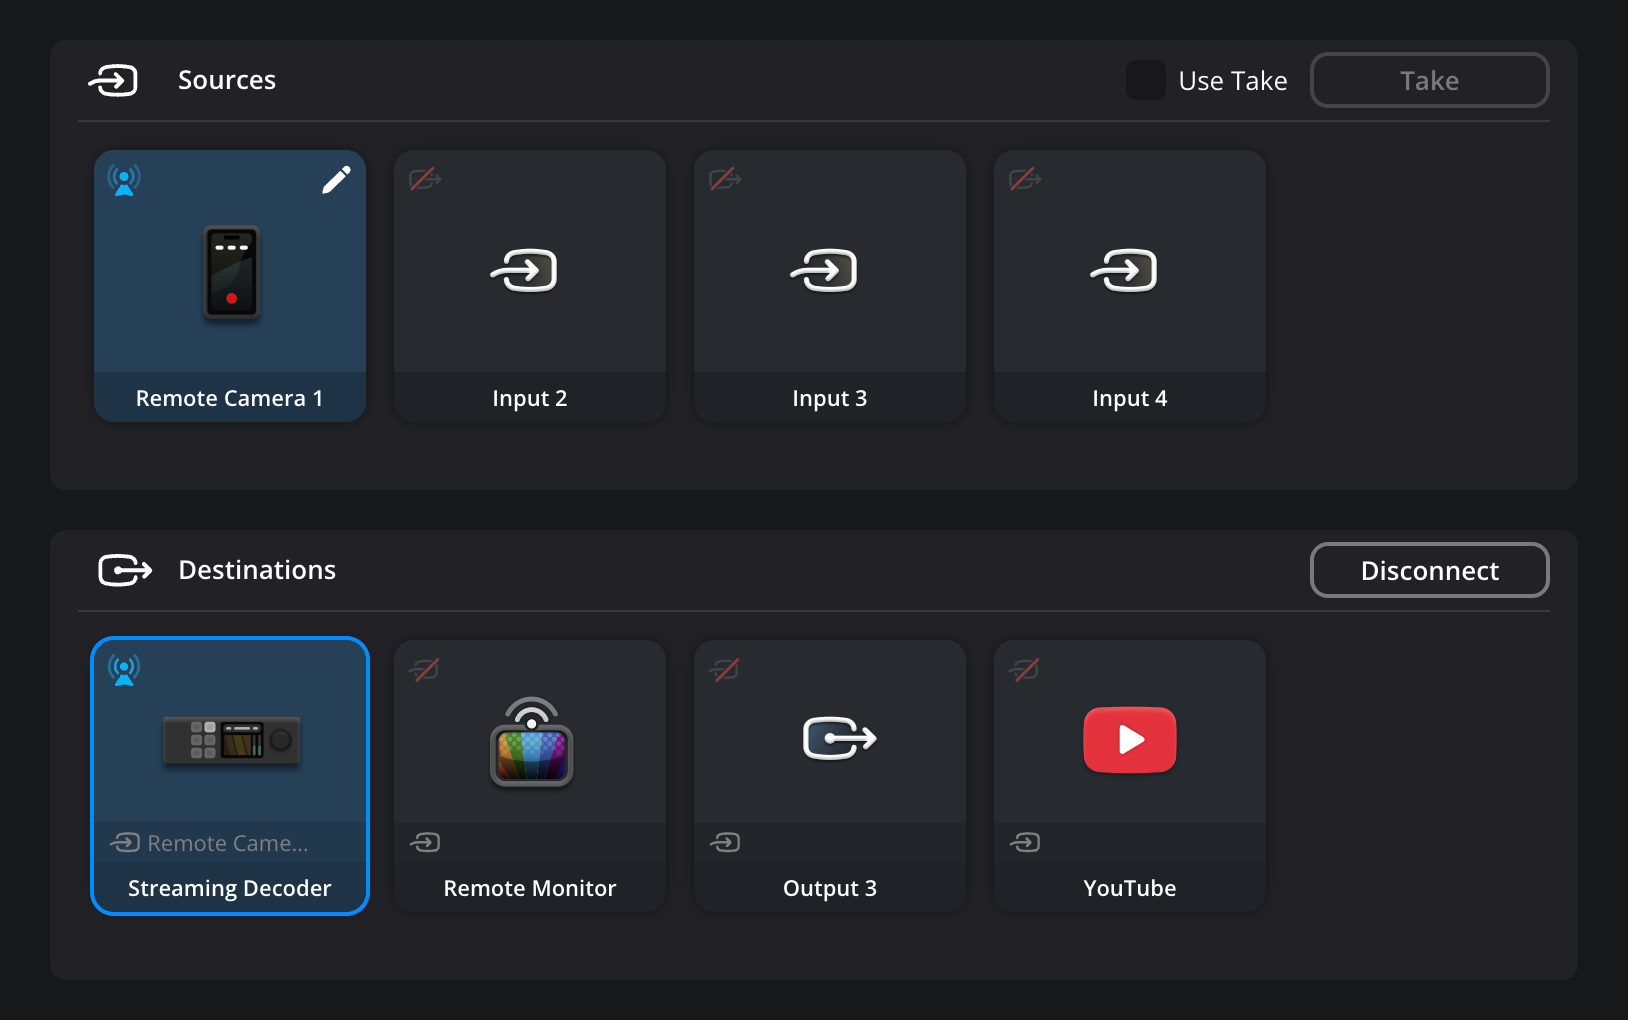
You have now successfully routed an input to an output! You can disconnect the route by clicking the ‘disconnect’ button at the top right of the ‘destinations’ panel.

Using the Take Button
In a similar fashion to Blackmagic Videohub routers, Blackmagic Cloud Stream Router also features a ‘take’ button. When enabled, a route won’t be connected, or switched, until the ‘take’ button is clicked. This can be helpful as a safety measure in case you change your mind while selecting sources or want to cancel the route. Enable the ‘take’ button by clicking the ‘use take’ checkbox in the top right of stream router page.

Switching a route using the ‘take’ button:
- In the ‘destinations’ panel, click the output that you want to send your stream to. The output will be highlighted with a blue border.
-
In the ‘sources’ panel, click the input that you want to stream from. The input will be highlighted with a green border. The ‘take’ button will illuminate red.
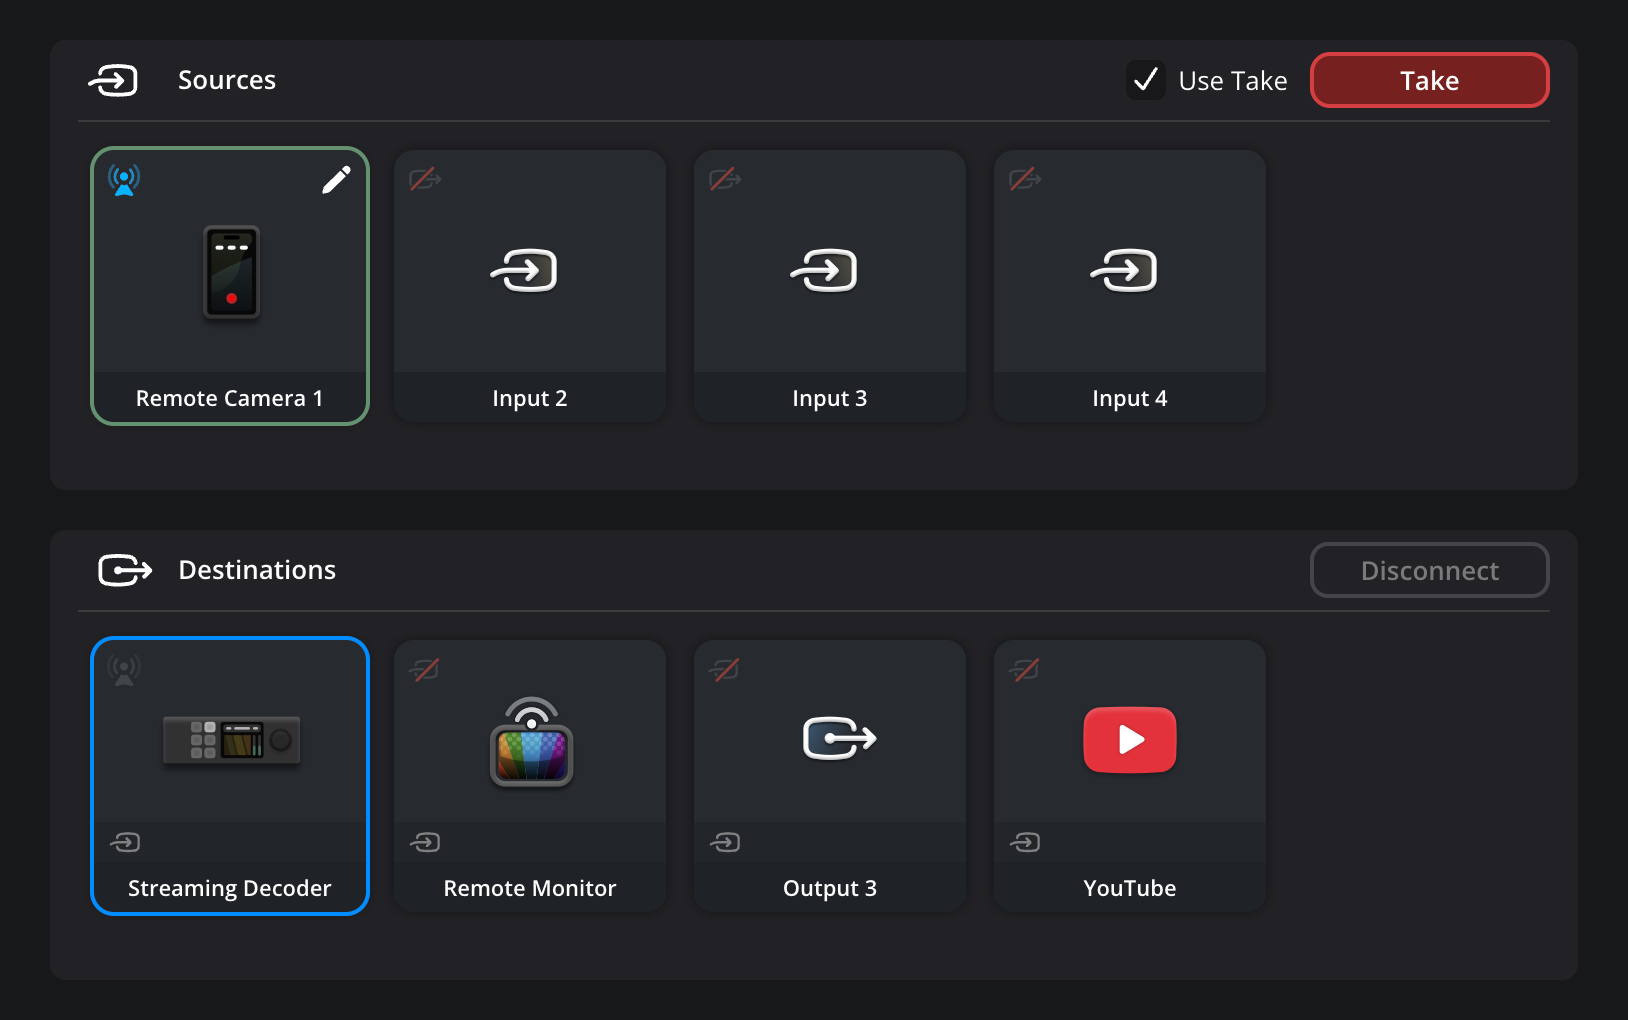
- Click the ‘take’ button to switch the route.
Locking and Unlocking Destinations
You can lock and unlock destinations on your stream router. Locking an output that is routed to an input can be useful to prevent disconnection. Alternatively, locking an output that is not routed to an input makes sure it can’t be streamed to accidentally. It’s also worth noting that locking an output will prevent changes being made in the ‘destination setup’ panel.
To lock an output, hover your mouse pointer over an output until a small lock icon appears. Click the lock icon to lock the output.
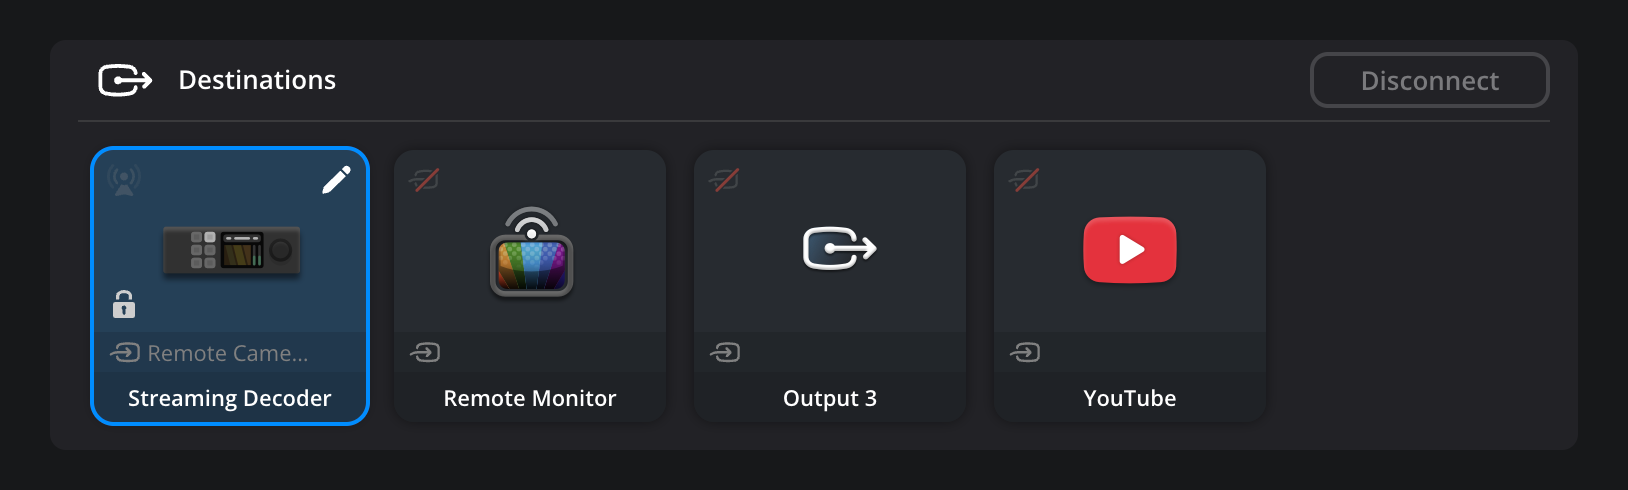
To unlock an output, simply click the lock icon again.
Enabling Camera Control
Blackmagic Cloud Stream Router supports camera control and tally. For example, an ATEM SDI switcher connected via a Blackmagic Streaming Decoder to a stream router output can be used to control the settings in the Blackmagic Camera App connected to an input. Camera control can be enabled once a route is switched.
To enable camera control:
- Route the output to the input.
-
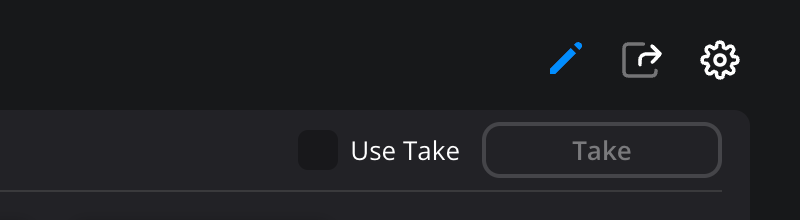
Click on the input and click the pencil icon in the toolbar to open the ‘source setup’ panel.
-
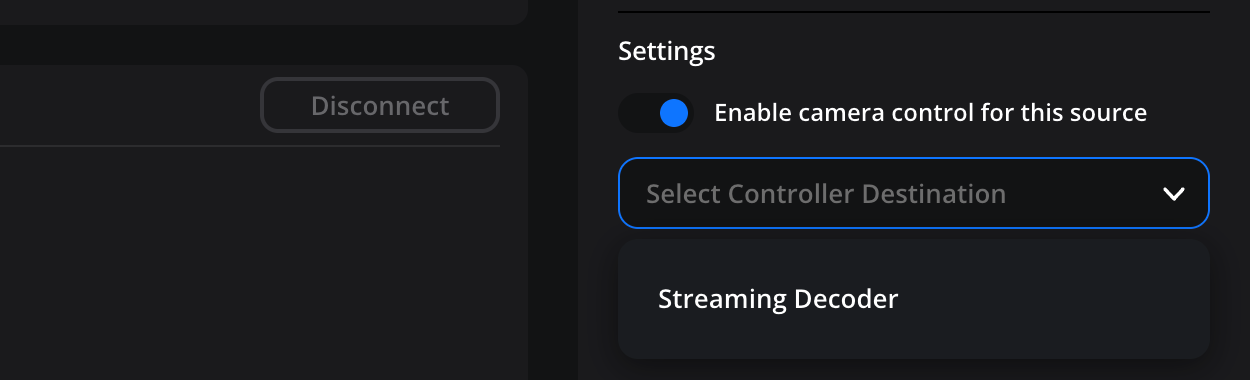
In the ‘settings’ section of the ‘source setup’ panel, toggle ‘enable camera control for this source’ to on. Select the controller destination you want to use from the list. Click ‘save’ and close the ‘source setup’ panel.
Routing an Input to Multiple Destinations
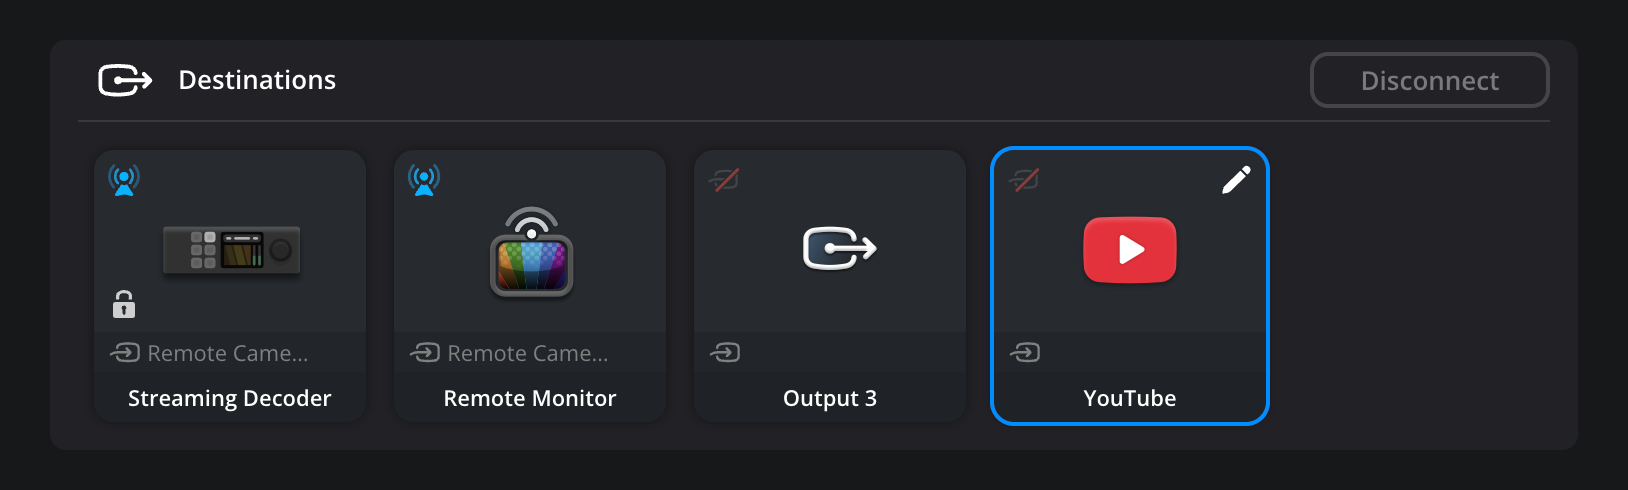
Blackmagic Cloud Stream Router inputs can be routed to multiple destinations. For example, a remote camera source filming an interview connected to an input could be routed to three destinations. The first output could be a Blackmagic Streaming Decoder connected to an SDI ATEM switcher, the second output connected to Blackmagic Remote Monitor, while the third output is streaming live to YouTube.
To route to multiple destinations:
-
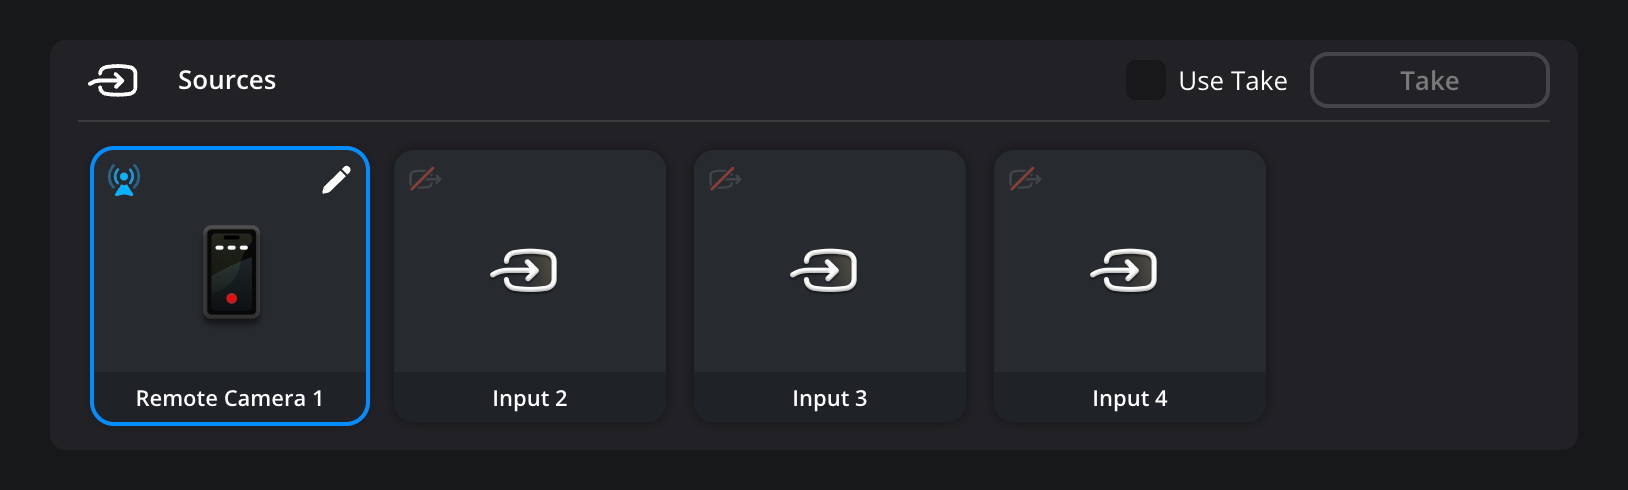
Start by clicking the first output in the ‘destinations’ panel. In this example we will click on the ‘streaming decoder’. Then click the ‘remote camera’ input in the ‘sources’ panel to create the first route.
-
Next, click on the ‘remote monitor’ output in the ‘destinations’ panel, then click the ‘remote camera 1’ input in the 'sources’ panel. The remote camera is now routed to two destinations.
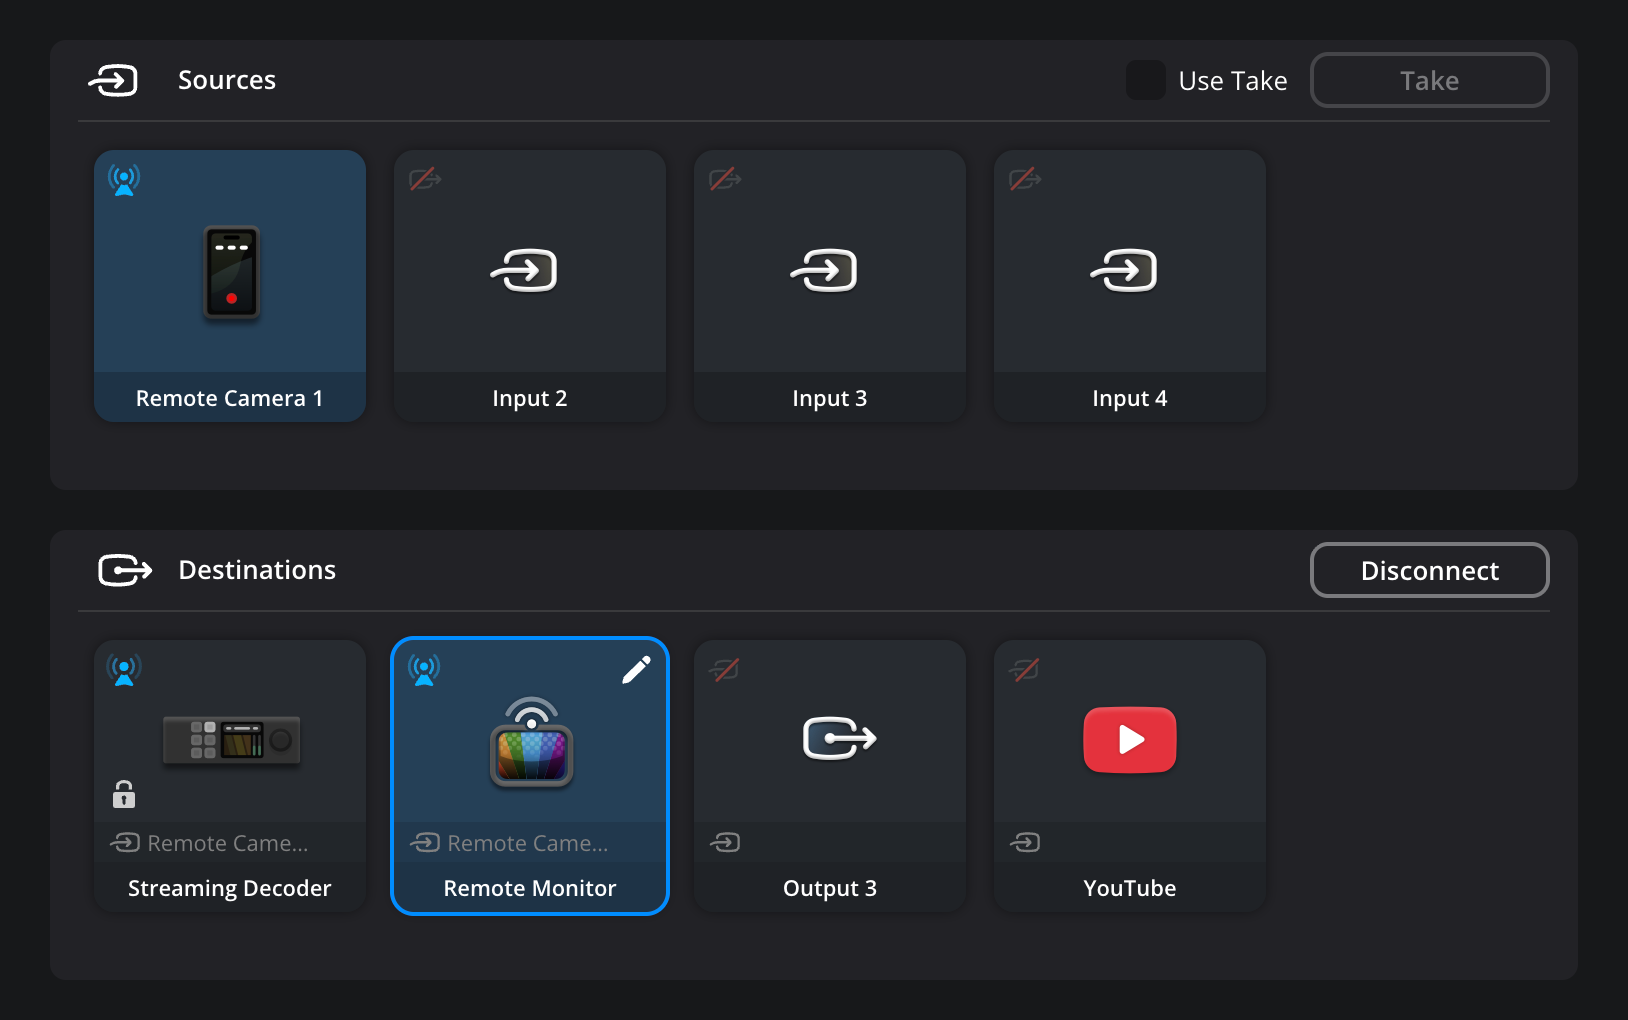
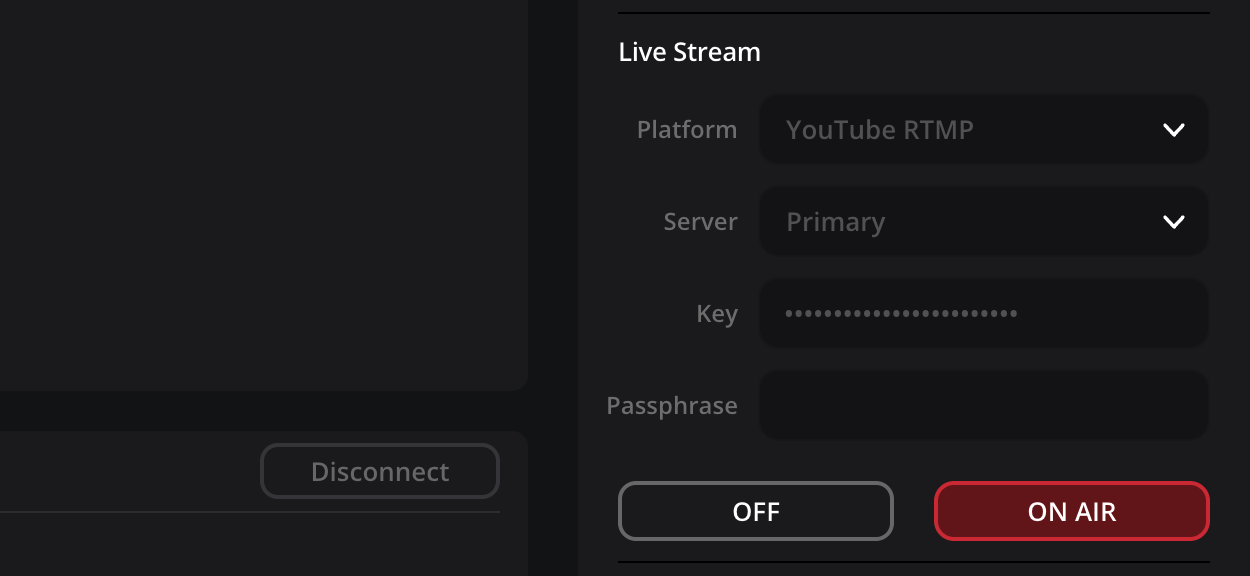
- Click the YouTube streaming output in the ‘destinations’ panel, then click the ‘remote camera 1’ input in the sources’ panel. This will create the third route. It’s important to note that streaming to YouTube won’t start until you click the ‘on air’ button in the ‘destination setup’ panel.
To initiate the YouTube stream, click the pencil icon in the YouTube streaming output.
In the ‘destination setup’ panel, click the ‘on air’ button. The button will illuminate red.
Close the ‘destination setup’ panel by clicking the pencil icon in the toolbar.
Routing Using the Setup Panel
As well as using the ‘sources’ and ‘destinations’ panels, you can also route streams from the source and destination ‘setup’ panel.
To route a stream from the setup panel:
-
Open the ‘setup’ panel by hovering your mouse pointer over the input or output that you want to stream to or from and clicking the pencil icon. Alternatively, click the pencil icon in the toolbar, then click on an input or output.
-
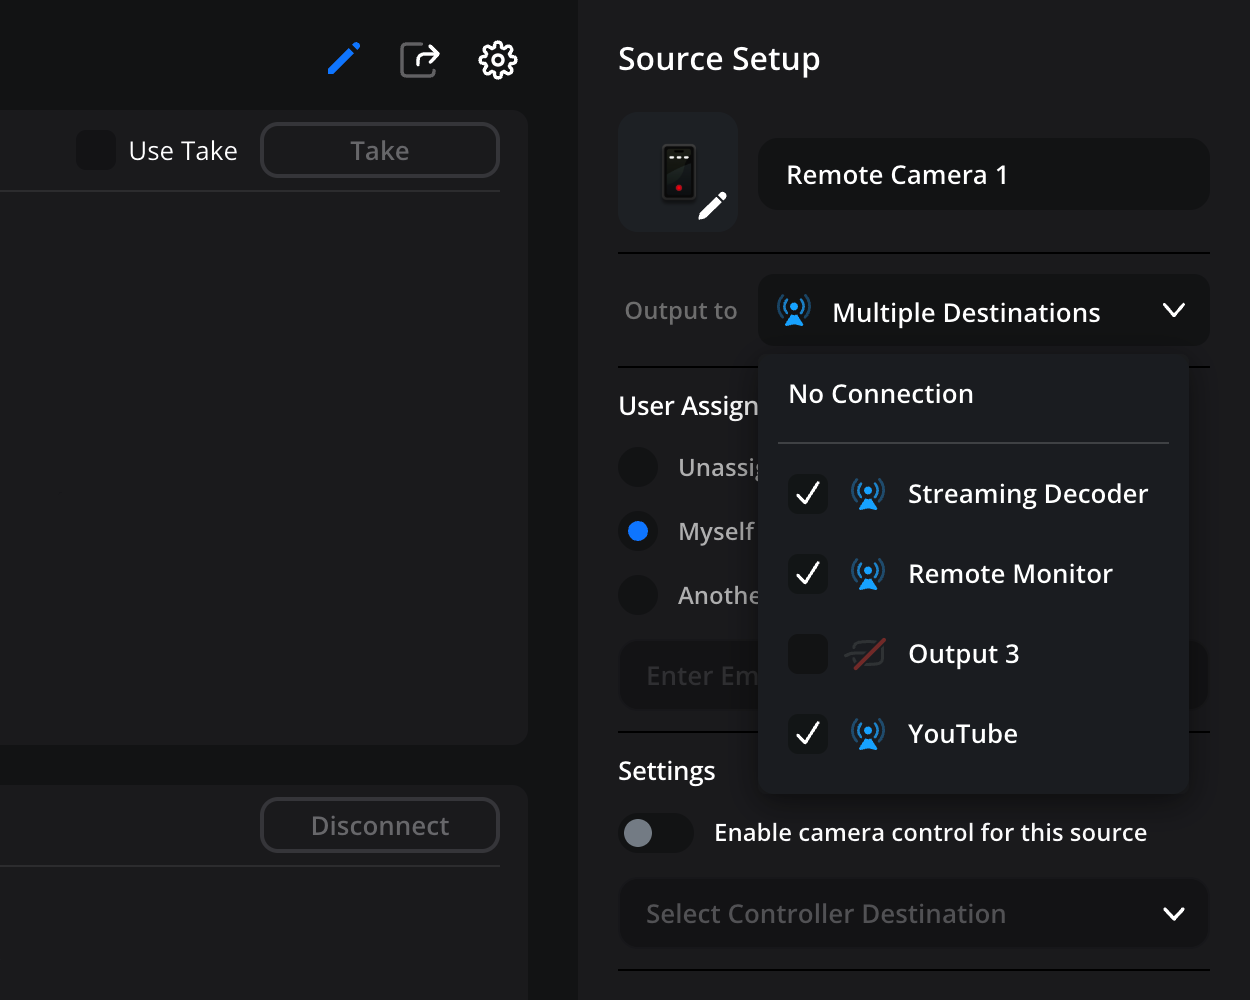
If you have selected a source, use the ‘output to’ menu to select a destination for your stream. You can select multiple destinations by ticking the check boxes.
 If you have selected a destination, use the ‘input from’ menu to select an input.
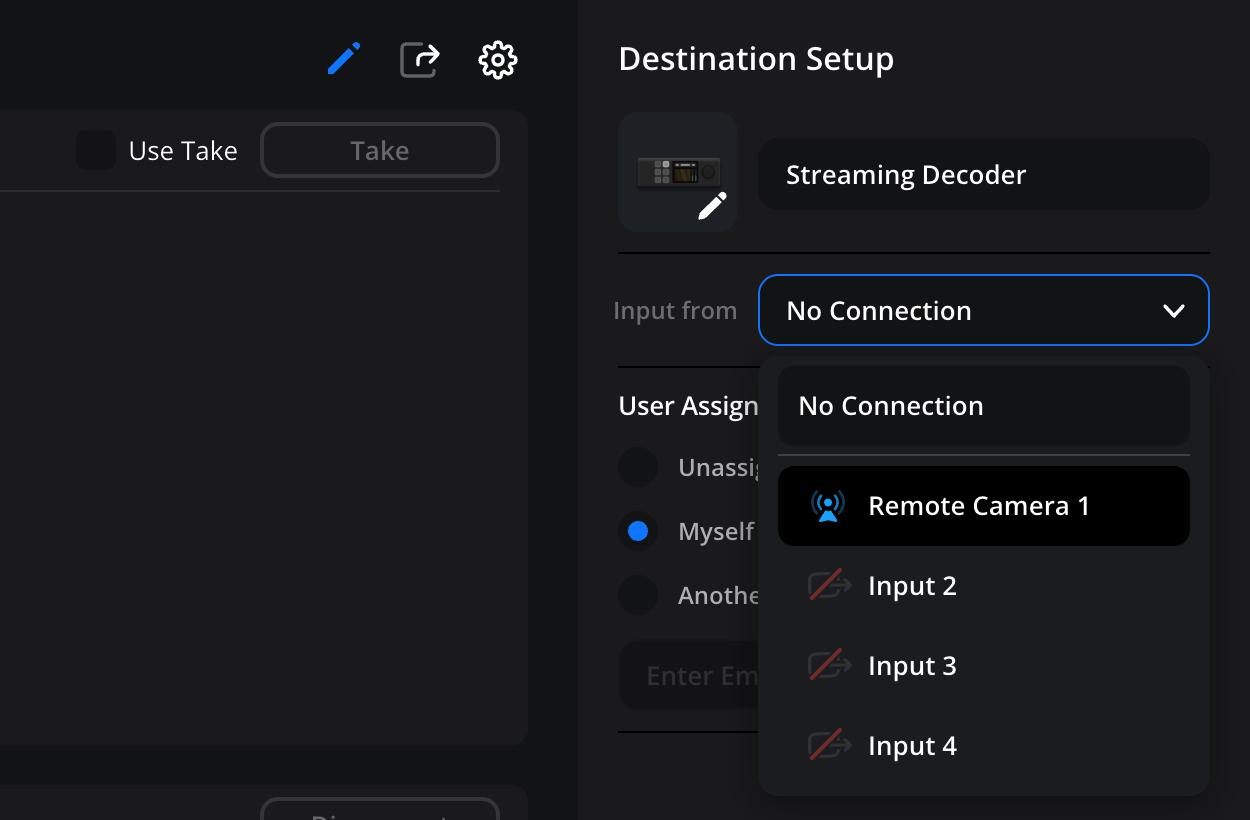
- Click the ‘save’ button at the bottom of the ‘setup’ panel to connect your routes. Click the pencil icon in the toolbar to close the ‘setup’ panel.

