Adding Markers
Markers provide a fast and accurate way to provide feedback on clips in a presentation. Markers update in real time between all users and immediately appear in the DaVinci Resolve timeline used to make the clip.
You can add comments and annotations to markers, plus reply to comments and mark them as complete.
To add a marker:
-
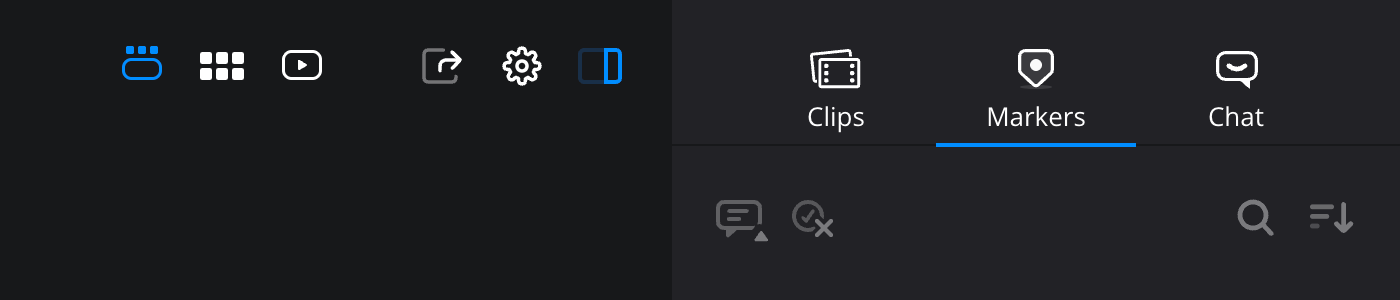
In the right hand sidebar, click the ‘markers’ tab.
-
In the viewer, move the playhead to the frame where you want to add the marker.
-
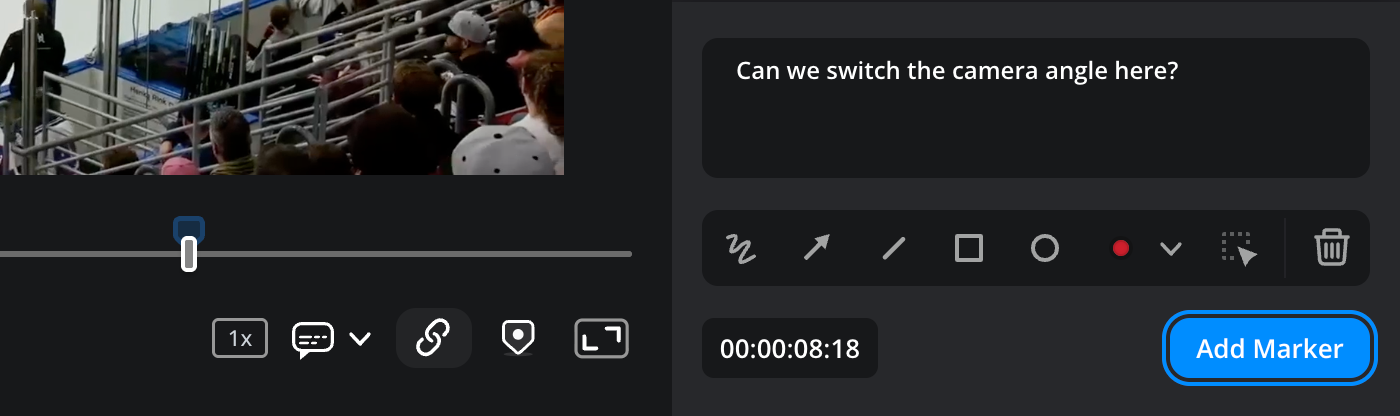
If you want to add a comment, write it in the text box at the bottom of the ‘markers’ tab. You can also add an on screen annotation using the controls under the comment window. More information on annotation is provided in the next section.
-
Click the ‘add marker’ button at the bottom of the ‘markers’ tab, or by clicking the marker icon in the viewer controls.
-
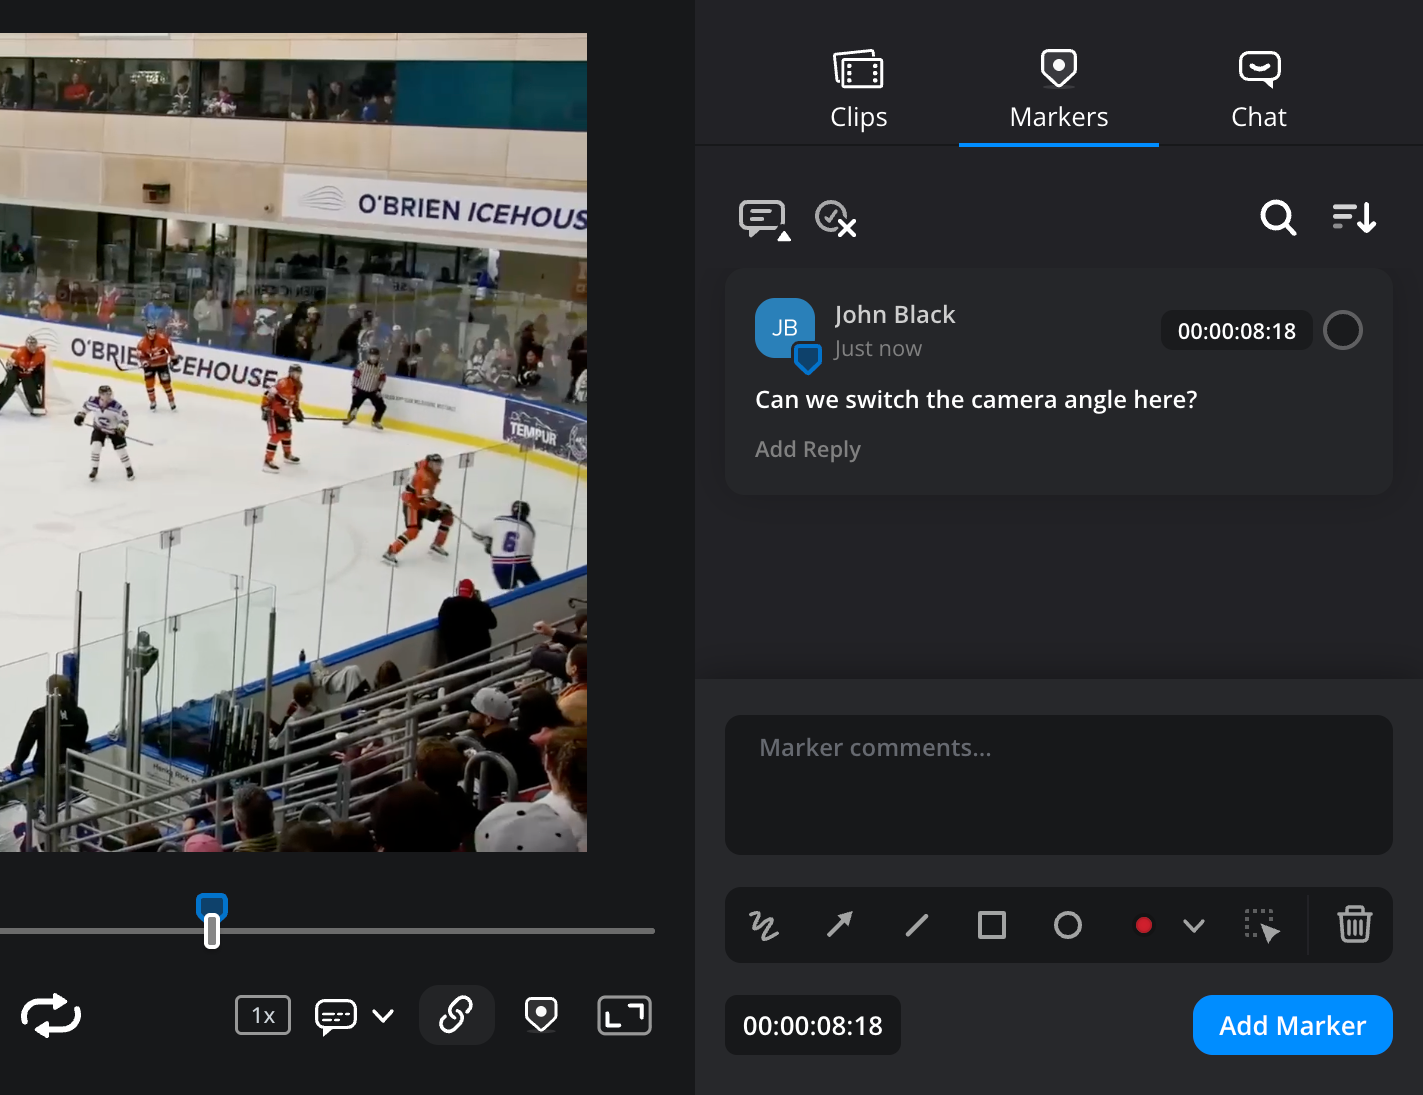
Your marker and comment will be displayed in the ‘markers’ tab list and on the timeline in the viewer window.
Adding Annotations
The annotation controls are arranged in a strip underneath the ‘comments’ box. The annotation options include ‘freehand’, ‘arrow’, ‘line’, ‘rectangle’ and ‘ellipse’.
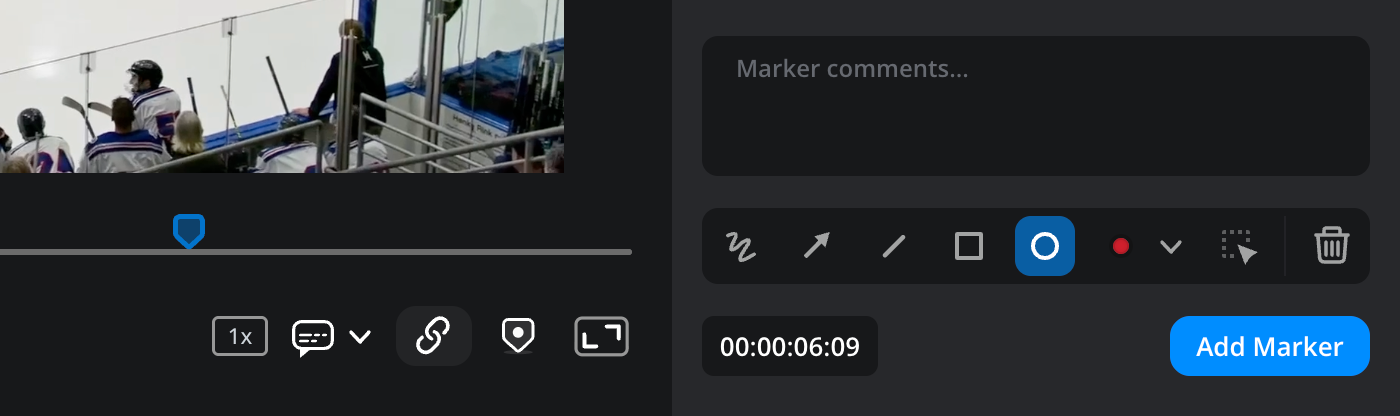
To add an annotation:
-
In the viewer, move the playhead to the frame that you want to annotate.
-
Choose the annotation type that you want to add from the annotation controls. If you want to use a different color for your annotation, select it from the ‘color selection’ options.
-
In the viewer, click and drag to add your annotation. You can add more than one annotation to a frame.
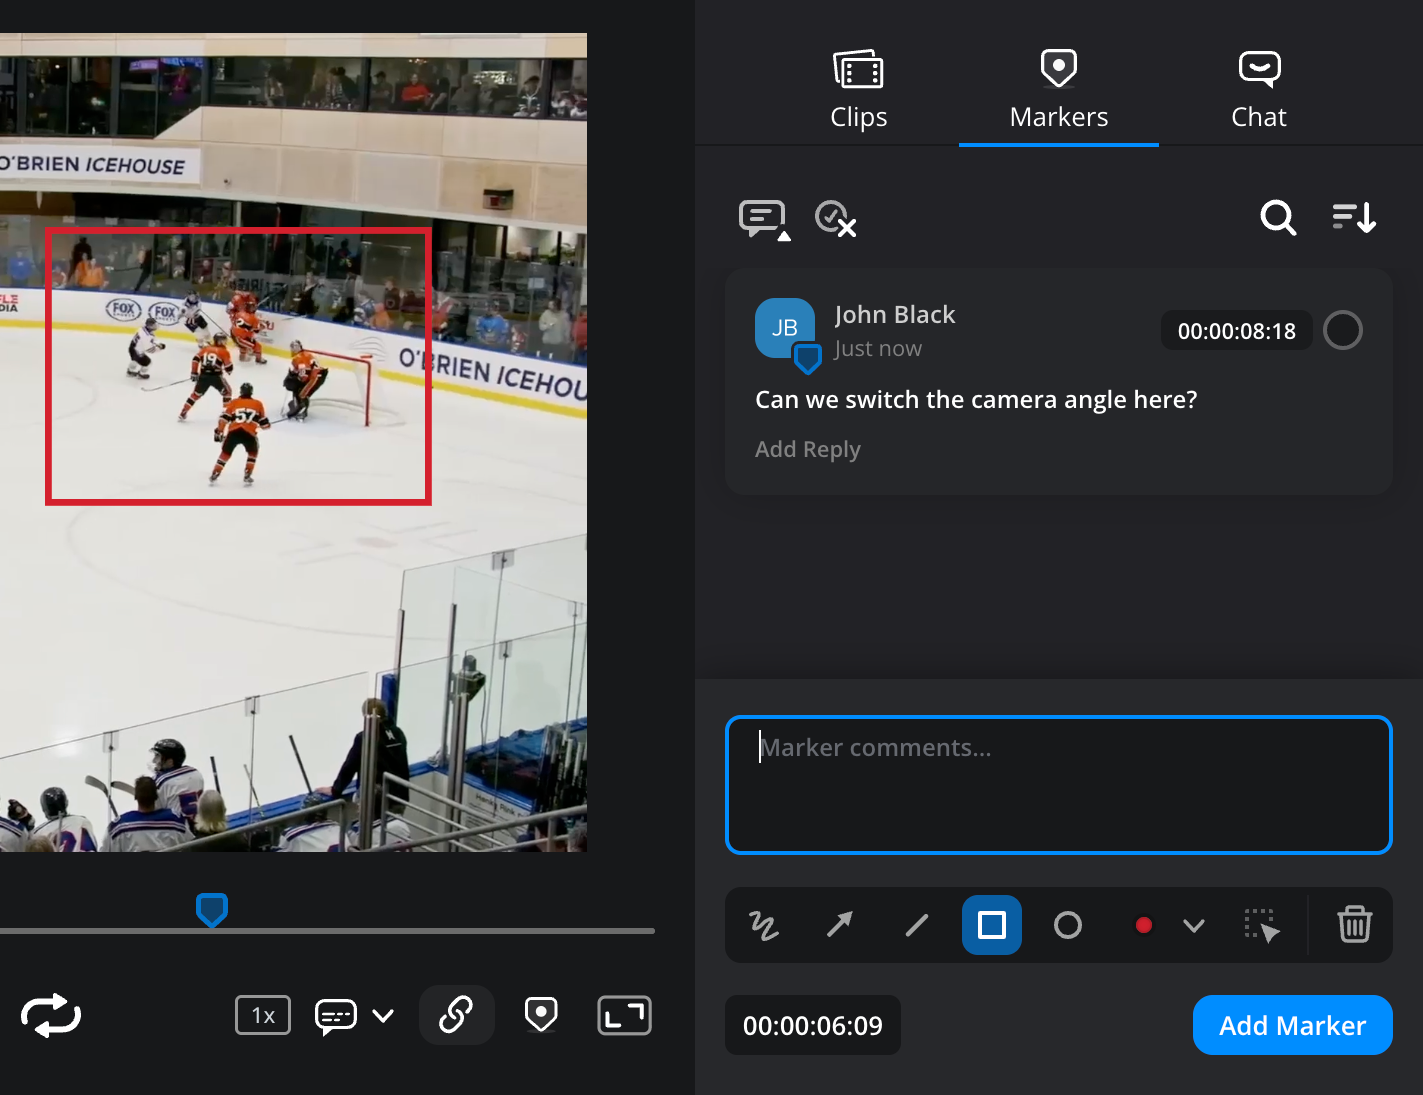
-
To move or rotate an annotation, click the ‘select’ icon and click on an annotation in the viewer. Use the on screen controls to move, rotate or resize the annotation. You can select multiple annotations by clicking and dragging your mouse in the viewer. If you want to delete an annotation, select it and click the trash can icon.
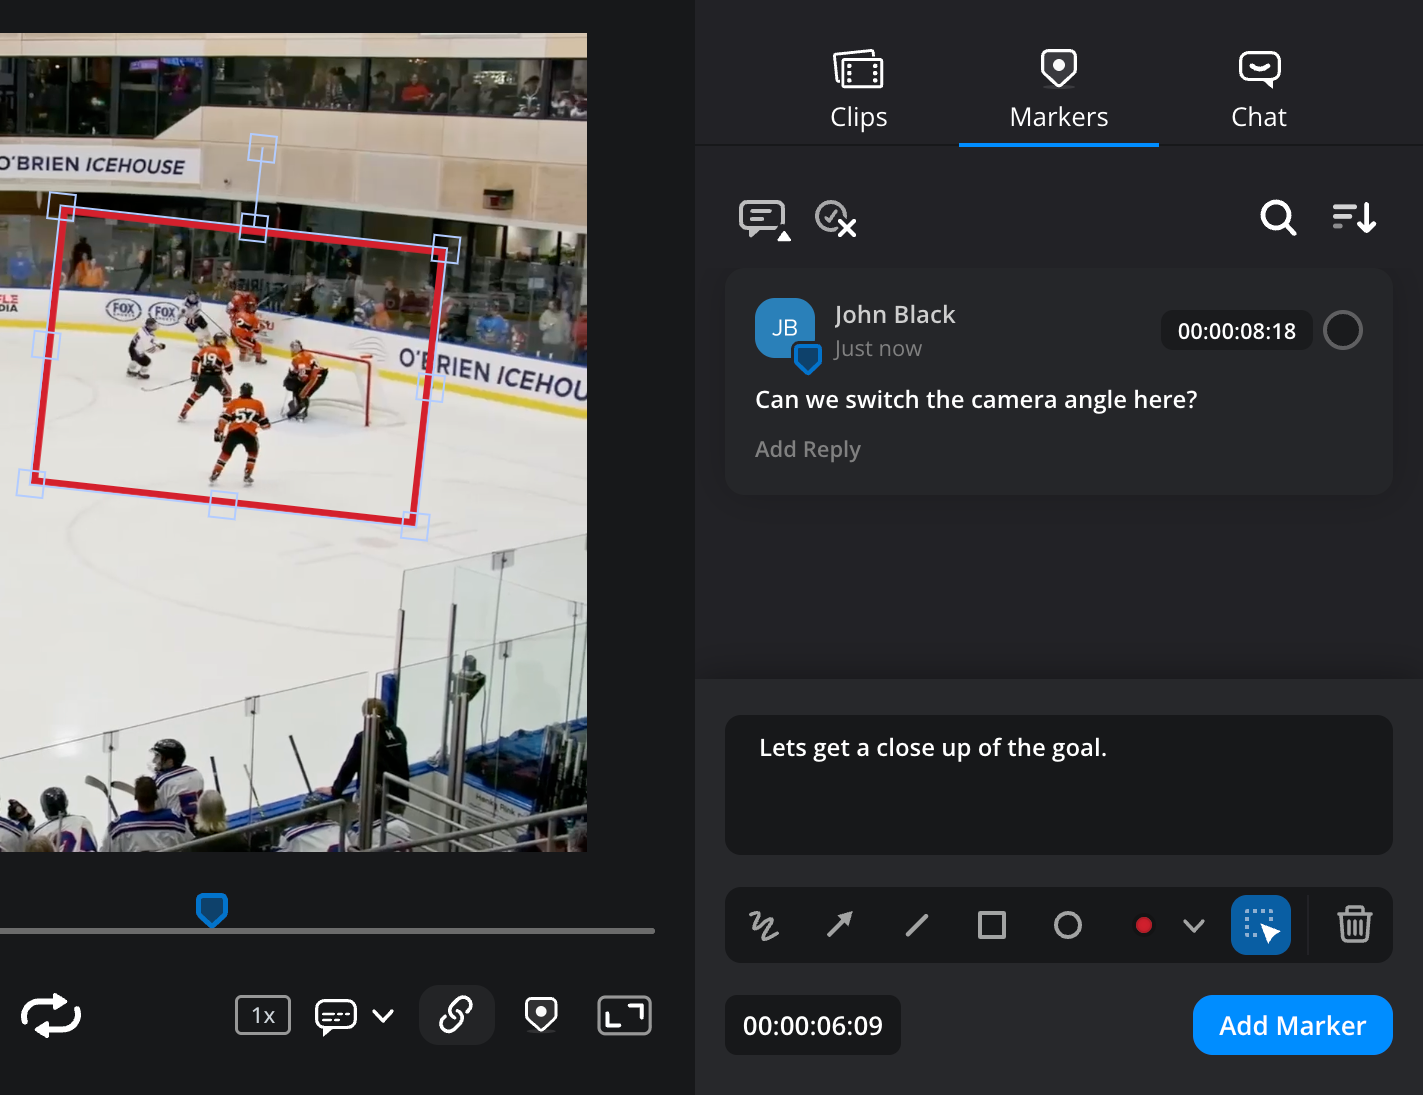
-
If you want to add a comment, type it in to the ‘comments’ box.
-
Click ‘add marker’. Your annotated marker will be added to the marker list.
Using the Timecode Window
The small timecode window at the bottom left of the marker tab lets you quickly add markers to a clip based on timecode.
To add a marker using the timecode window:
-
Enter a timecode into the timecode window.
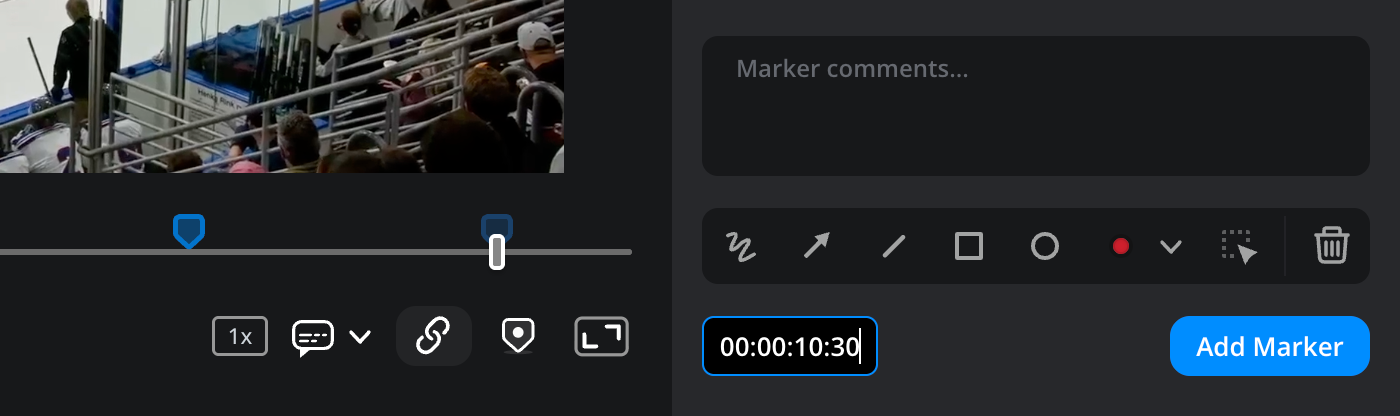
-
Click the ‘add marker’ button.
A marker will be added to the clip and appears in the marker list.
Editing Markers
Each marker is displayed as an individual tile in the ‘markers’ tab. Simply click on a marker to jump to its position in the clip.
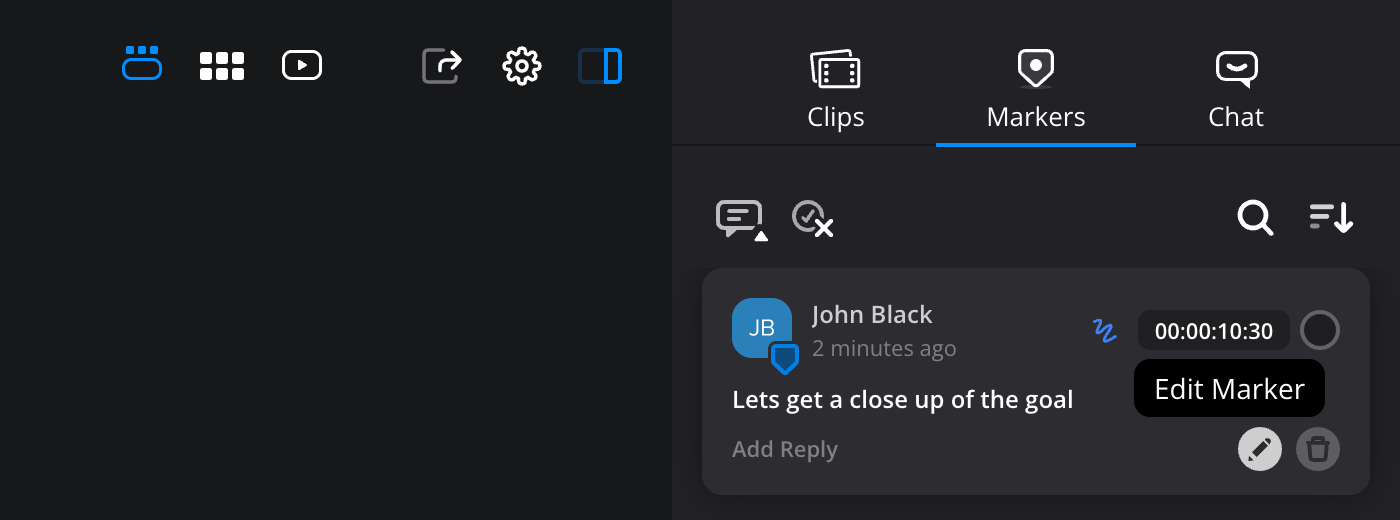
You can use the individual marker controls to reply to comments, add and edit comments and annotations, plus delete the marker or mark it as complete. To reveal the ‘edit marker’ and ‘delete marker’ options, hover your mouse pointer over the marker tile.
Filtering and Sorting Markers
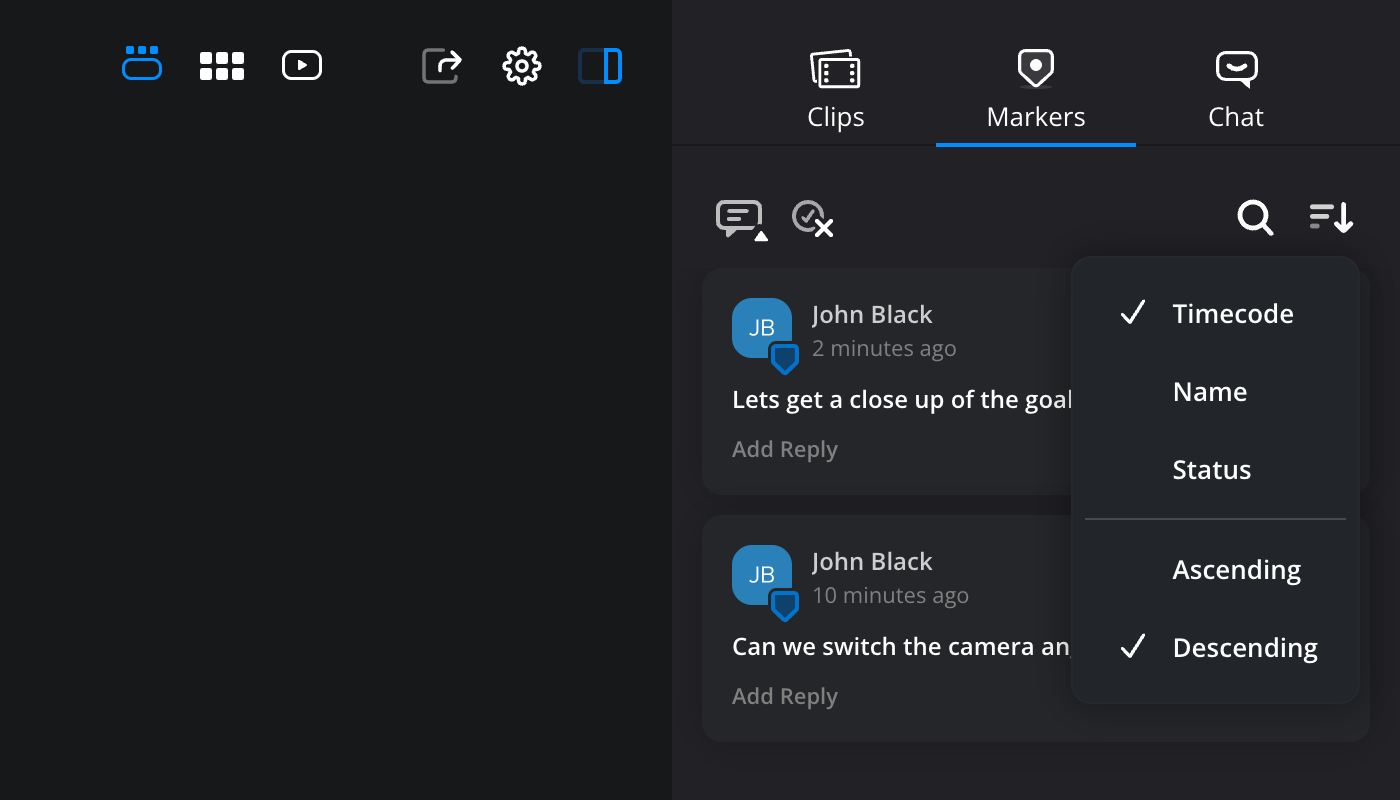
The controls at the top of the ‘markers’ tab let you filter and sort markers based on your preferences. You can choose to collapse replies to comments, hide markers that have been marked as complete, search markers by comment or by user name and sort the markers list by timecode.