
Managing Project Libraries
The ‘information’, ‘sharing’ and ‘backup’ tabs in the right hand panel of the ‘project server’ page contain the management options for your Blackmagic Cloud project libraries. You can use these tabs to disable, enable or delete a project library, create a Blackmagic Cloud presentation from a project library, share a project library, plus create and restore backups.
Using the Information Tab
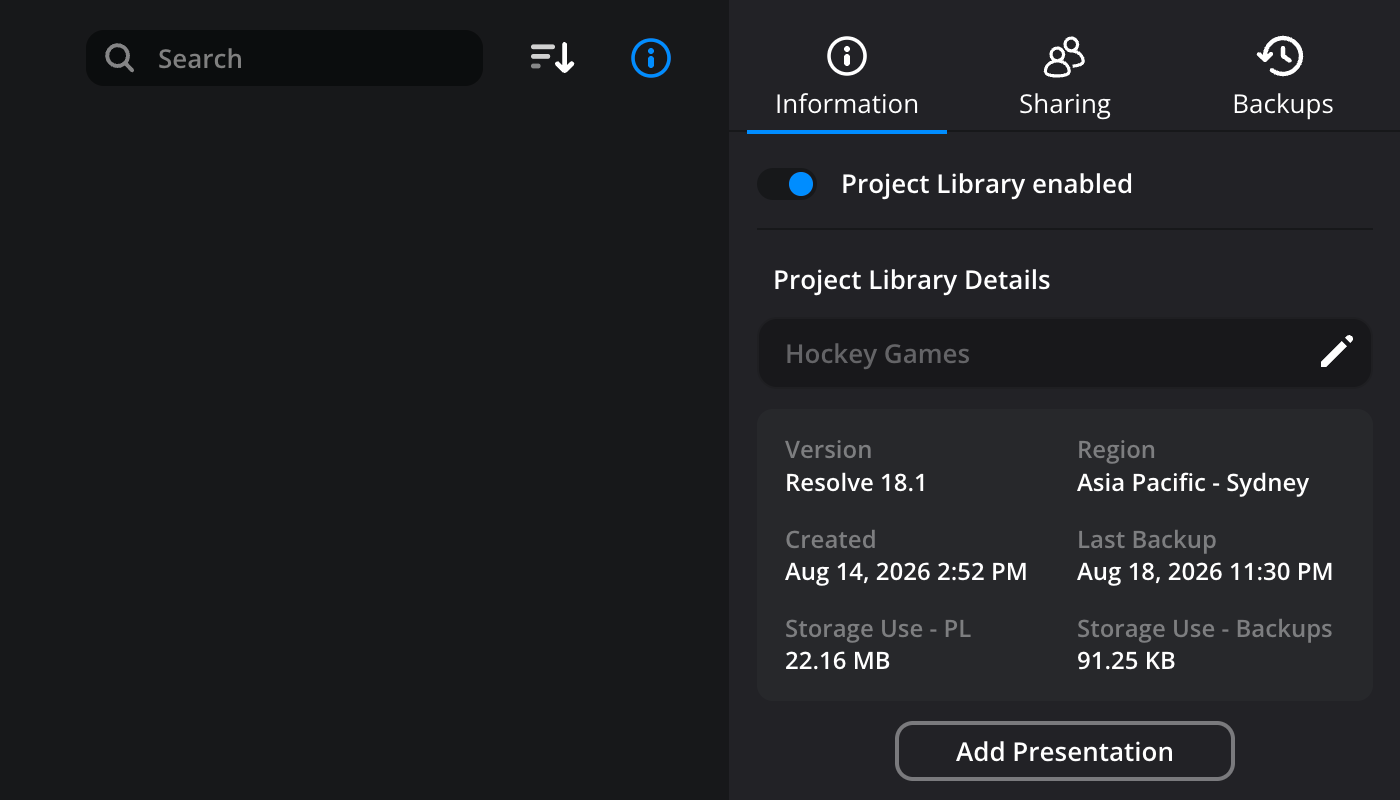
The ‘information’ tab contains options to enable or disable a project library, view information, rename, add a presentation or delete a project library.
Enabling or Disabling a Project Library
Disabling a project library will remove the library and any projects it contains from the ‘project manager’ window in DaVinci Resolve. To disable a project library move the ‘project library enabled’ toggle switch to the left. To enable a project library, move the toggle switch to the right.
Disabled project libraries do not count towards your total project library limit. If you reach your project library limit, disabling a project library will allow you to create a new one.
Project Library Details
The ‘project library details’ panel contains general information about the current project library, including DaVinci Resolve version, region, creation date and backup and storage use. You can also rename a project library by clicking the pencil icon next to the current name, typing a new name and clicking ‘save’.
Add Presentation
You can automatically create a Blackmagic Cloud presentation by clicking the ‘add presentation’ button. This will invite all members of the project library to a new presentation in the Blackmagic Cloud presentation page.
Delete Project Library
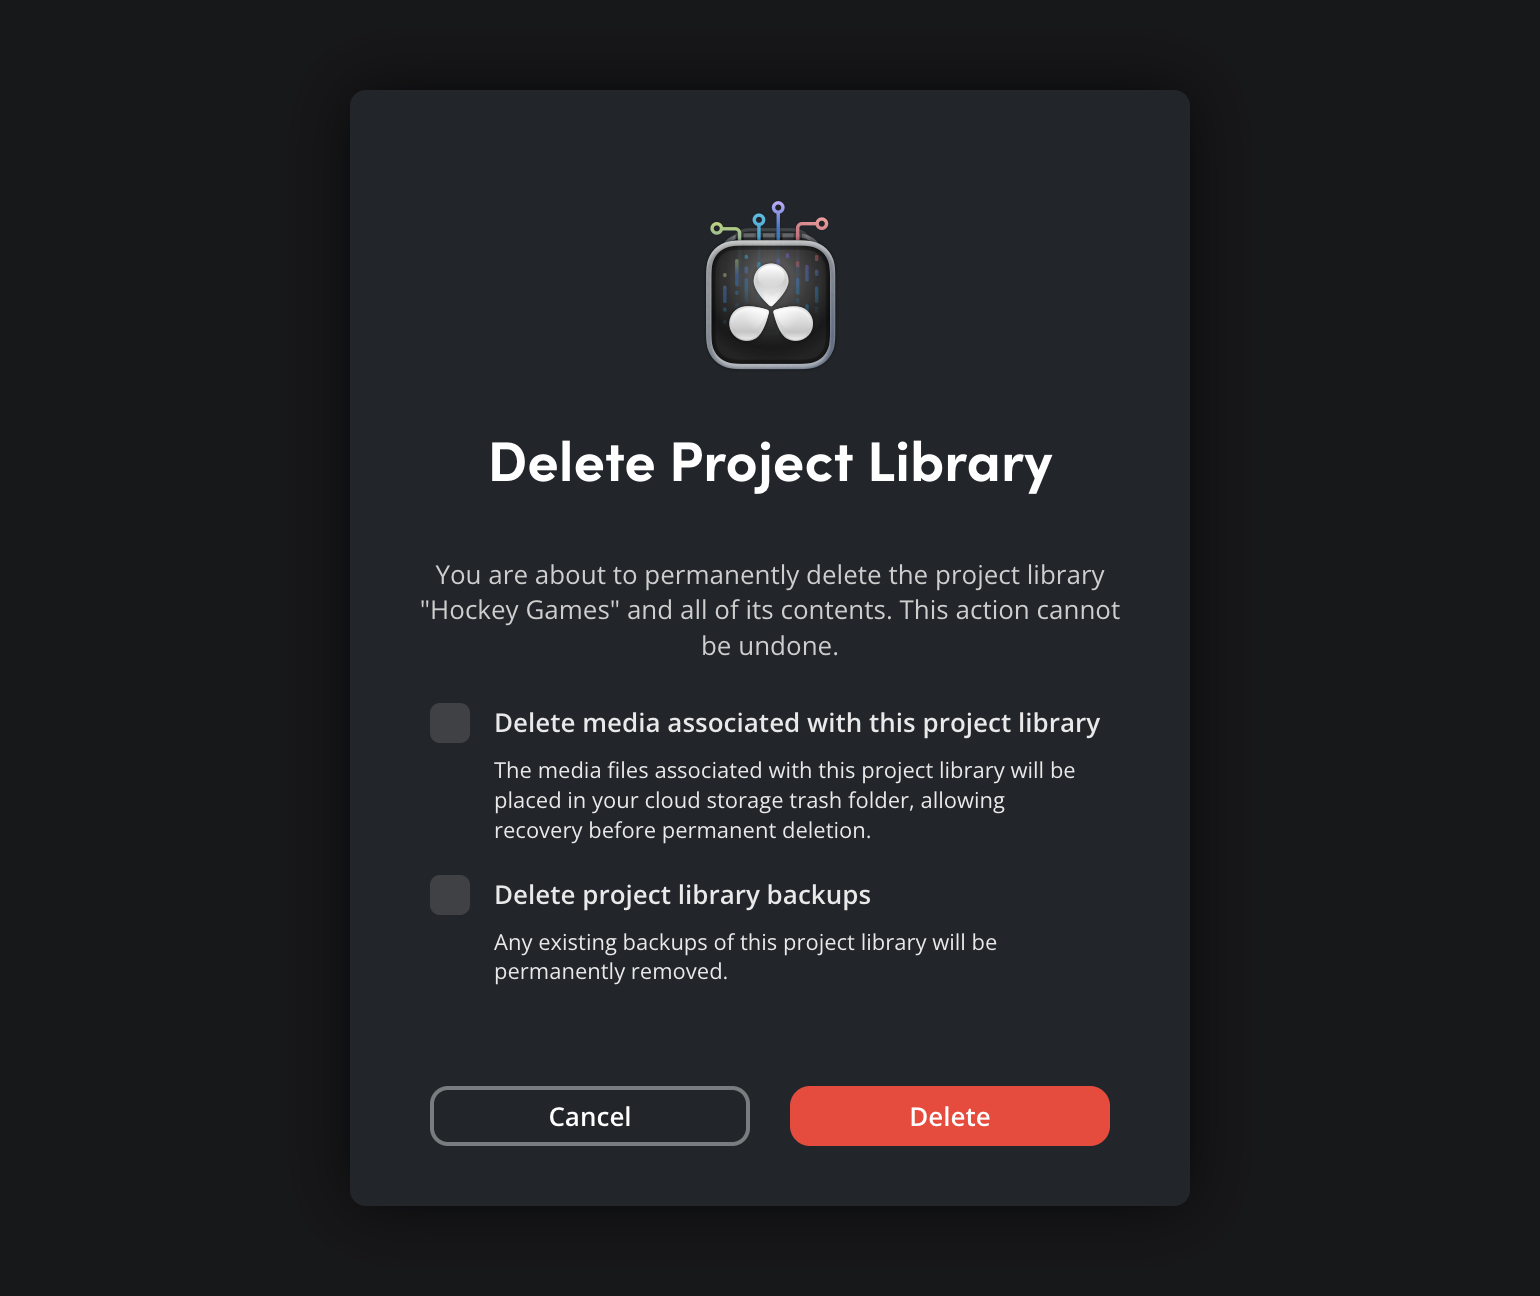
If you want to delete a project library, click the ‘delete project library’ button at the bottom of the ‘information’ tab. It’s important to note that deleting a project library cannot be undone.

In the ‘delete project library’ window, choose if you also want to delete the media associated with the project library and delete any project library backups. Once you have made your selection, click the ‘delete’ button.
Sharing Project Libraries
The options in the ‘sharing’ tab let you share Blackmagic Cloud project libraries with other Blackmagic Cloud users, or members of a Blackmagic organization or group.
To share a project library:
-
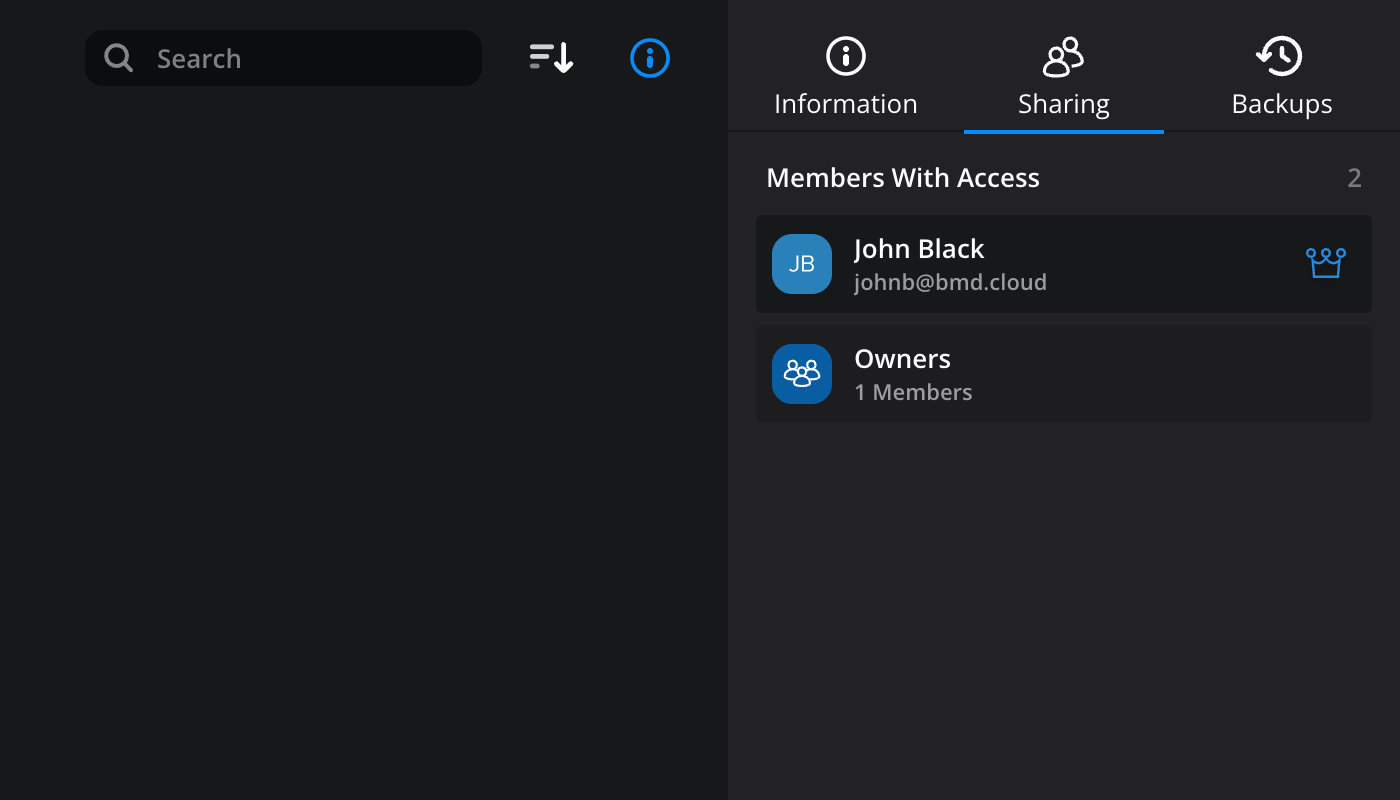
Click on the Blackmagic Cloud project library that you want to share and click the ‘sharing’ tab. Any members with access to the project library will be listed. If you have created a project library within a Blackmagic Cloud organization, owners and administrators will automatically have access. If you have created a project library within your personal Blackmagic Cloud profile, you will automatically have access.
-
To share the project library with additional Blackmagic Cloud users, click the ‘share project library’ button at the bottom of the ‘sharing’ tab.

-
In the ‘share project library’ window enter the Blackmagic Cloud ID of the member you want to share the project library with. If your project library is within a Blackmagic Cloud organization, you can also choose to share a project library with a group within the organization. Click the ‘share’ button.
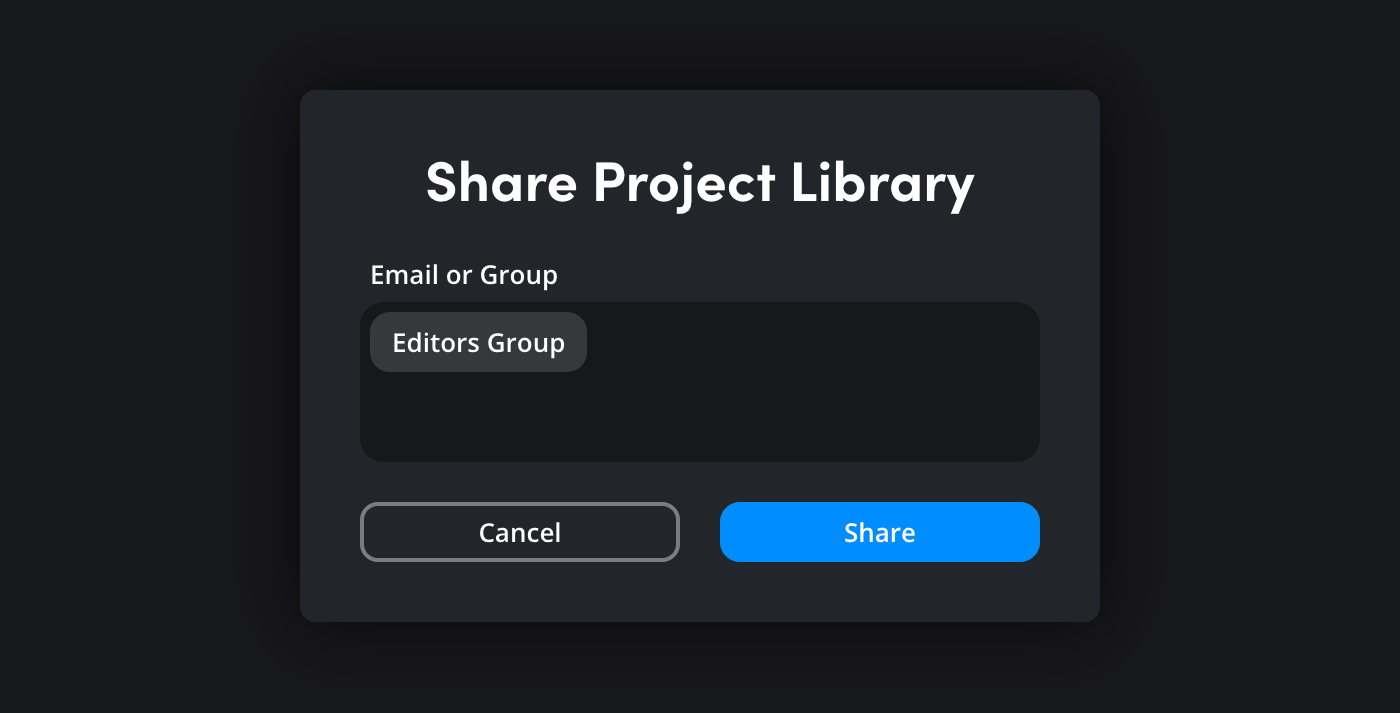
The name of the group or member that you have shared the project library with will be displayed in the ‘members with access’ list.
Backing Up and Restoring Project Libraries
Blackmagic Cloud will automatically create daily backups of your Blackmagic Cloud project libraries. By default the two most recent backups are kept and older backups are automatically deleted. You can access the backup options by clicking the ‘backups’ tab. These options let you manually create a backup, enable and disable automatic backups, set the number of retained backups, plus restore a project library from a backup.
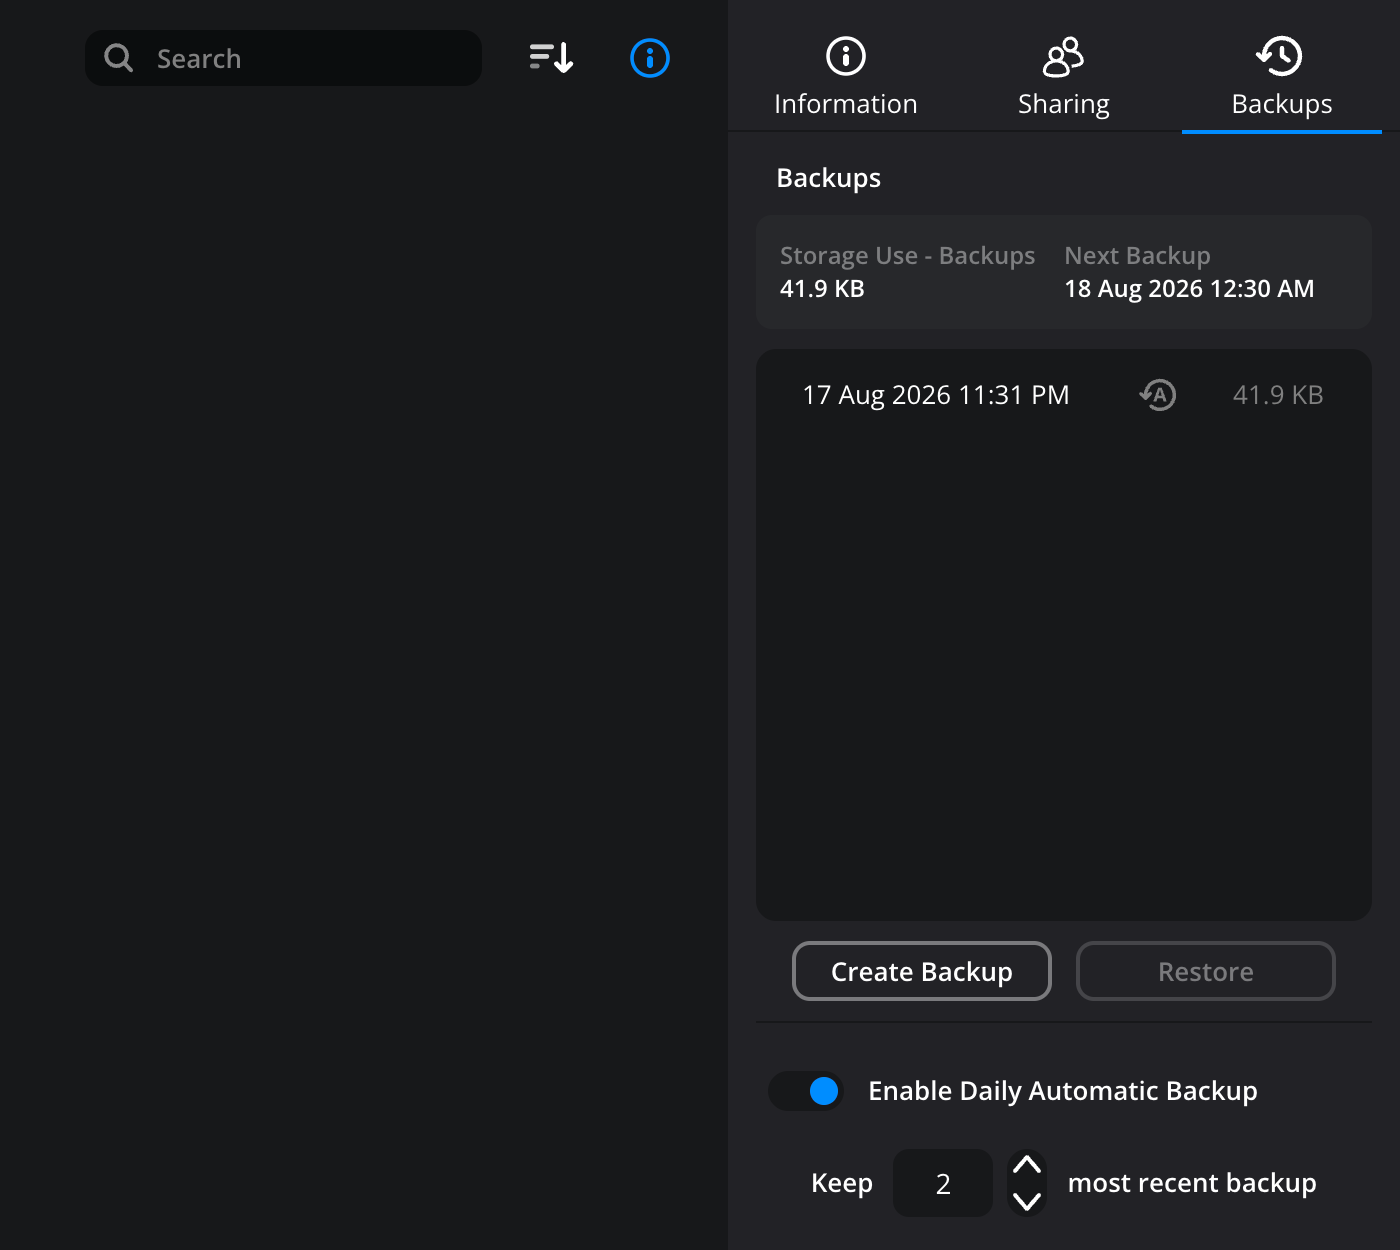
At the top of the ‘backups’ tab you will see the amount of storage used by current backups as well as the time and date of the next scheduled backup. Any storage space used by backups counts towards your overall cloud storage use.
Current project library backups are displayed and listed with the date and time that they were made. Hovering your mouse pointer over a backup will reveal the delete and restore options.
Creating a Backup
To manually create a backup of a project library, click the ‘create backup’ button. The backup will start immediately and appear in the backups list when complete.
Enable Daily Automatic Backups
Daily backups are enabled by default. Toggle the ‘enable daily automatic backup’ switch to off to stop automatic daily backups. Any previous backups will still be available.
To set the number of retained automatic daily backups, click the up and down arrows. Up to 30 daily backups can be retained.
Restoring a Backup
You can restore a backup at anytime. It’s worth noting that when you restore a project library from a backup a new project library is created. The current version of the project library will not be overwritten.
To restore a backup:
-
Select a backup from the list and click the ‘restore’ button in the ‘backups’ tab to open the restore options. You can also hover your mouse over a backup in the list and click the ‘restore’ icon, or click the ‘restore’ icon in the left hand panel.
-
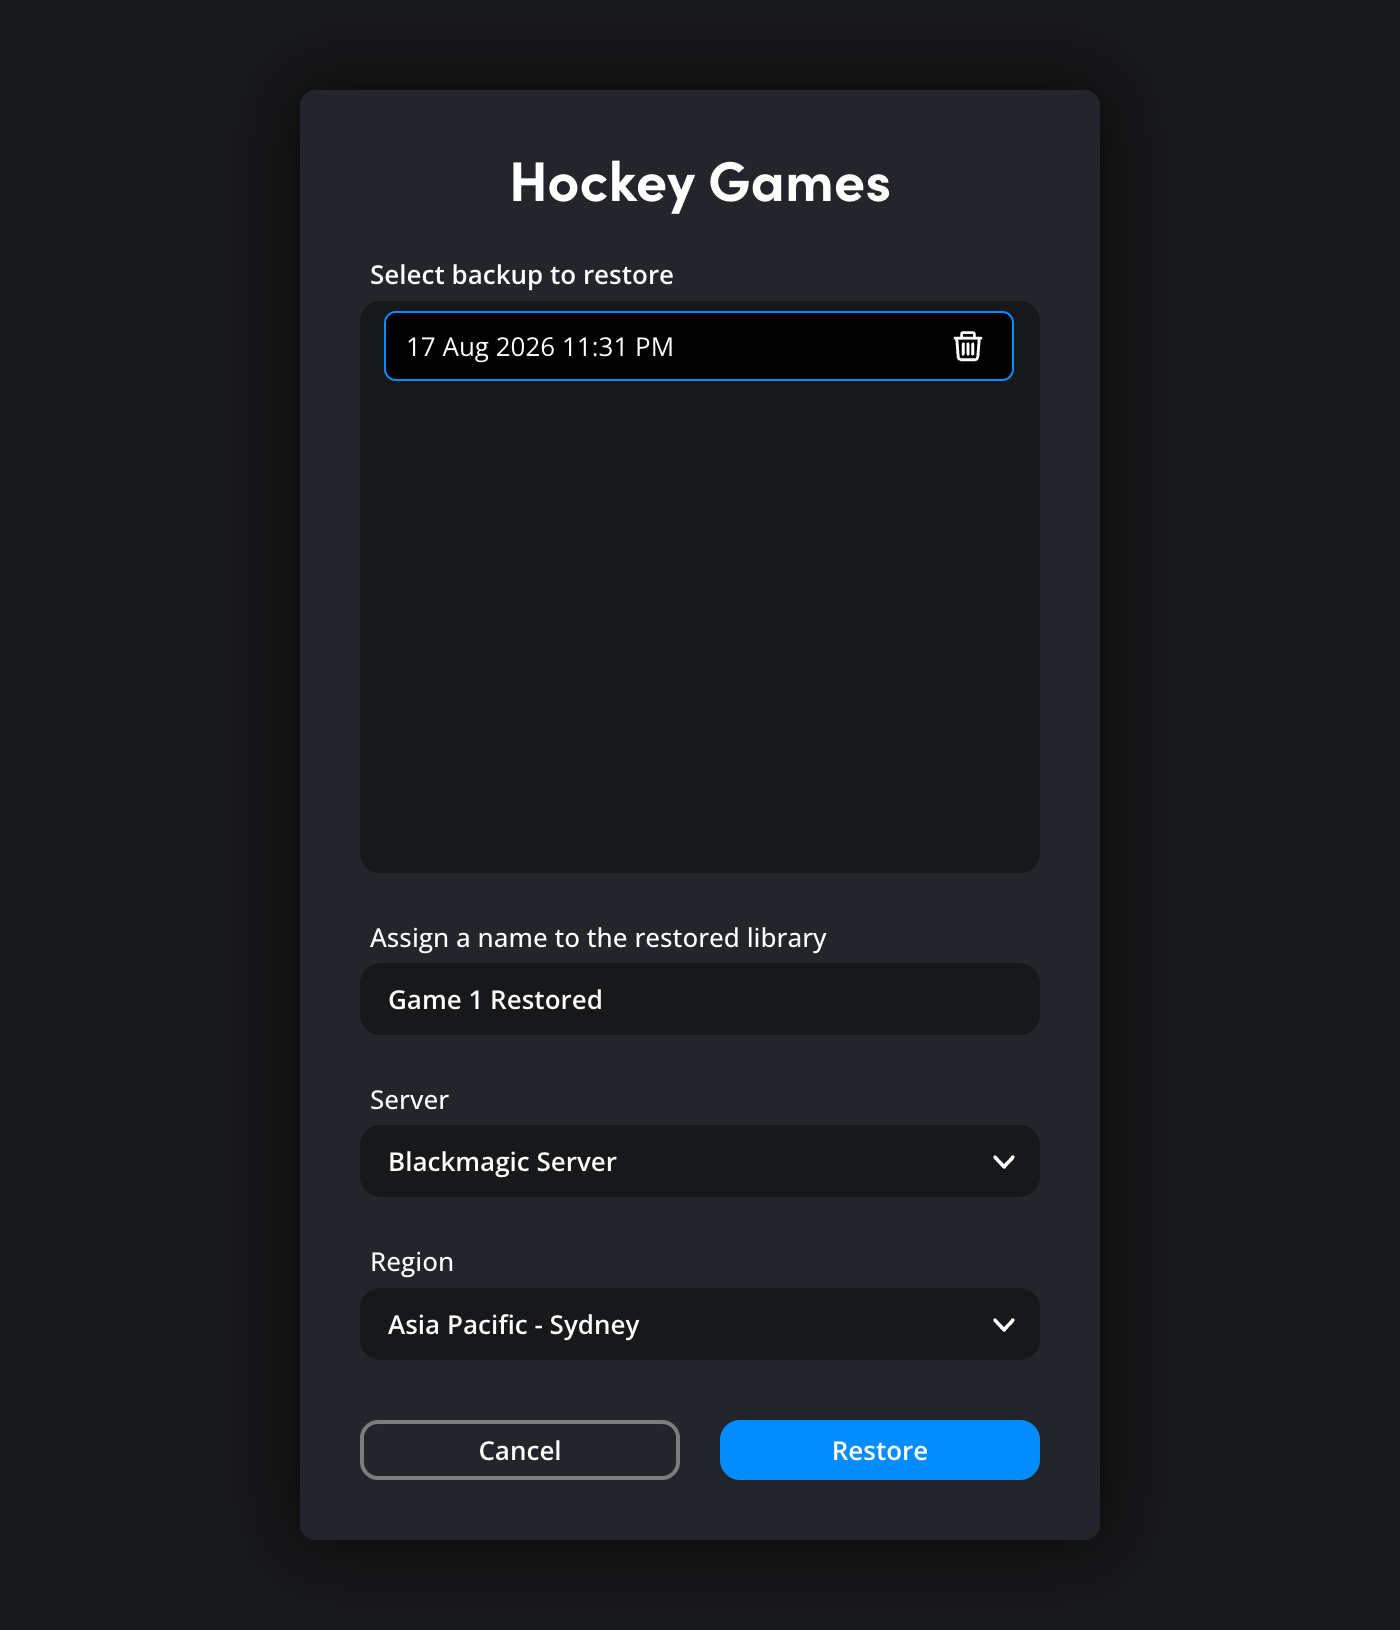
In the restore window confirm the backup you want to restore by selecting it from the list.
-
Enter a name for the restored project library and select a server and a region.
-
Click ‘restore’.
The restore process will start, a percentage indicator will be displayed in the project library list in the left hand panel.
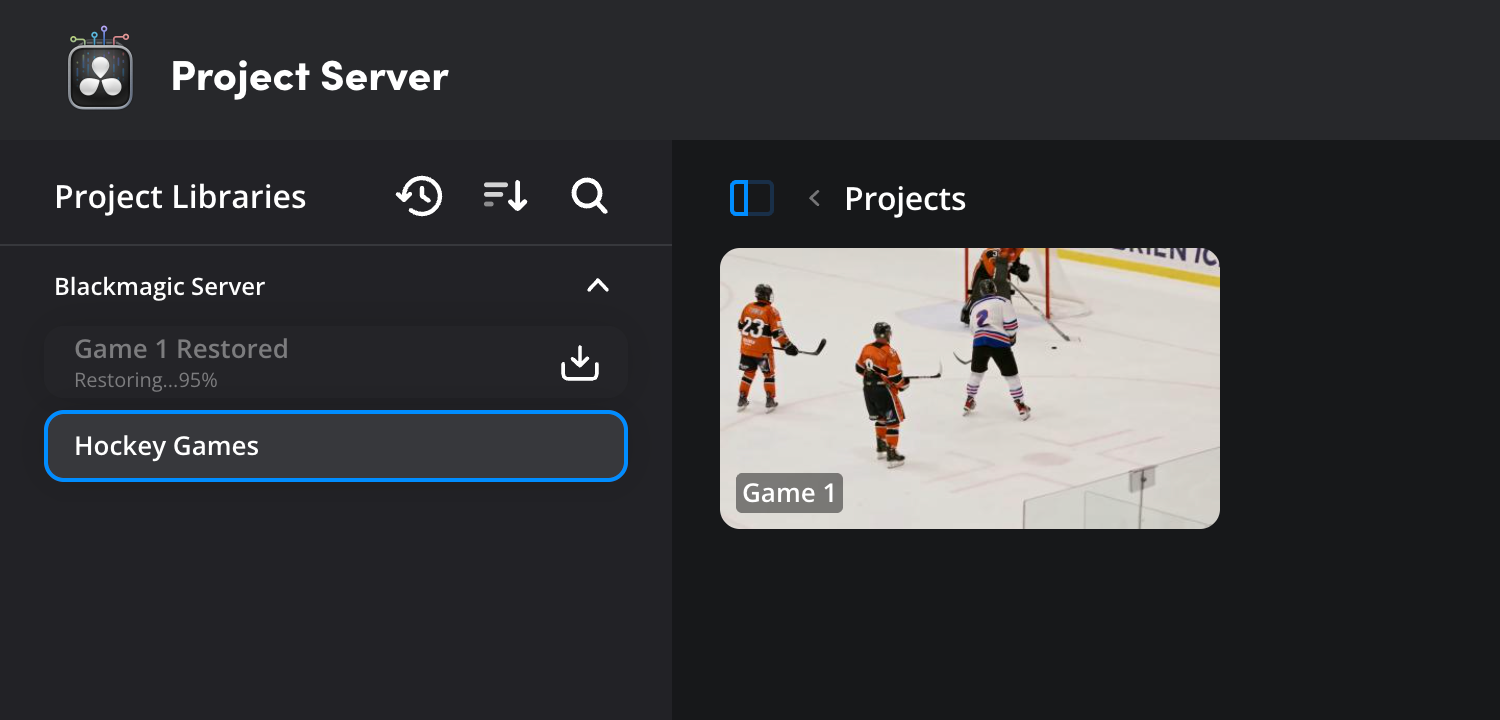
Once the project library has been restored, it can be shared with other Blackmagic Cloud users and accessed in DaVinci Resolve.

