Manage Services
The ‘manage services’ page displays all your current Blackmagic Cloud services, along with their usage.
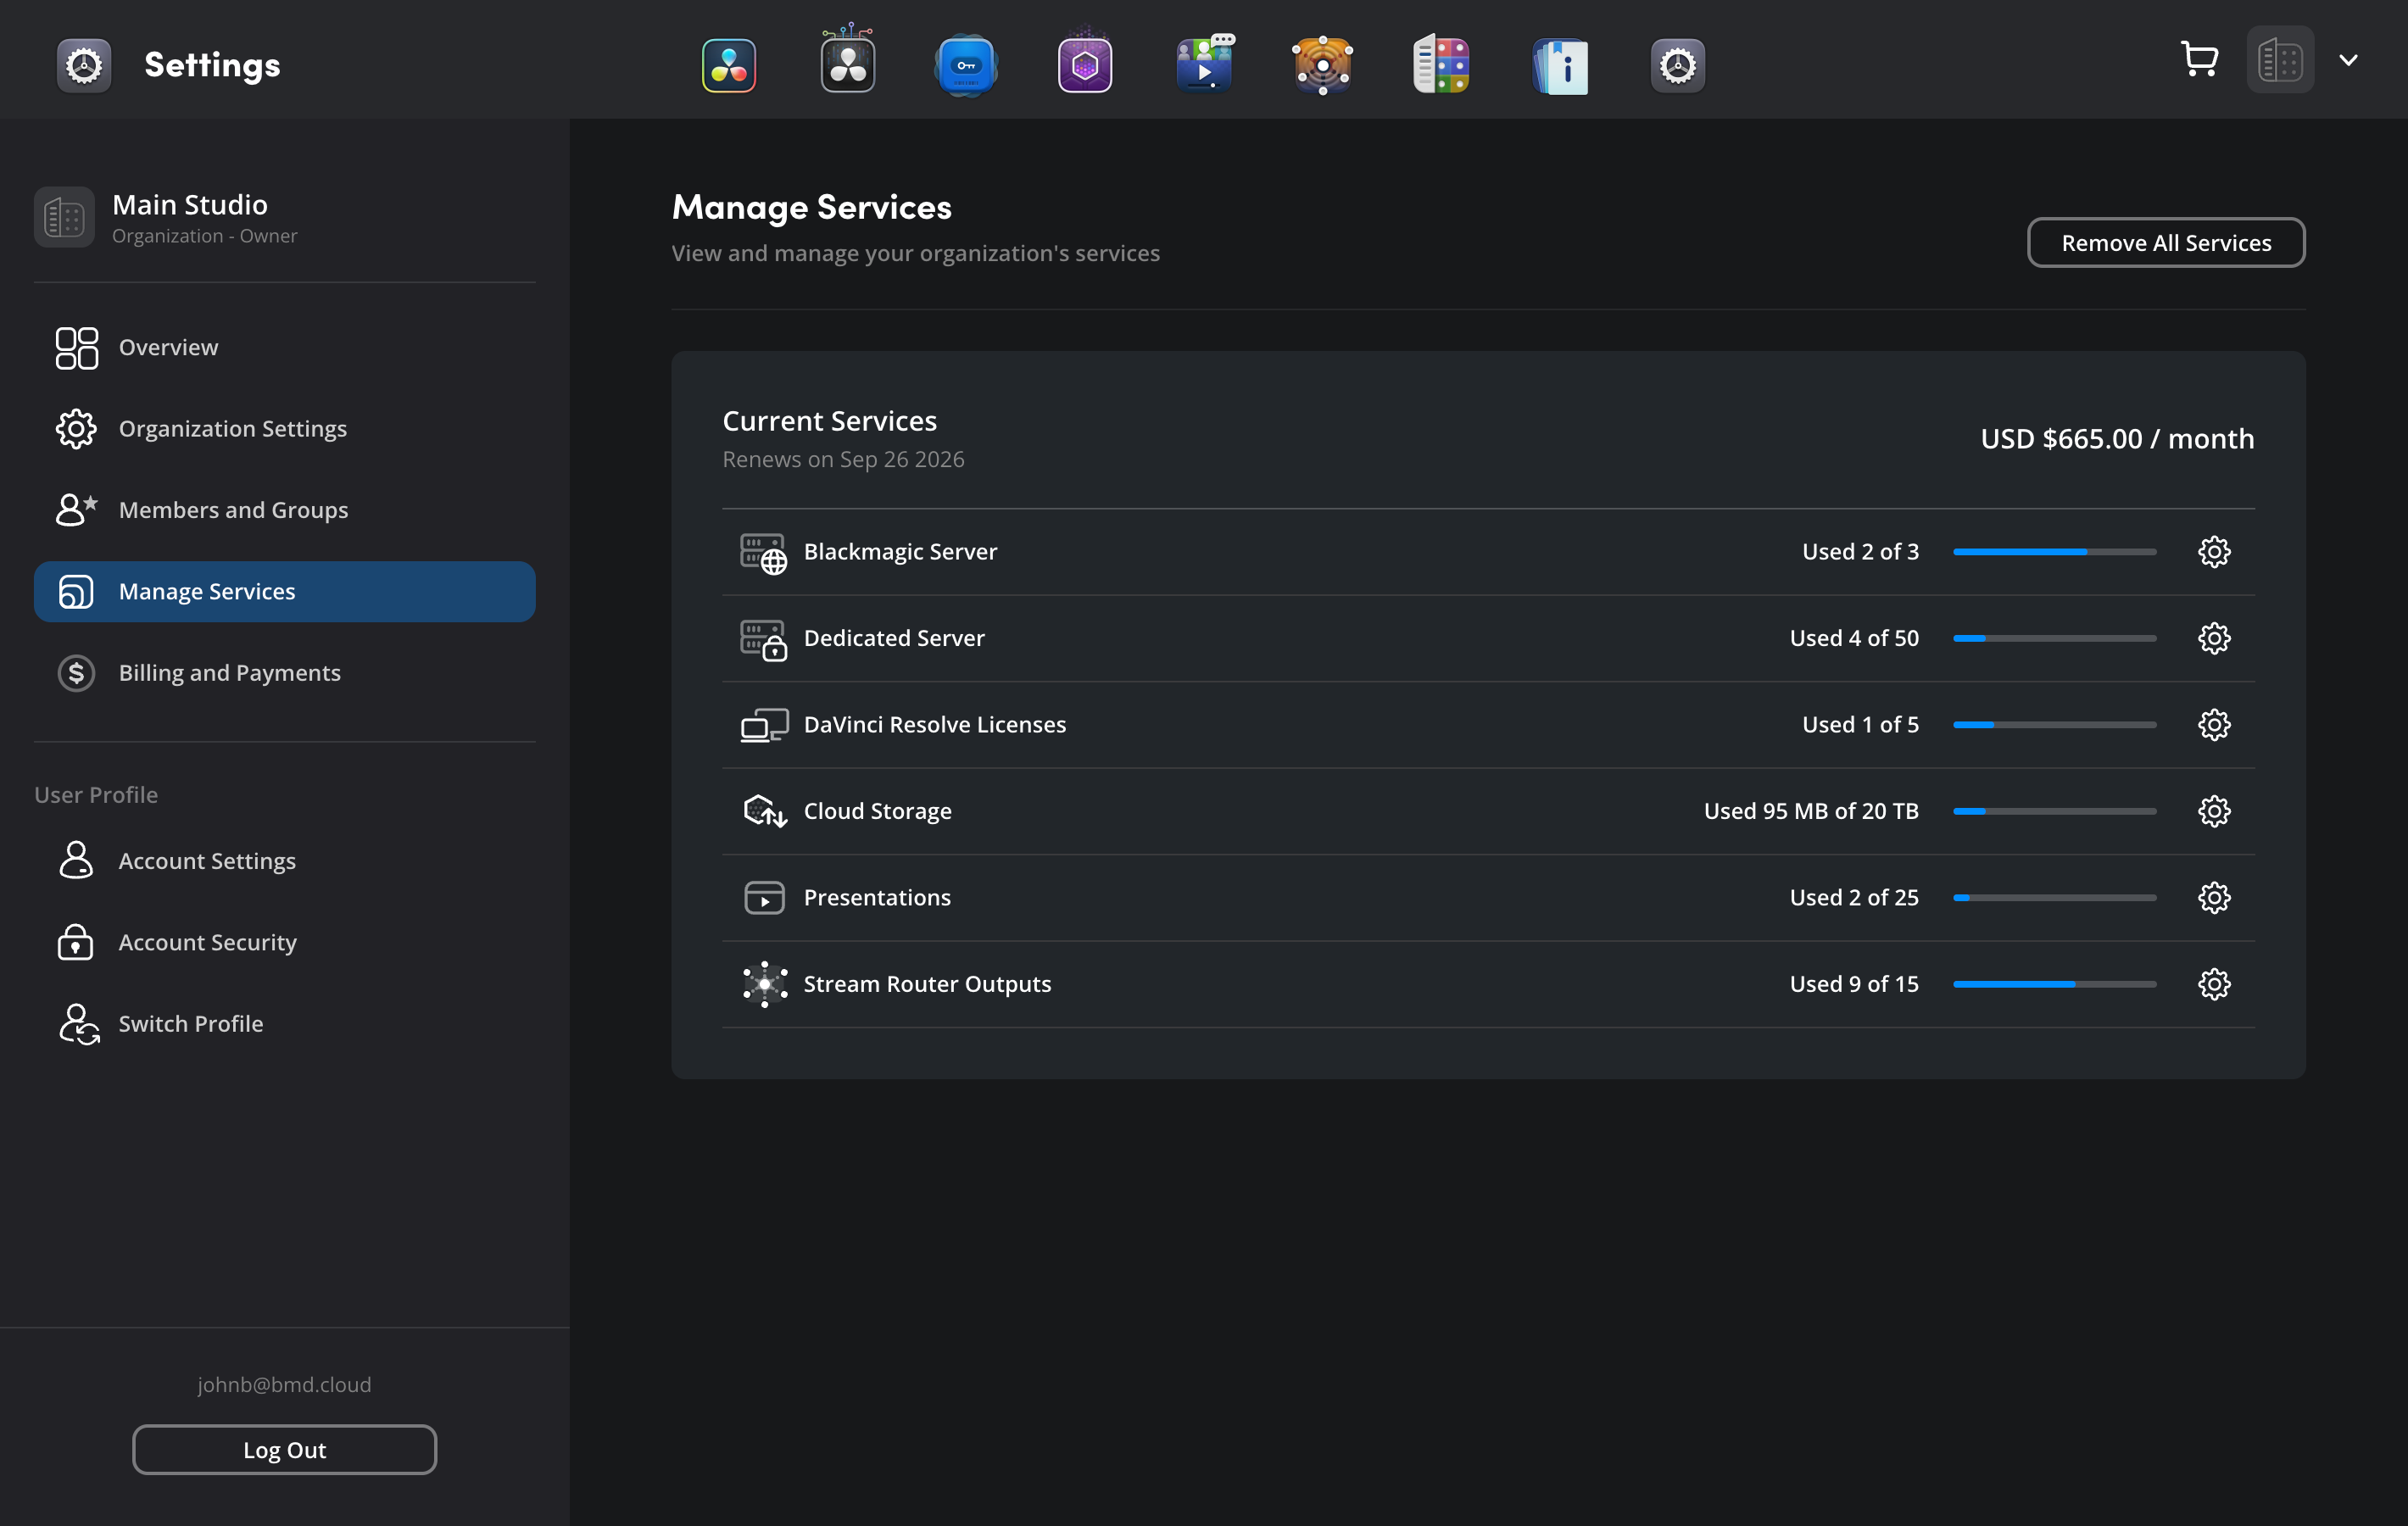
Clicking the settings wheel next to a service will take you to its dedicated page. Each page displays more detailed usage information, plus options to add or remove service capacity.
Adding Services
When you add a service, it will go into your ‘cart’. You can keep adding to your cart if you want to add more services. Once you have added the services you need, you can review and edit your cart before changes are applied to your account. The ‘cart’ icon is located in the top right of the ‘services’ page, next to your profile avatar.
More information is provided in the ‘cart and checkout’ section of this guide.

Removing Services
When you remove a service, it will be scheduled for removal at the end of your current billing period. It’s a good idea to make sure any important data is backed up or moved to local storage before the scheduled removal date. If you change your mind and want to keep the service, you can cancel removal at any time before the end of your current billing period.
Blackmagic Server
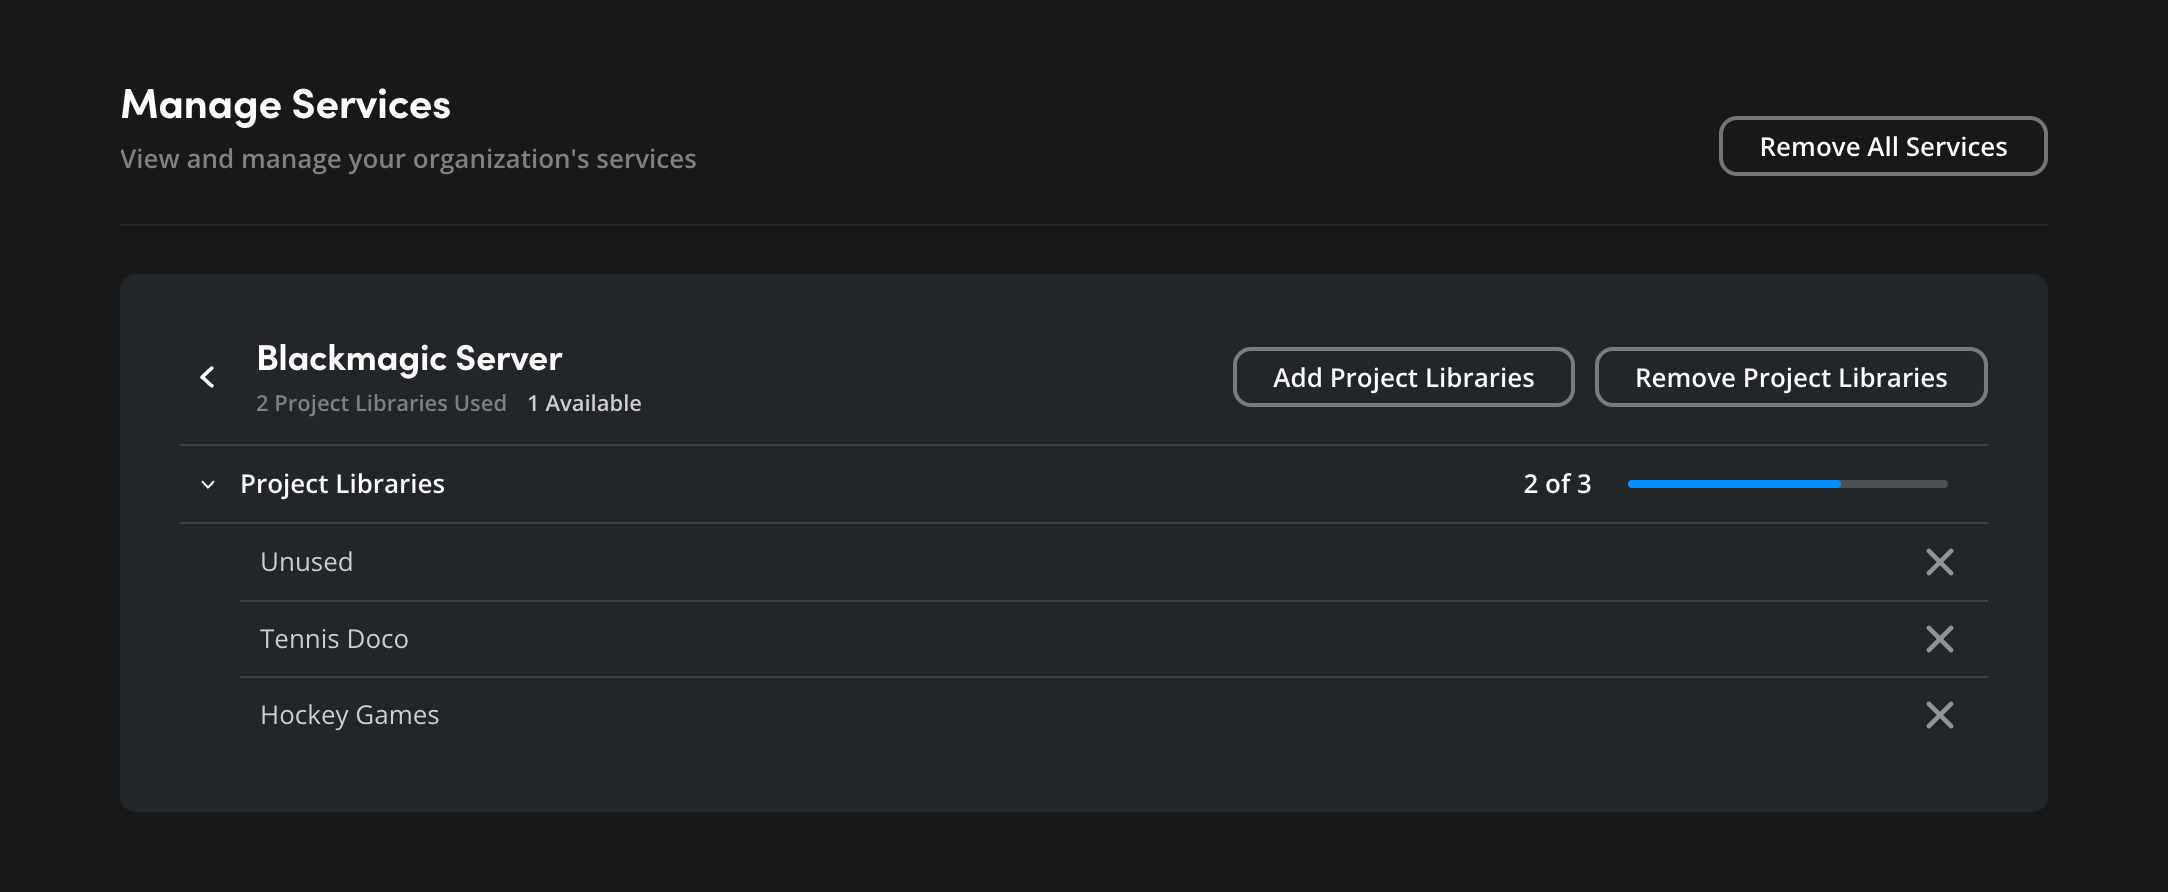
The ‘Blackmagic Server’ service page lets you check the usage of any current project libraries, as well as add or remove project libraries. Clicking the arrow icon in the ‘project libraries’ pane will display the full list of projects. For more information on using project servers in your Blackmagic Cloud account, refer to the ‘project server’ section of this guide.
Adding Project Libraries
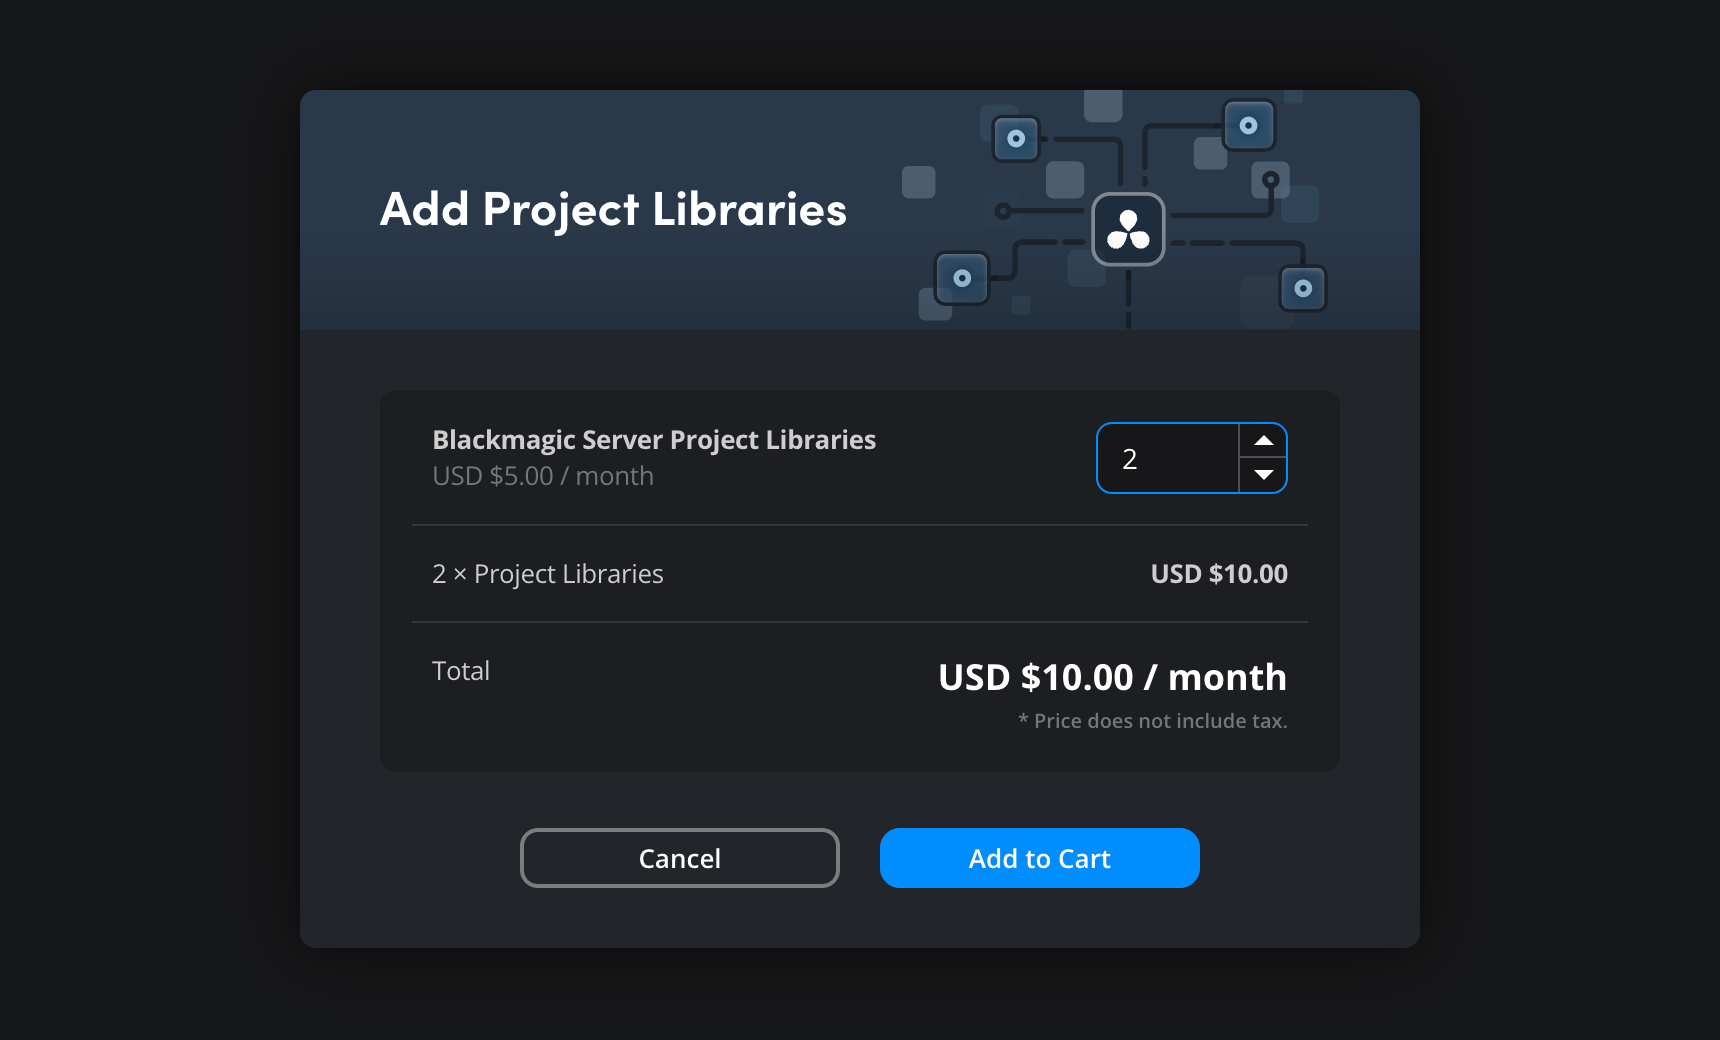
To add project libraries, click the ‘add project libraries’ button.

In the ‘add project libraries’ window, select the number of libraries you want to add, the monthly cost of the libraries will be displayed. Click the ‘add to cart’ button.
Remove Project Libraries
If you want to remove project libraries, you can do so by clicking the ‘remove project libraries’ button. In the ‘remove project libraries’ window, select the checkboxes for the project libraries you want to remove and click ‘continue’.
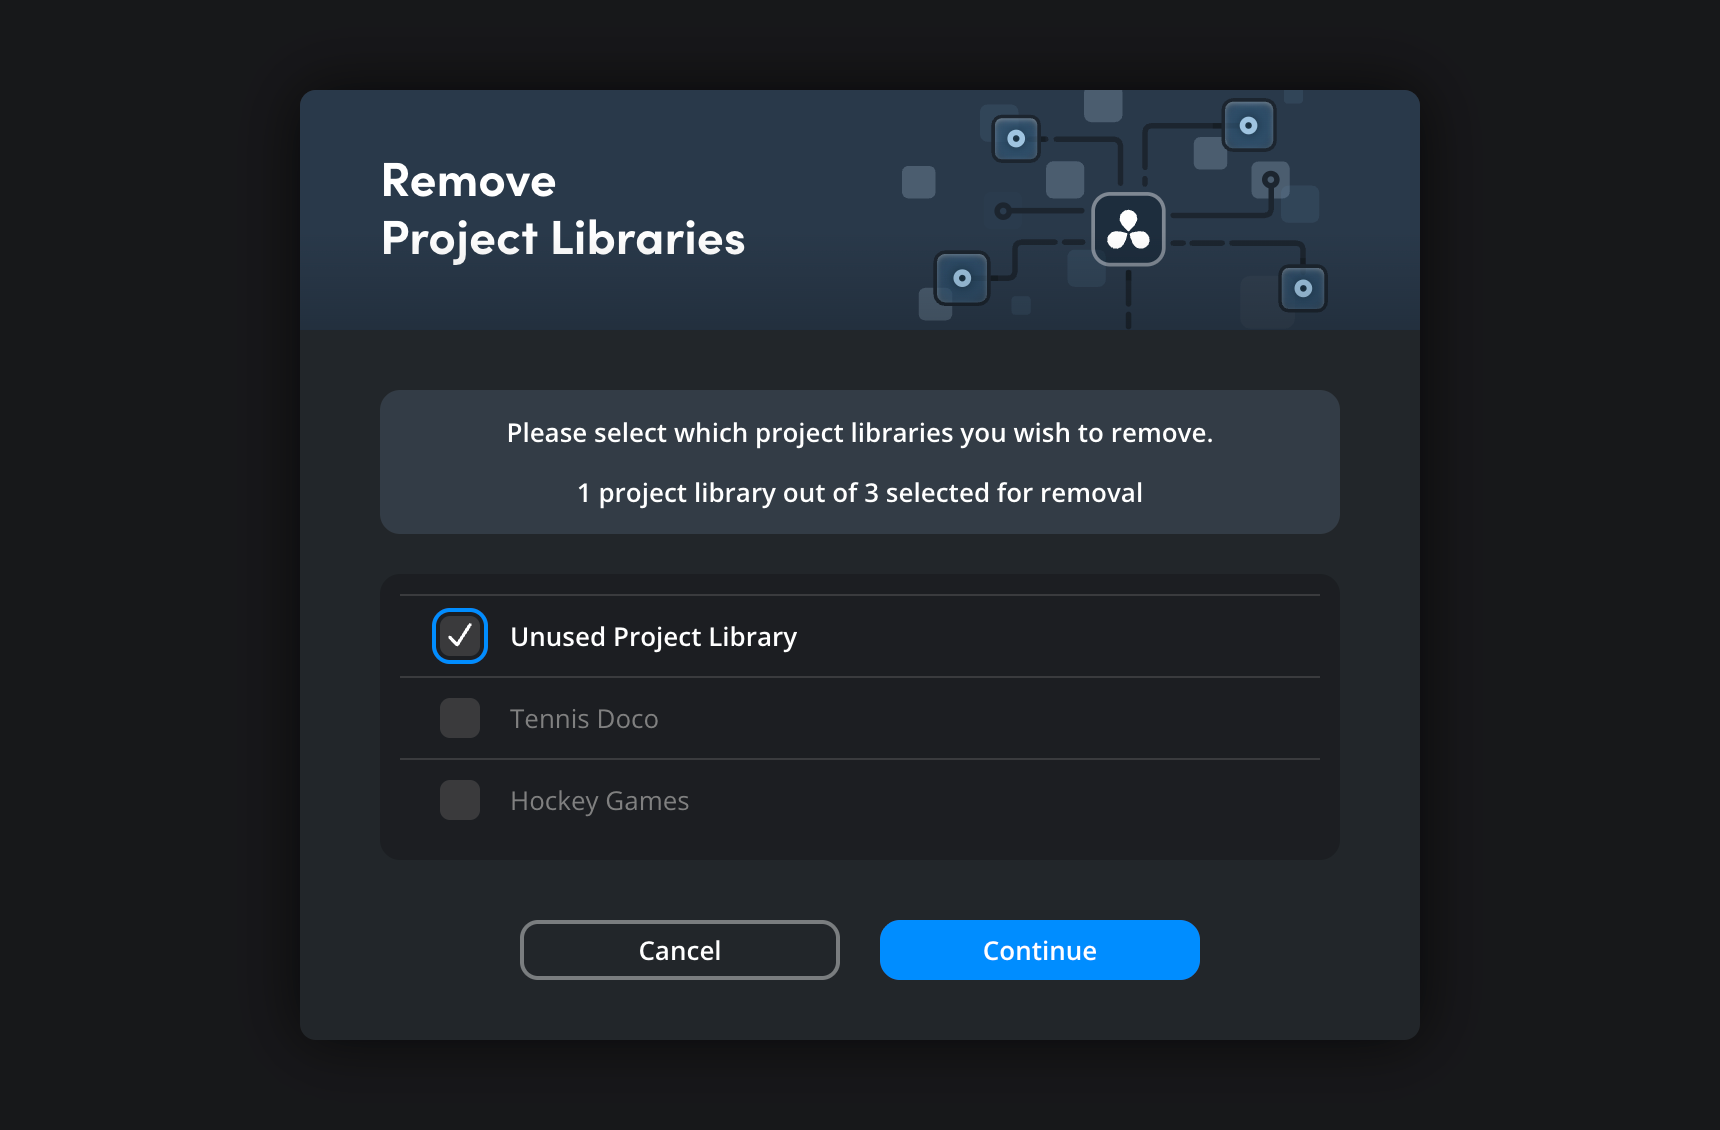
You will be asked to confirm your choice. It is important to note that any selected project libraries will be removed at the end of your current billing cycle. When a project library is removed, it will be deleted along with all its data. It’s a good idea to make a backup of any data you wish to keep.
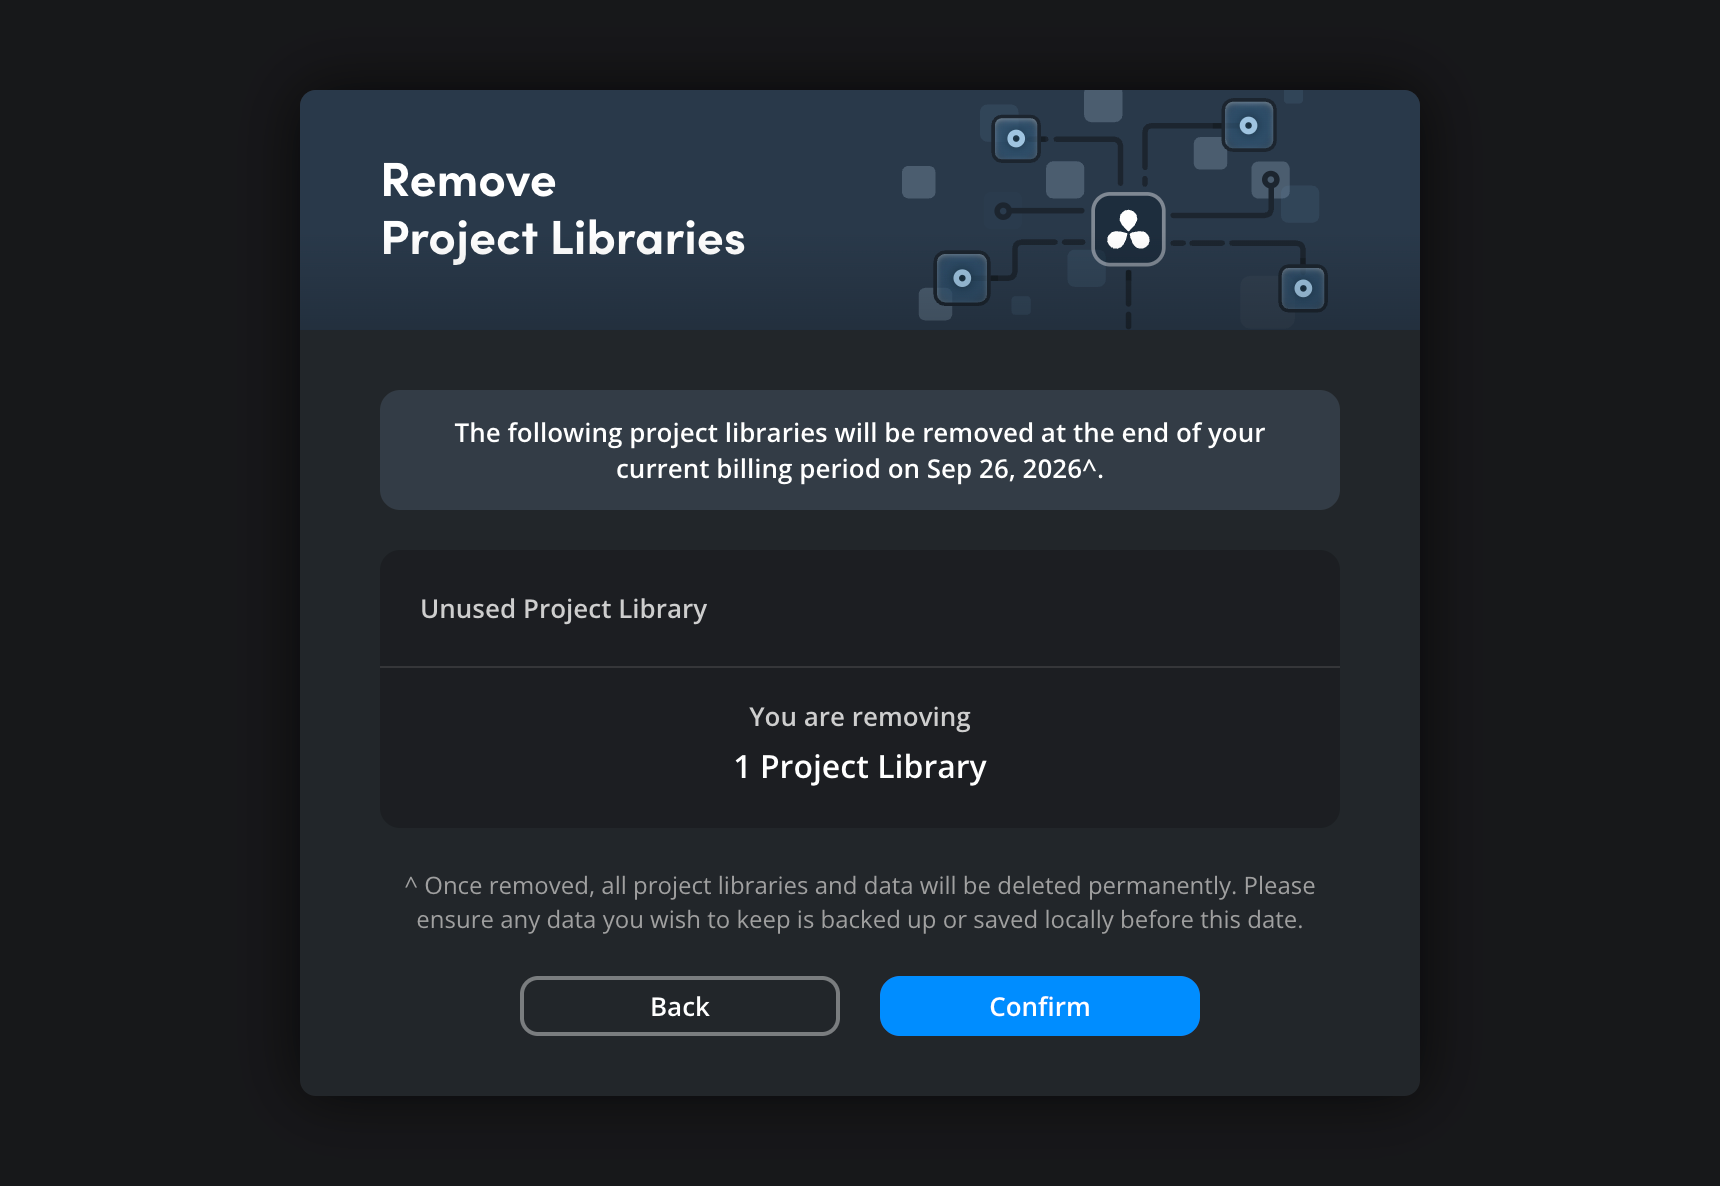
Once you have confirmed your choice, you will see a ‘services removed’ window that will display an updated monthly price for all of your Blackmagic Cloud services.
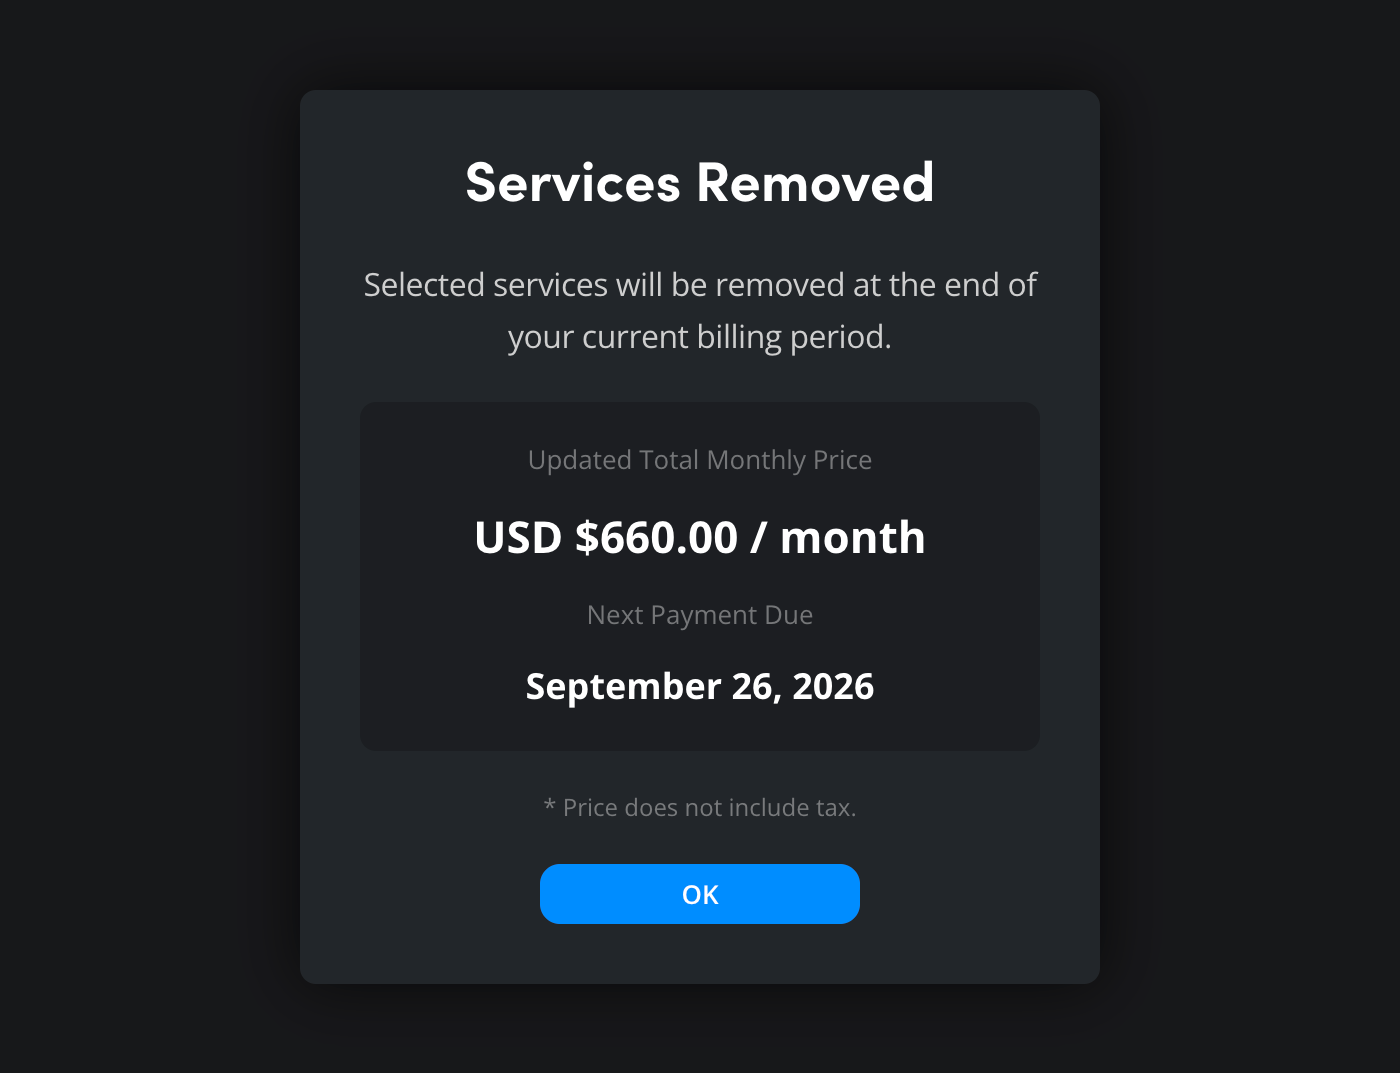
A reminder will appear at the top of the ‘manage services’ window to let you know services have been scheduled for removal. A removal date will also be displayed next to the selected projects in the ‘project libraries’ list.
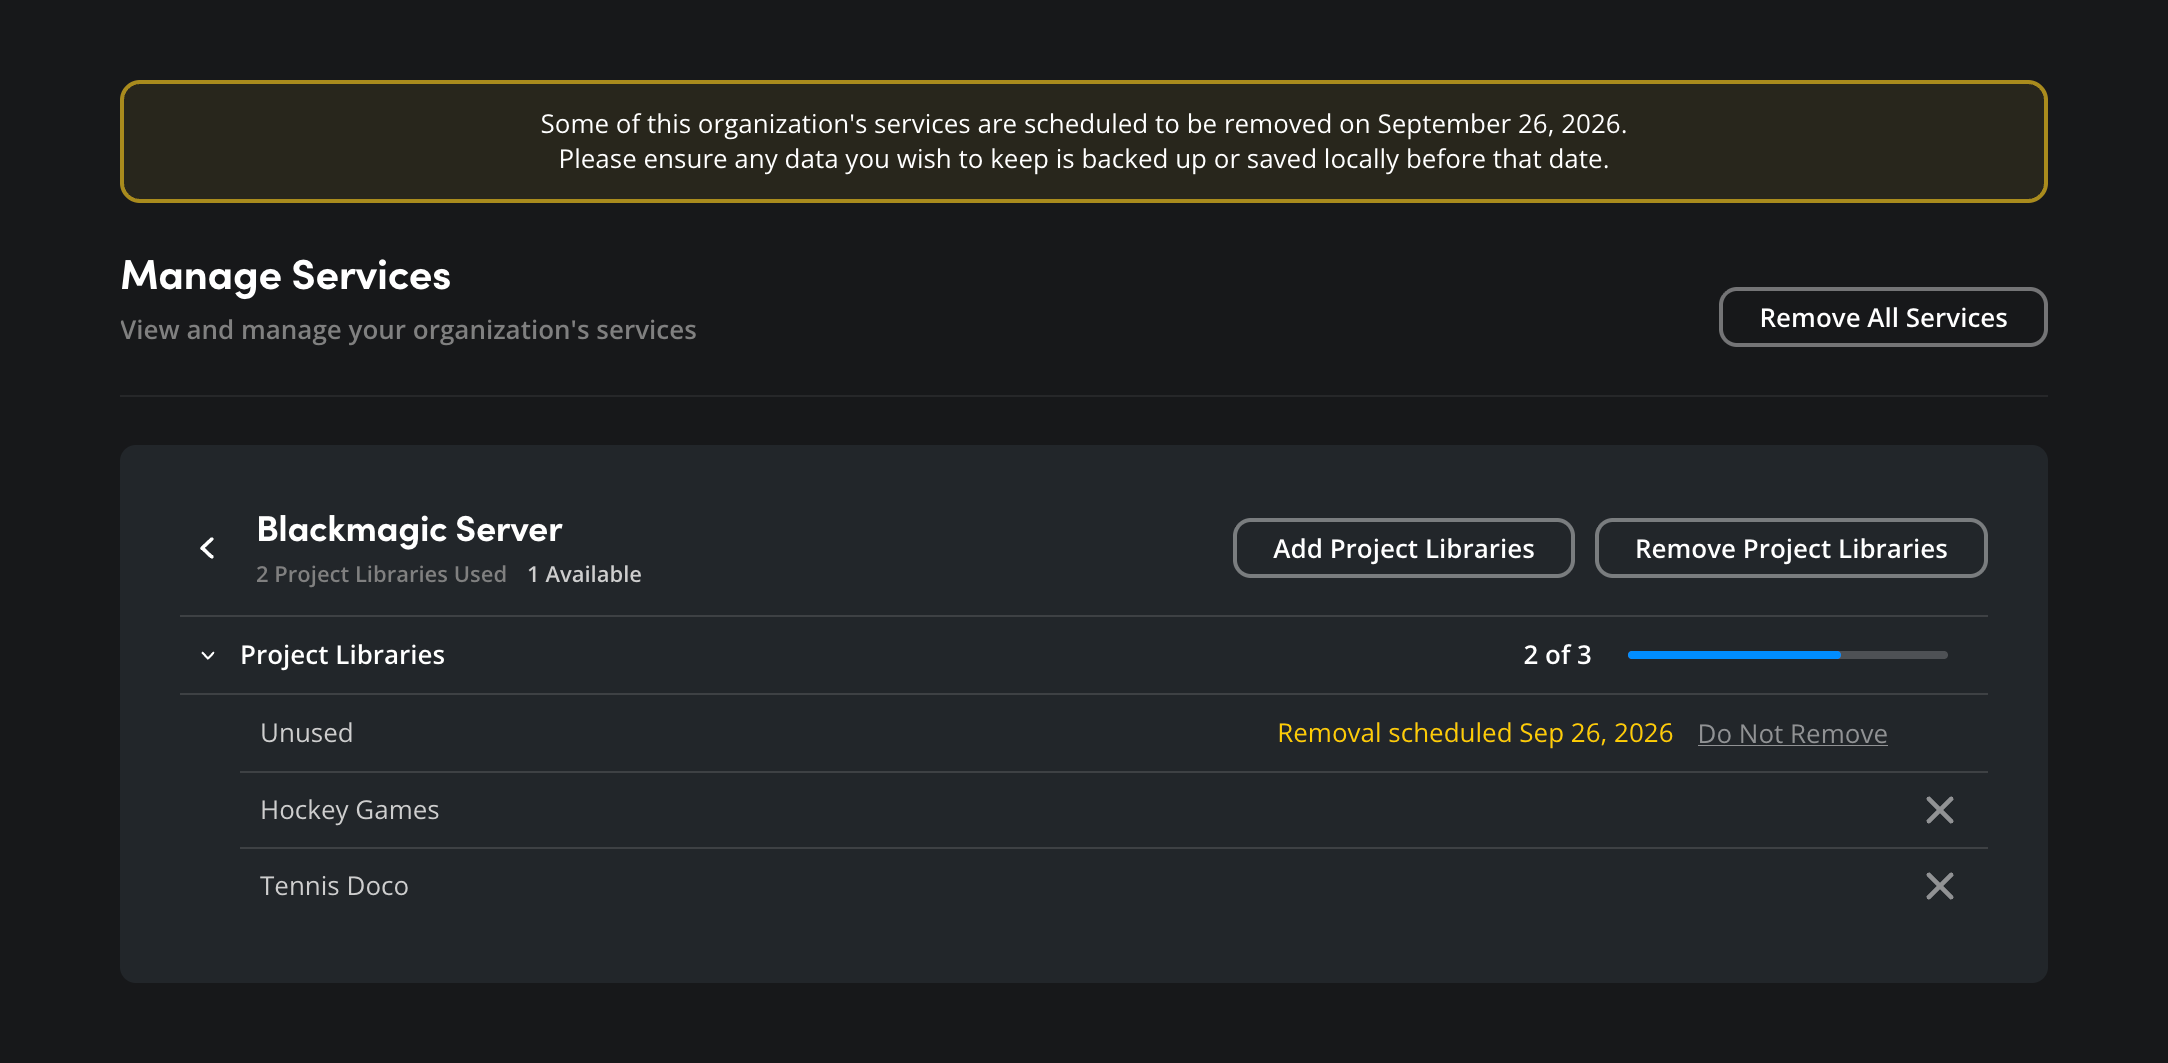
You can select a single project library for removal by clicking the ‘x’ icon next to its name in the ‘project libraries’ list.
Canceling Project Library Removal
If you want to keep a project library that has been scheduled for removal, click the ‘do not remove’ link next to the project library name.

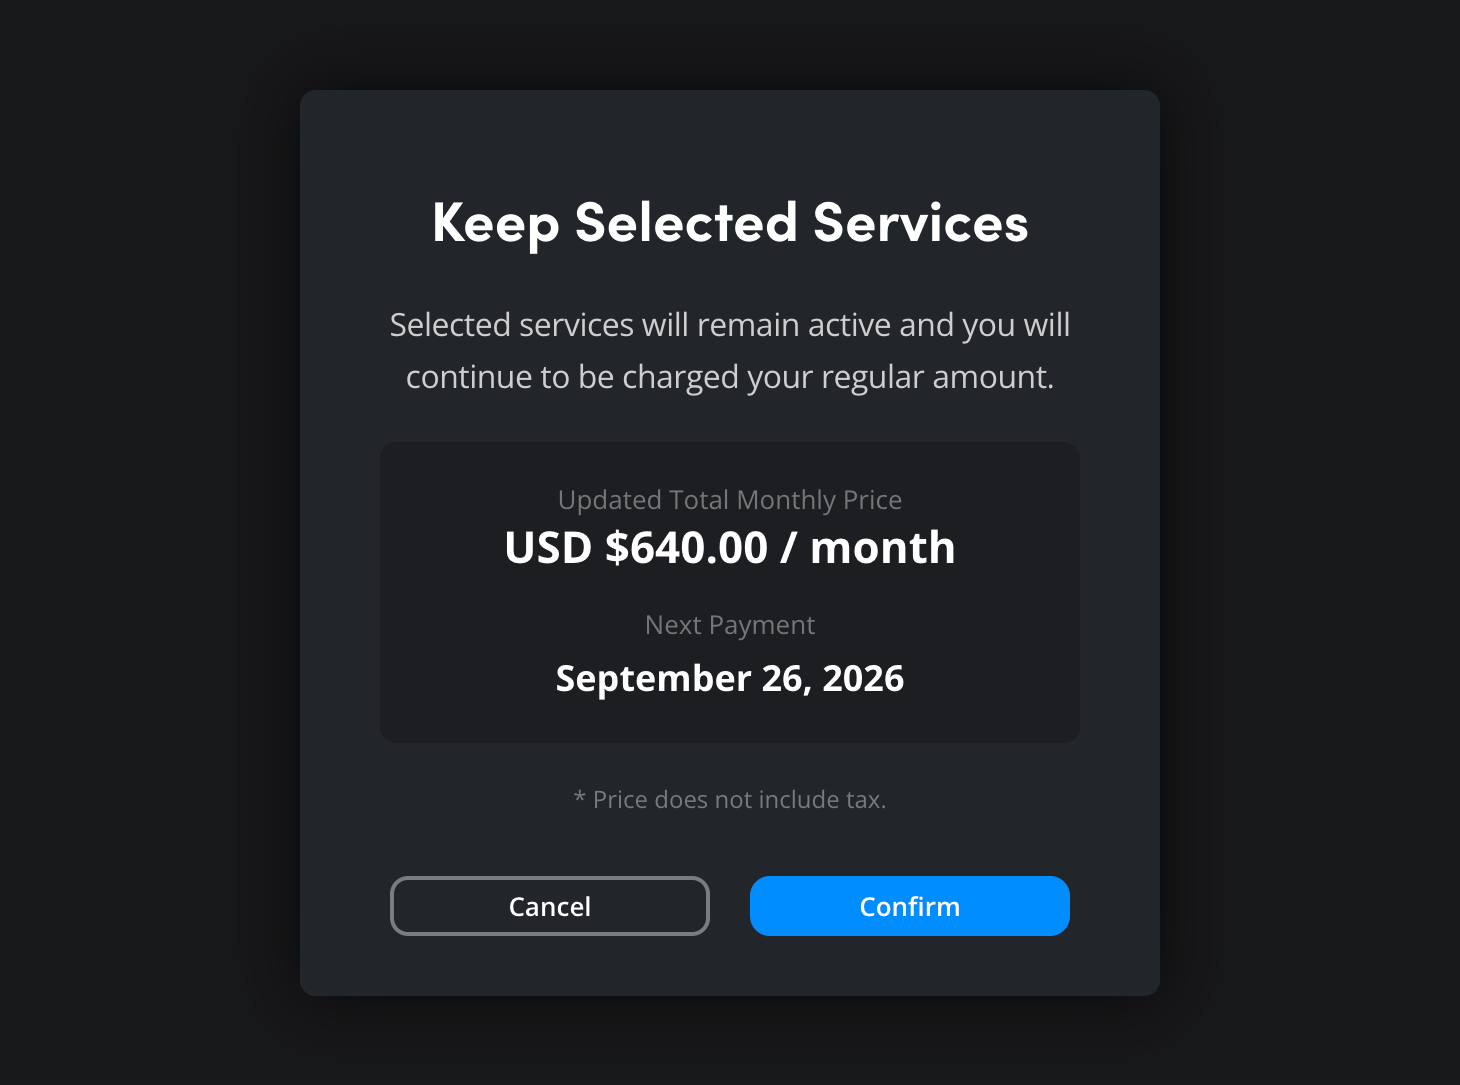
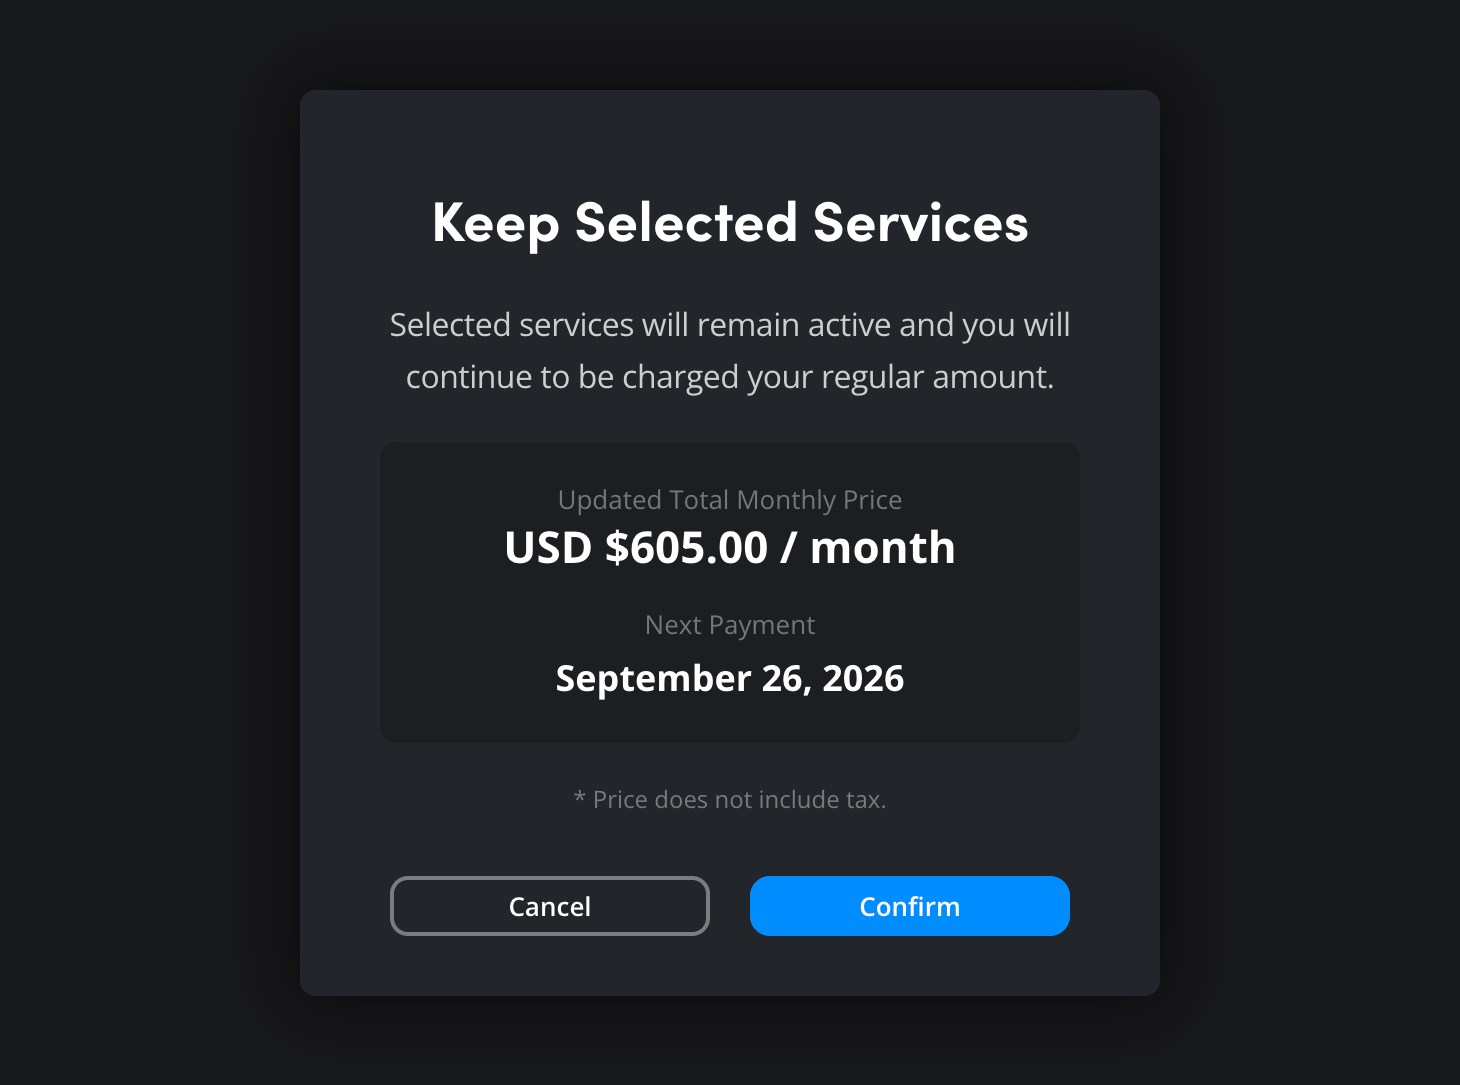
In the ‘keep selected services’ window, the updated total monthly price for all your Blackmagic Cloud services will be shown. Click ‘confirm’ to close the window.
Dedicated Server
The ‘dedicated server’ options in the ‘settings’ page let you add, rename or delete a dedicated project server. On the ‘dedicated server’ page, any current dedicated servers will be shown, along with their current usage. Clicking the arrow icon in the ‘project libraries’ pane will display the full list of project libraries stored on the server.
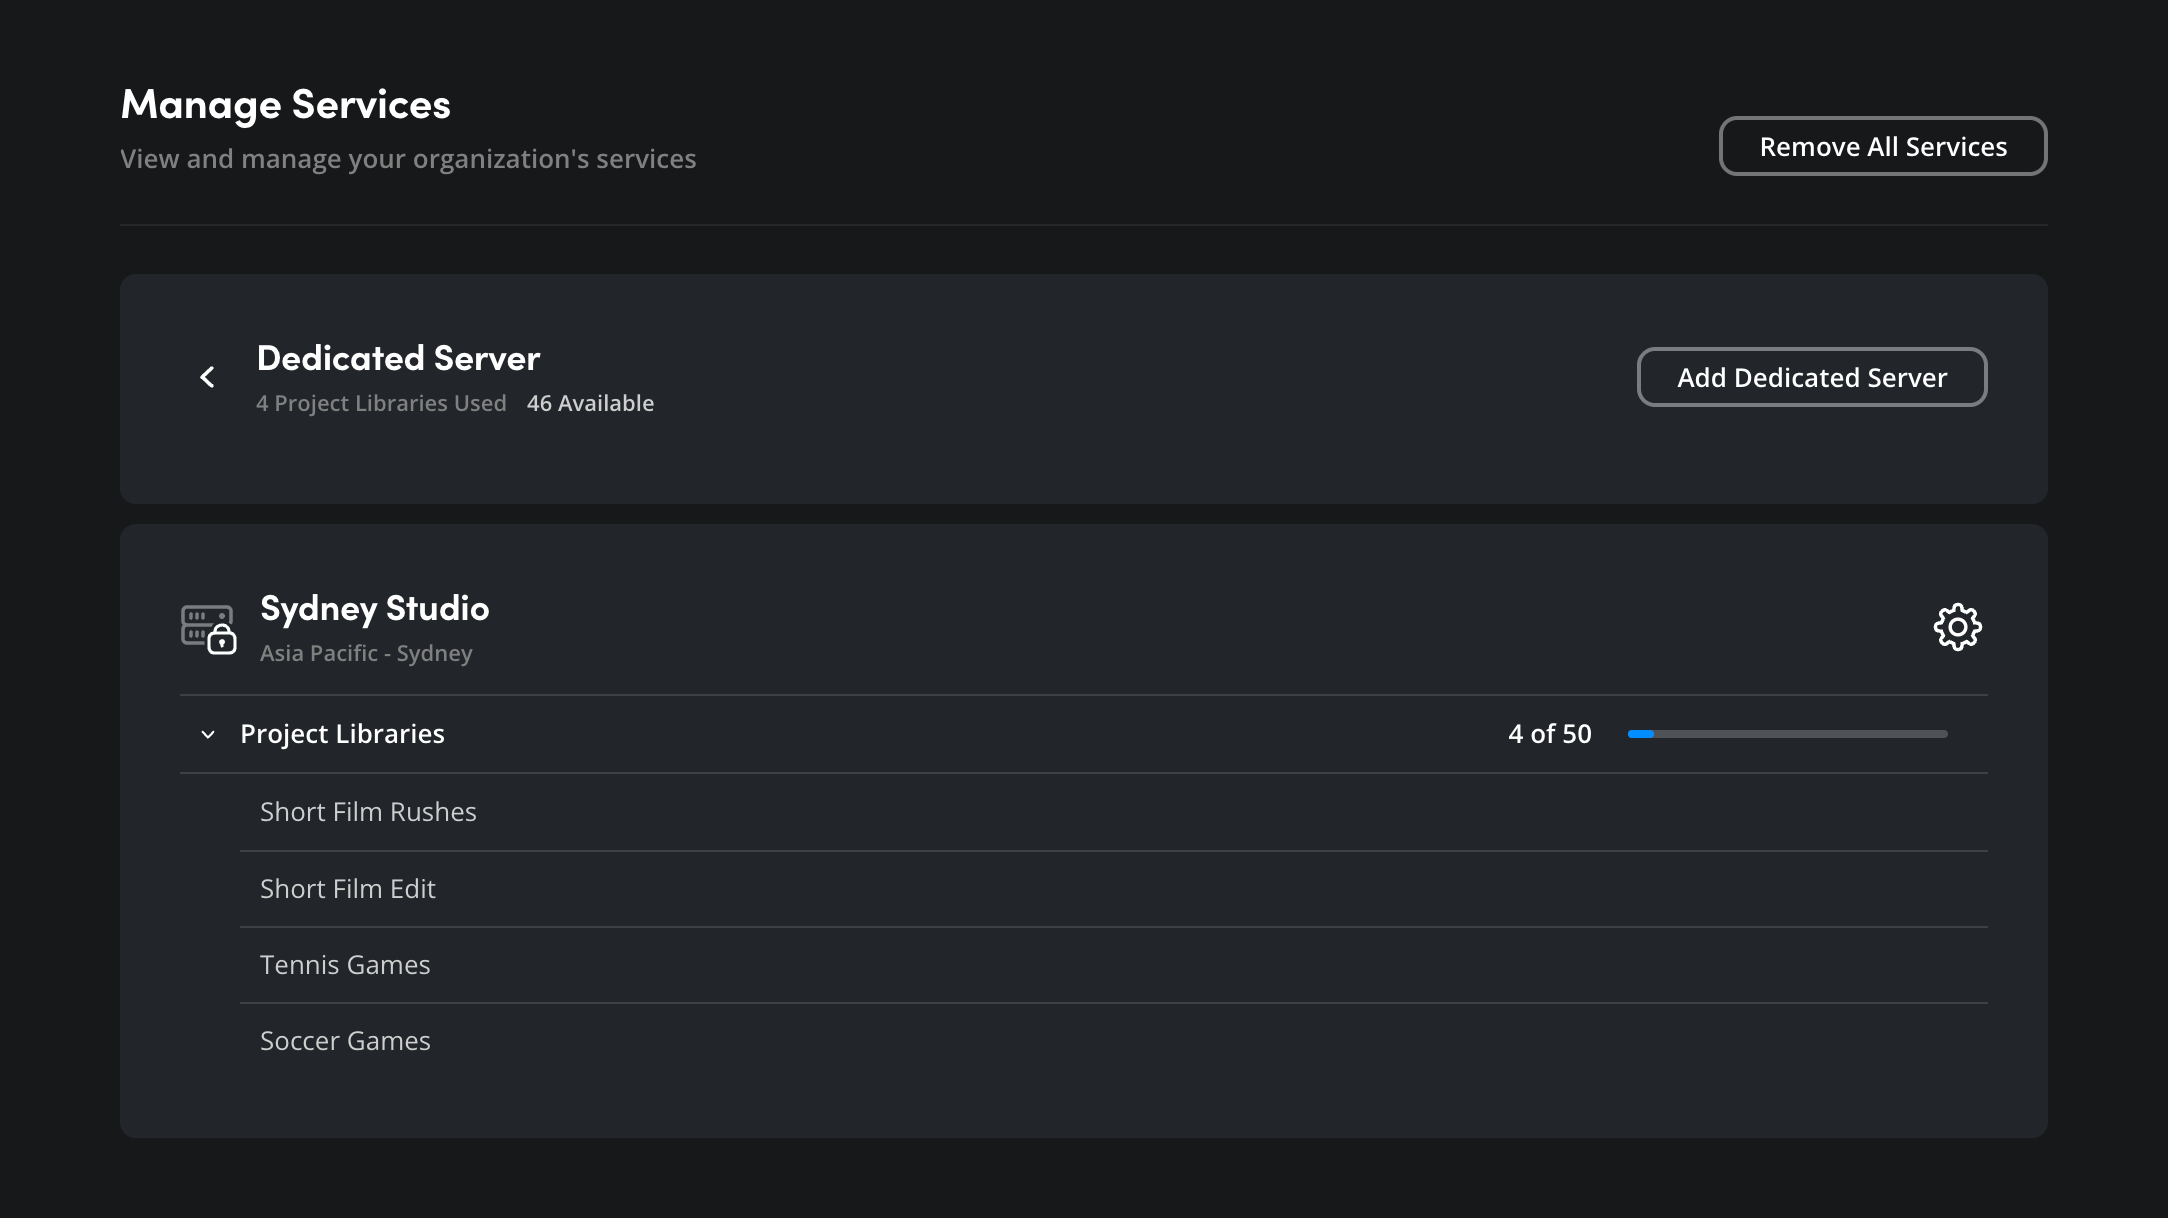
For more information on using a dedicated server, refer to the ‘project server’ section of this guide.
Adding a Dedicated Server
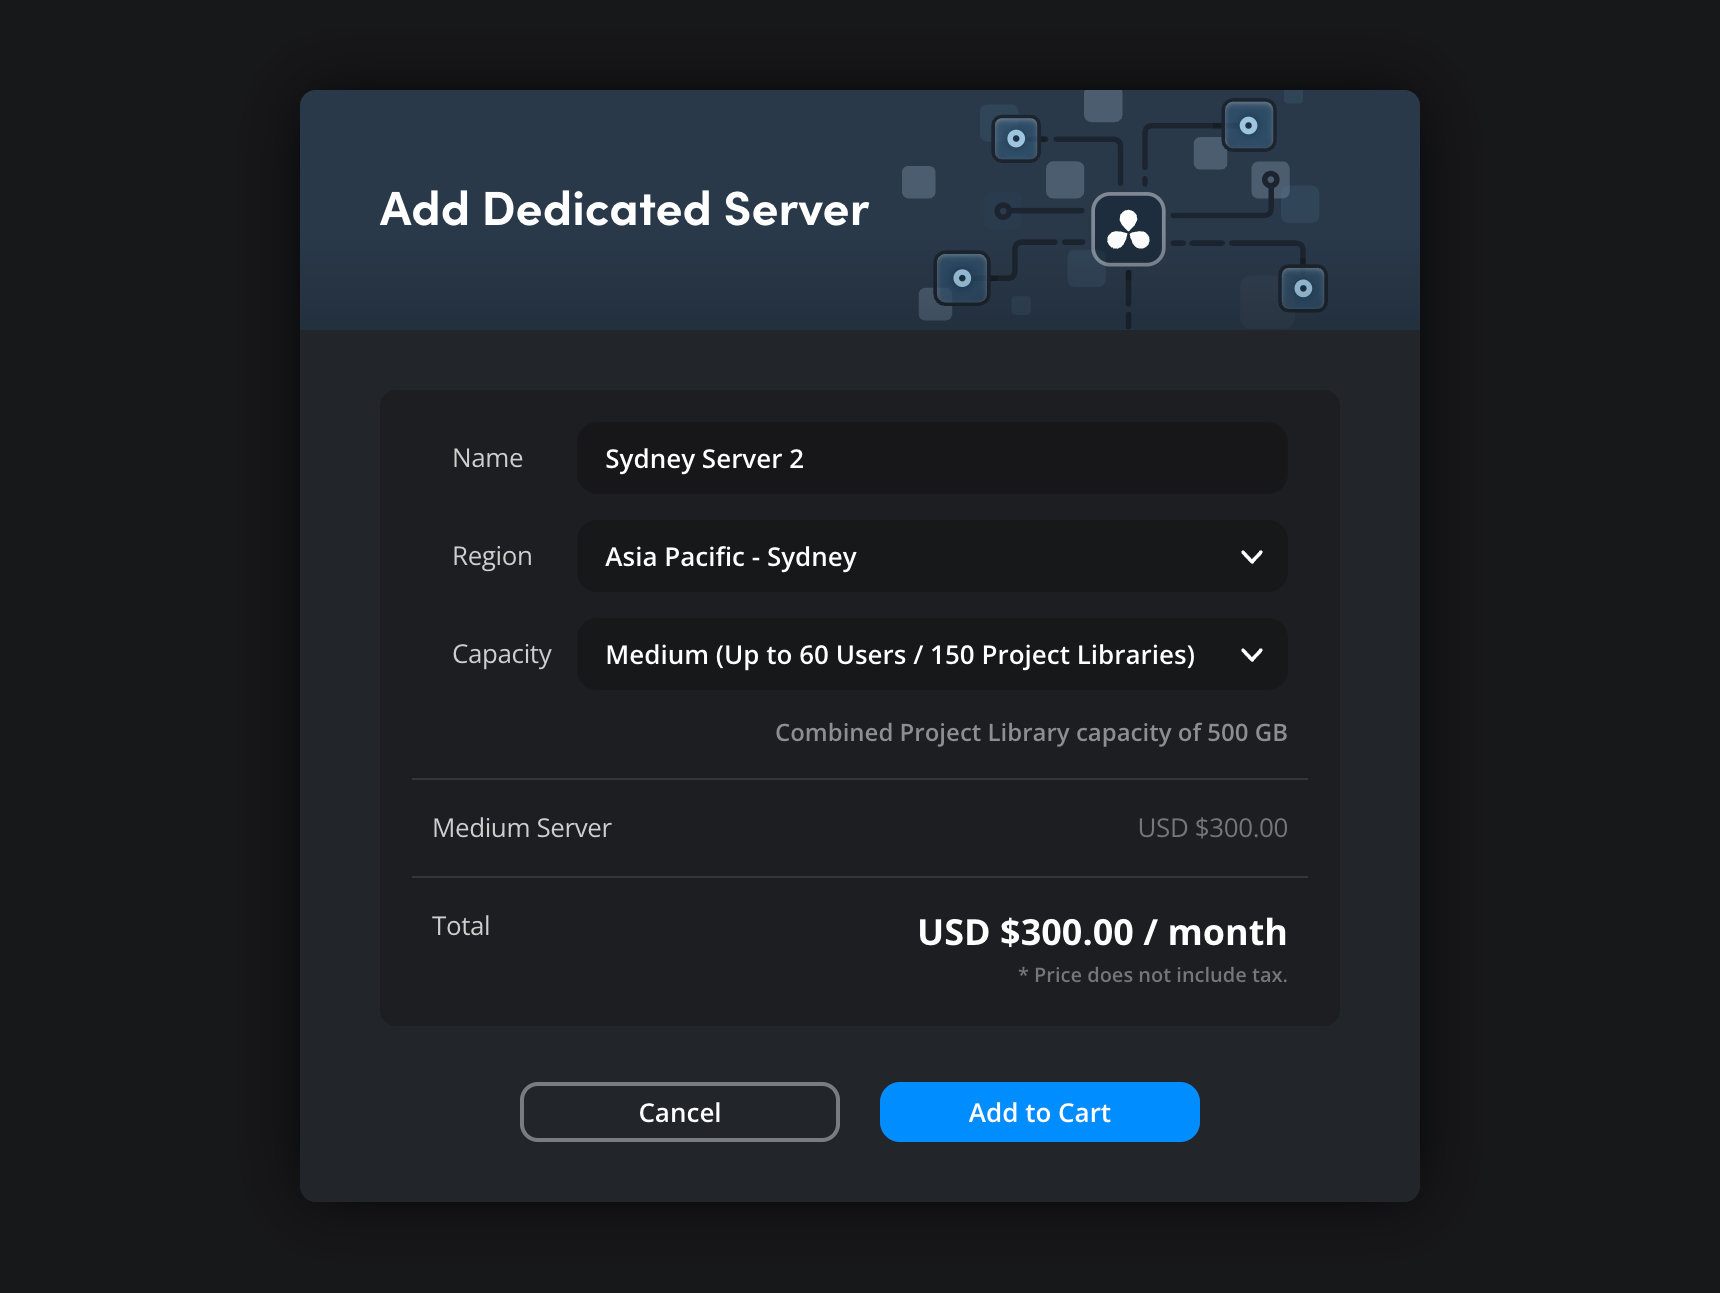
To add a dedicated server, click the ‘add dedicated server’ button.

In the ‘add dedicated server’ window, enter a name for your server, select a region and choose a capacity. The monthly cost of the dedicated server will be shown at the bottom of the window. Click the ‘add to cart’ button.
Renaming a Dedicated Server
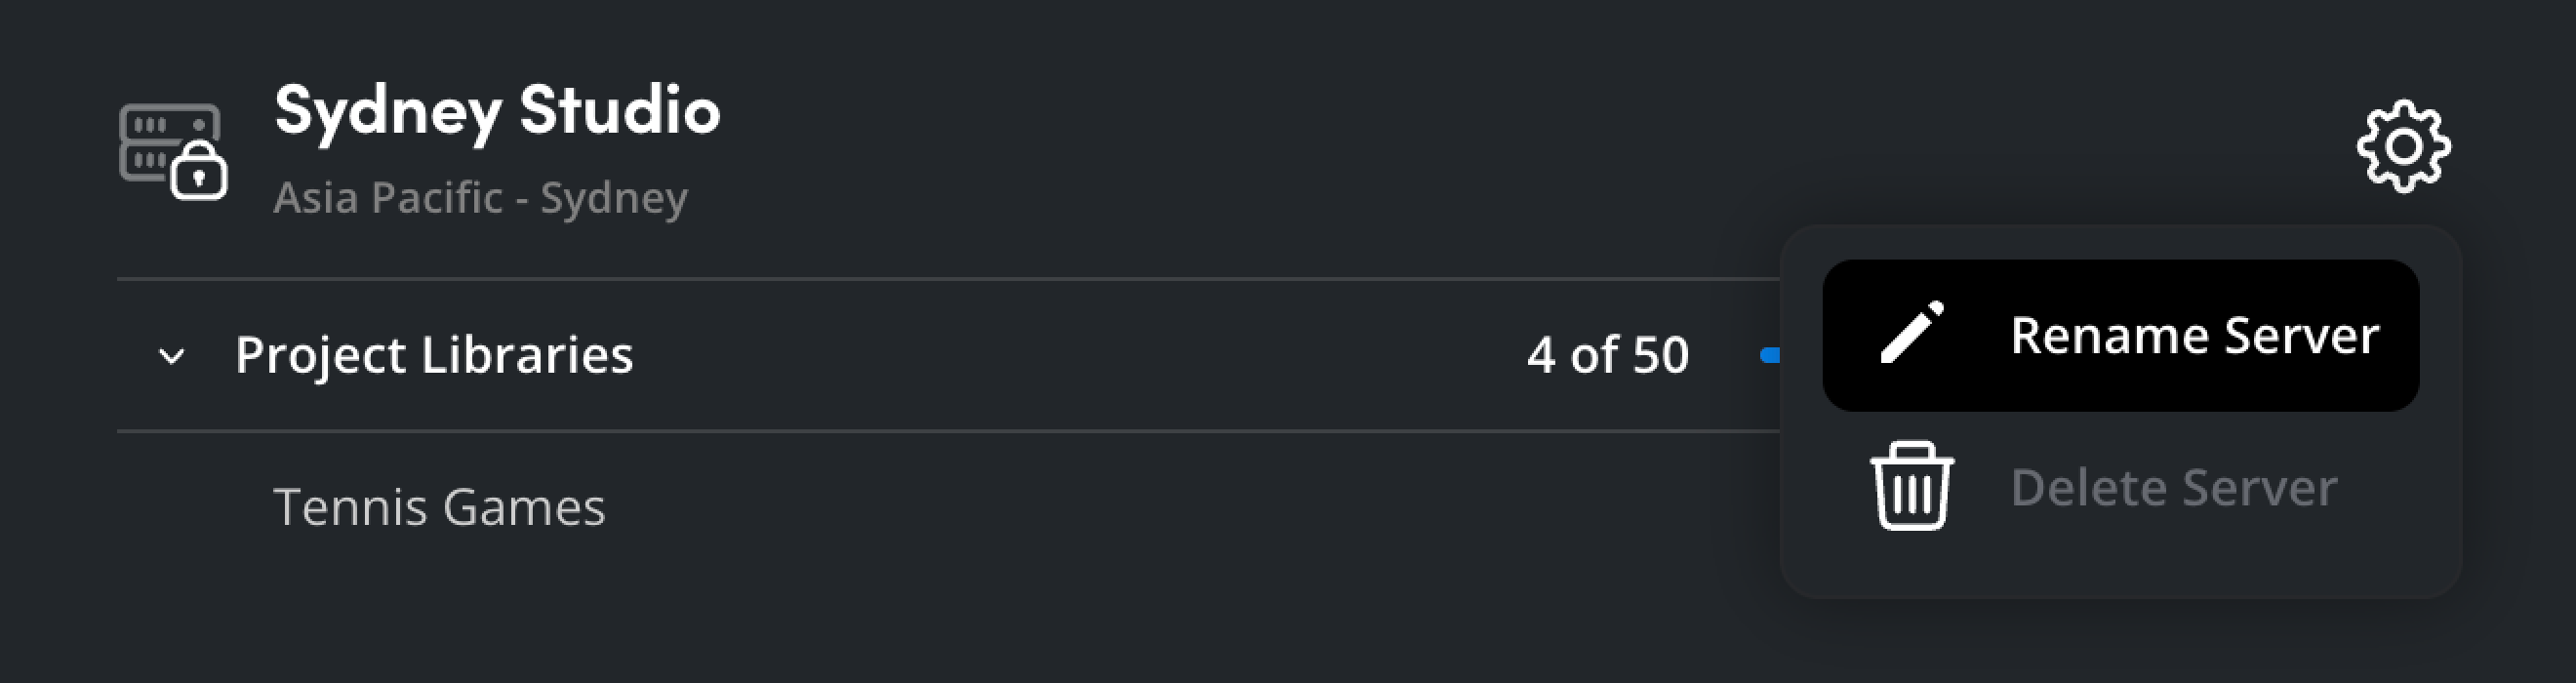
If you want to rename a dedicated server, click its settings wheel and select ‘rename server’.
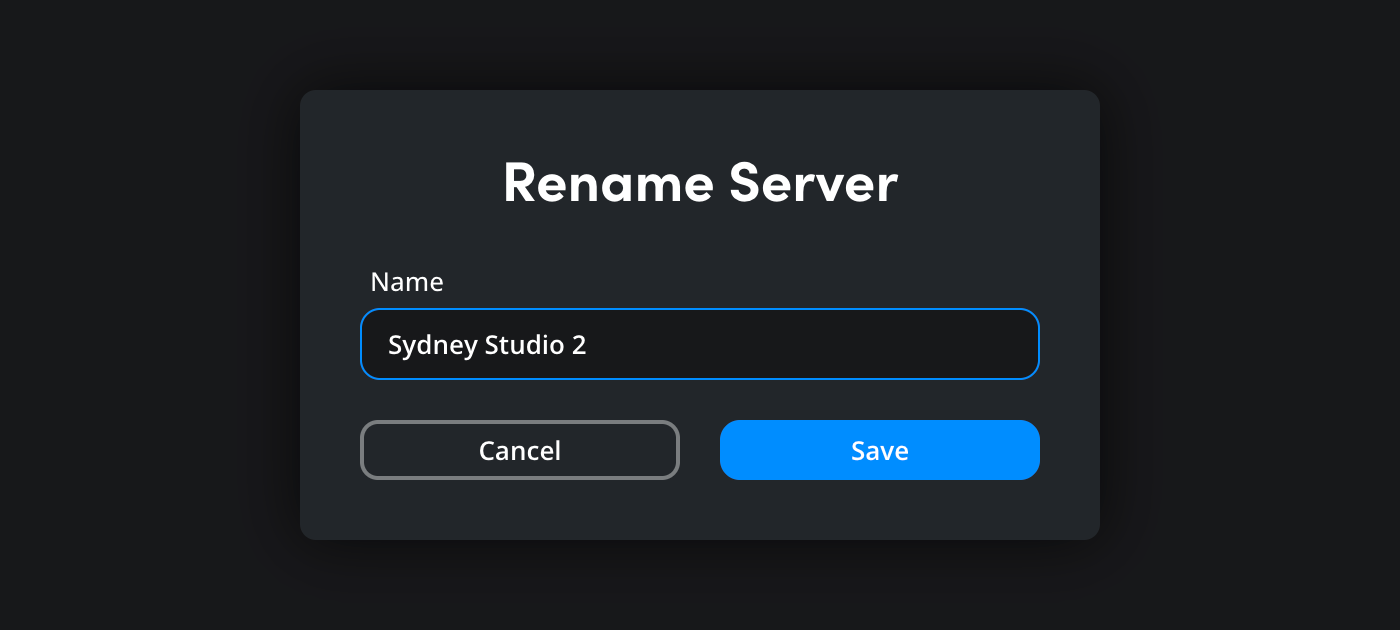
In the ‘rename server’ window, enter a new name and click ‘save’. The server’s name will be updated straight away.
Deleting a Dedicated Server
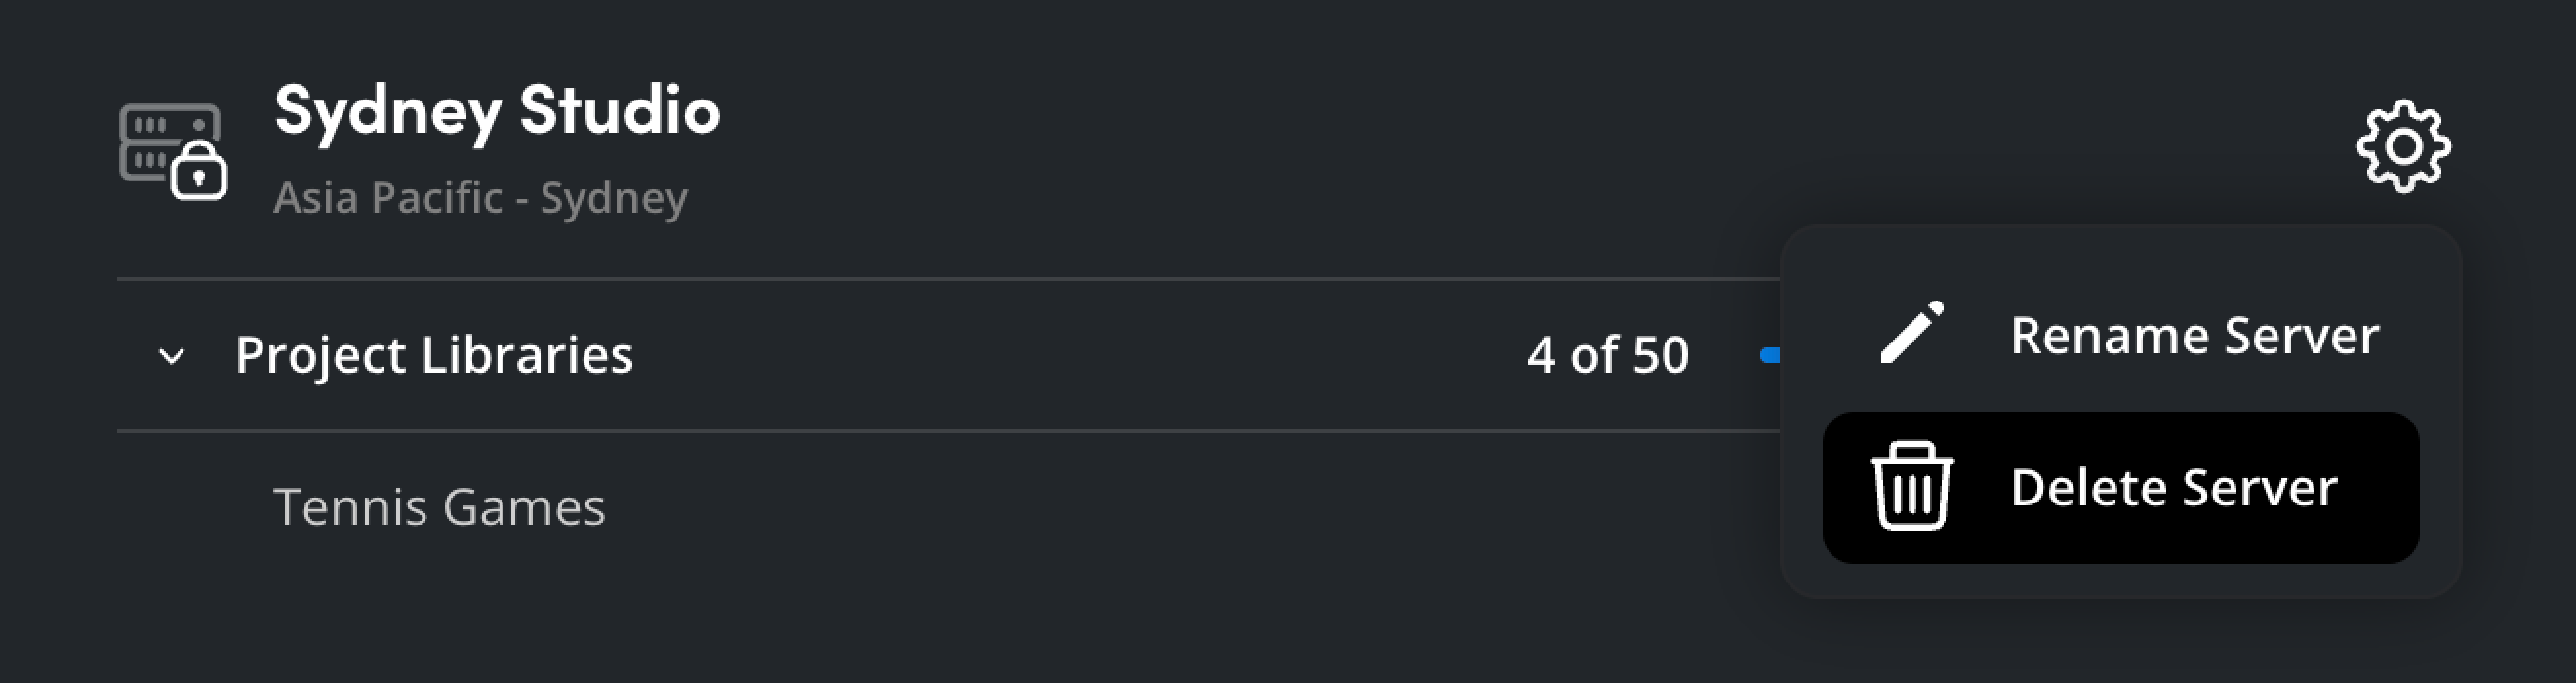
To delete a dedicated server, click its settings wheel and select ‘delete server’.
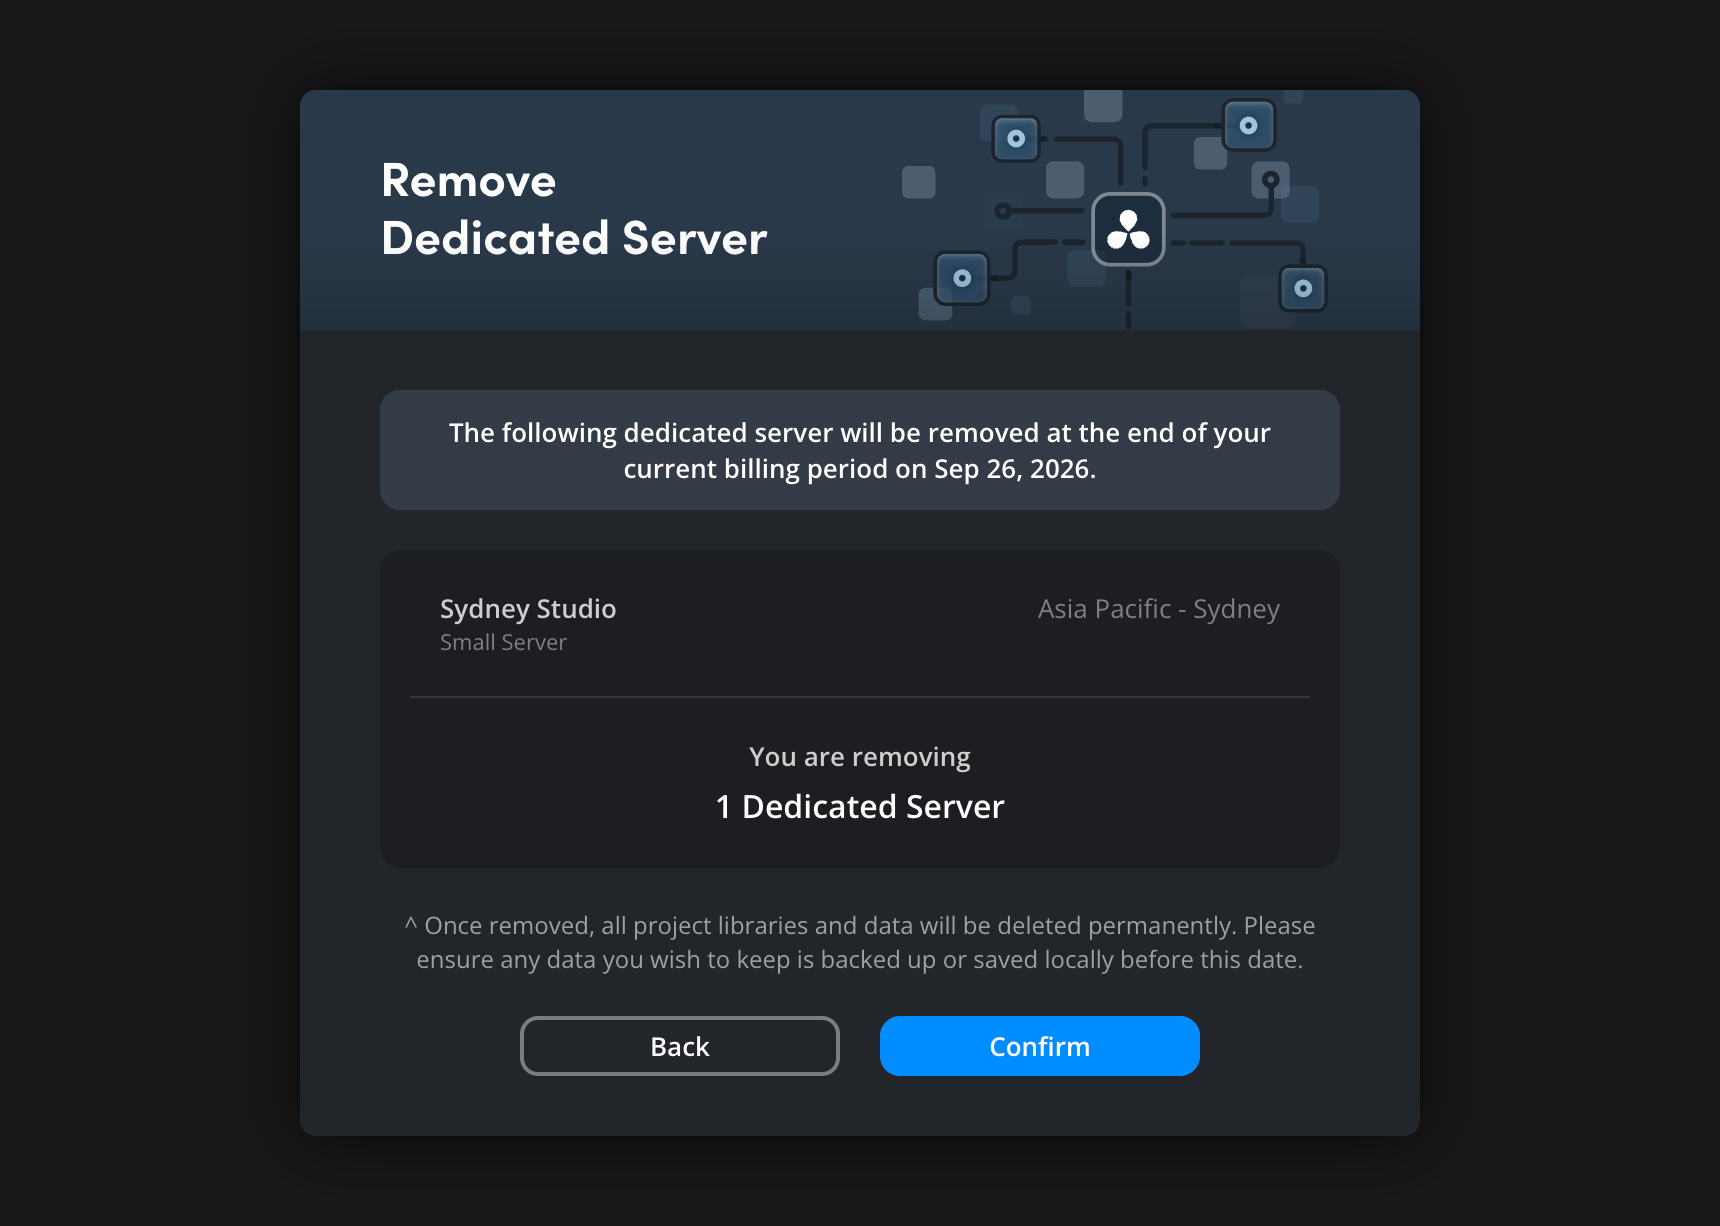
In the ‘remove dedicated server’ window, the server details will be displayed along with a message to let you know that the server will be removed at the end of the current billing cycle. Click ‘confirm’ to continue, or ‘back’ to return to the ‘dedicated server’ page.
Once you have confirmed your choice, a ‘services removed’ window will be displayed showing you the updated total monthly cost for all your Blackmagic Cloud services.
Canceling Dedicated Server Removal
If you change your mind and decide that you want to keep a dedicated server that is scheduled for removal, you can cancel the removal process before the end of your current billing cycle.
On the ‘dedicated server’ page, find the server that has been scheduled for removal and click its ‘do not remove’ link.

A confirmation window will be displayed showing you the updated total monthly price for all your Blackmagic Cloud services. To confirm that you want to cancel removal, click the ‘confirm’ button.
DaVinci Resolve Licenses
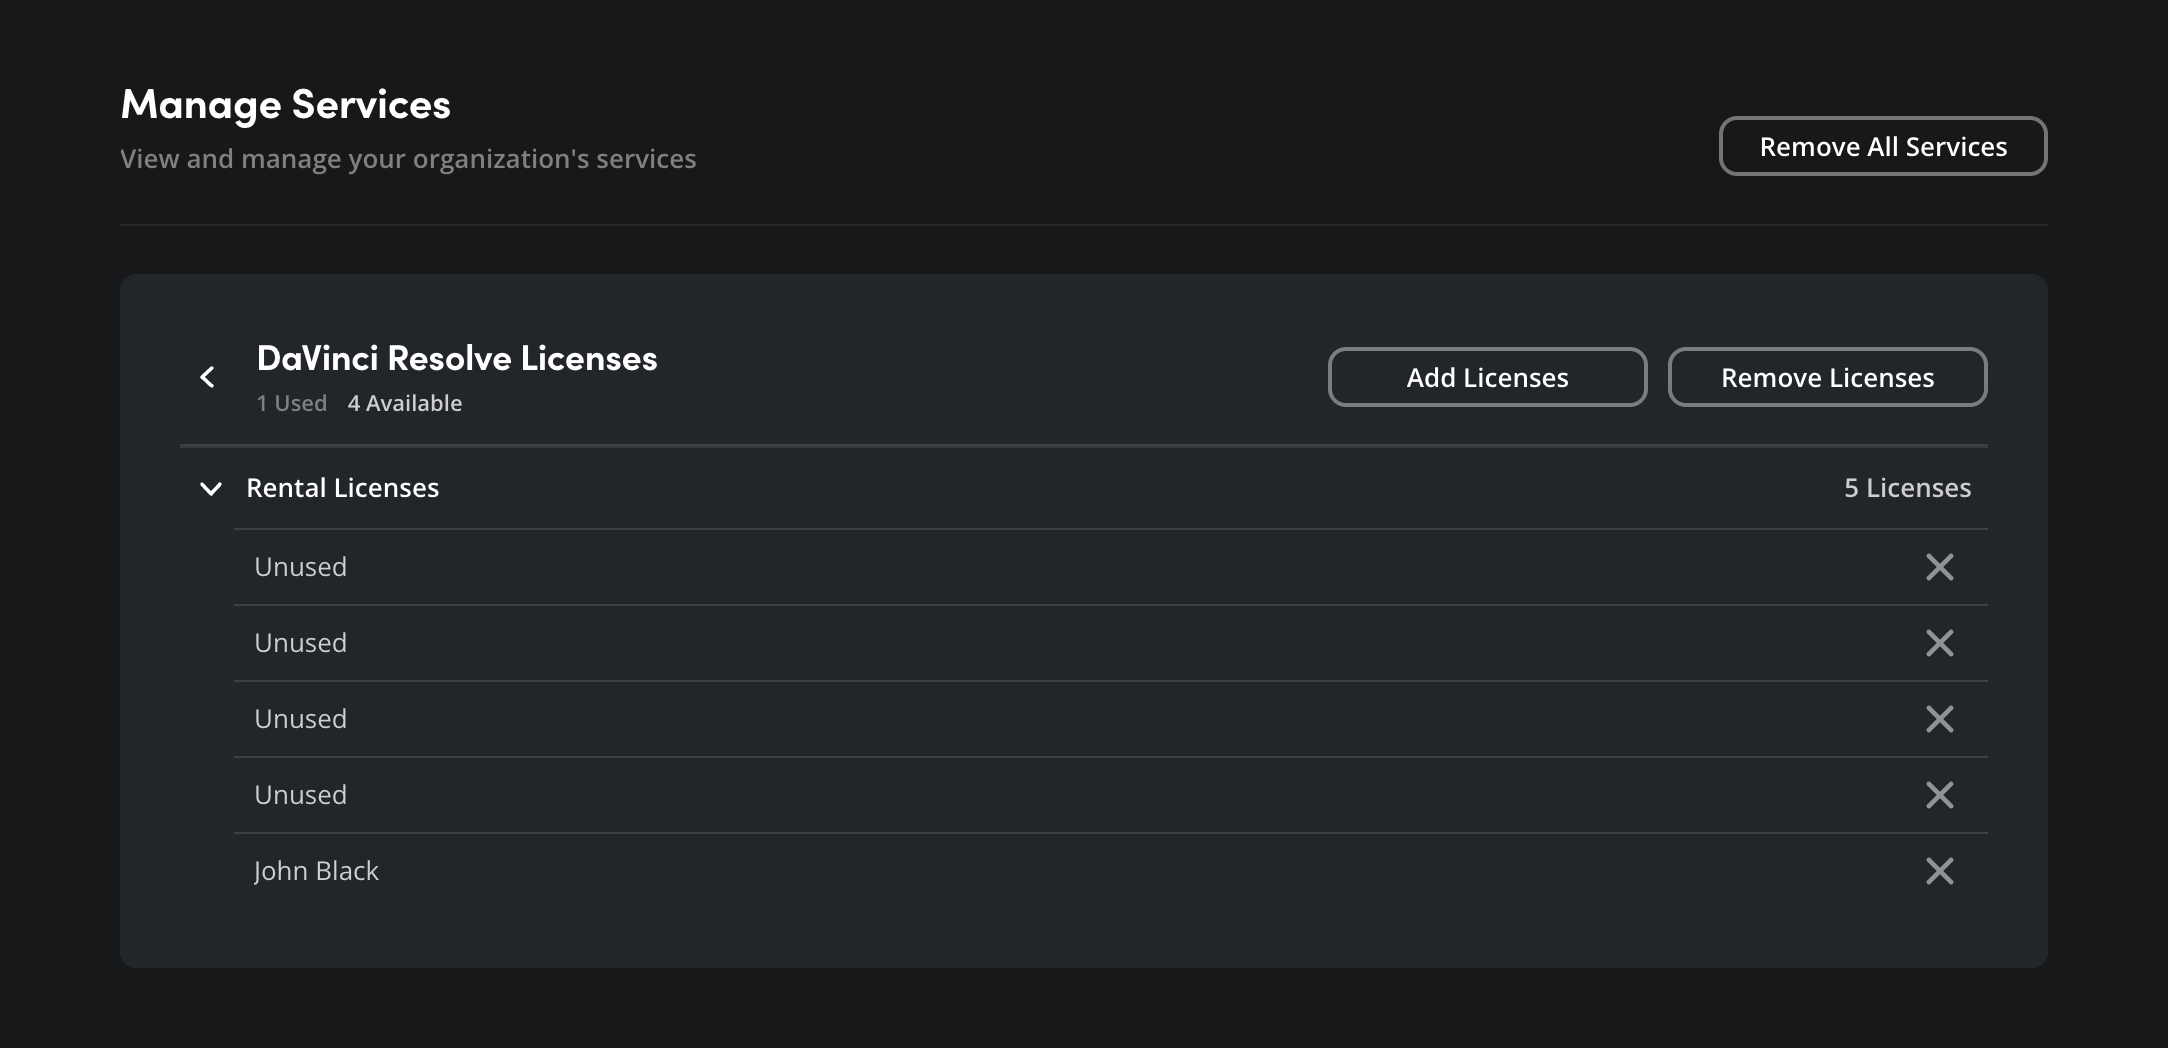
DaVinci Resolve licenses in Blackmagic Cloud let you rent DaVinci Resolve Studio on a monthly basis depending on your needs. You can read more about DaVinci Resolve rental licenses, including how to assign and unassign licenses to users or groups, in the ‘license manager’ section of this guide.
Adding Licenses
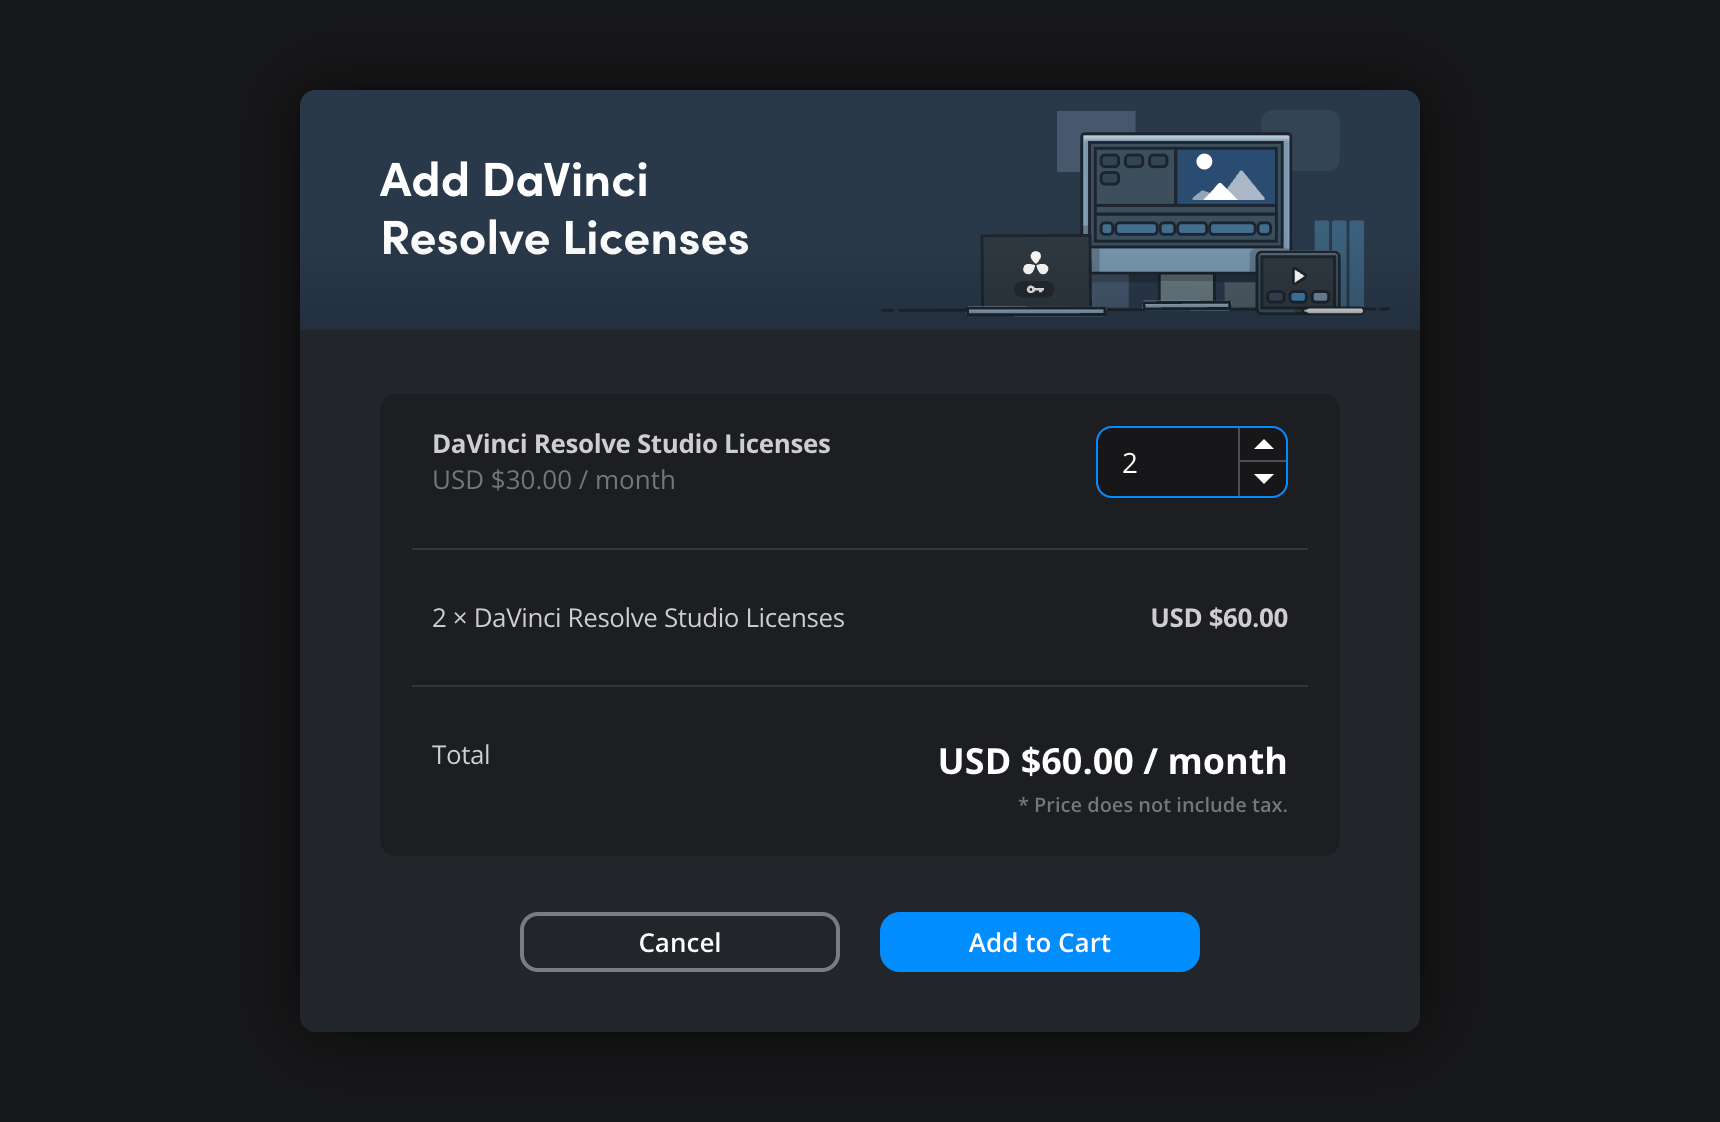
To add DaVinci Resolve licenses, click the ‘add license’ button.

In the ‘add DaVinci Resolve licenses’ window, select the number of licenses you want to add and click the ‘add to cart’ button.
Removing Licenses
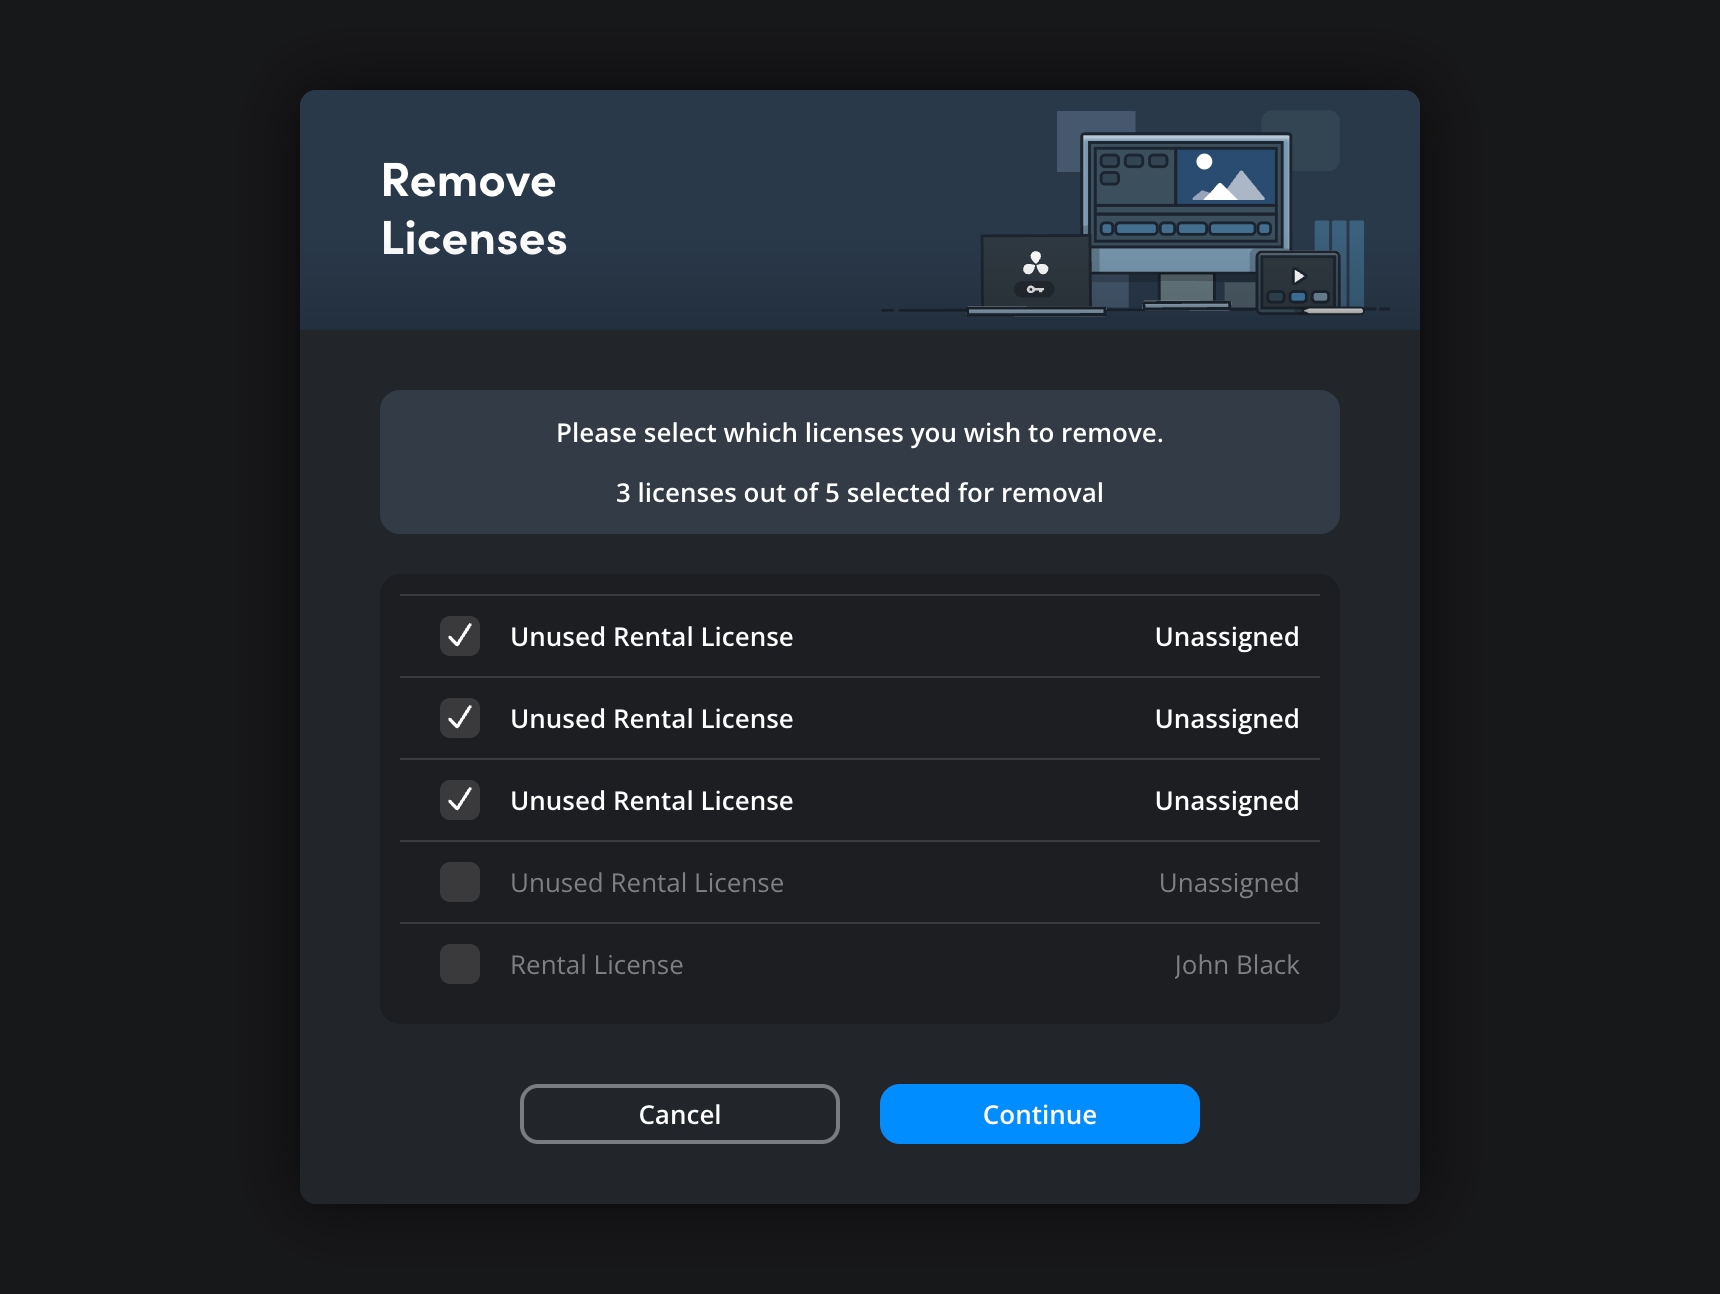
If you want to remove DaVinci Resolve licenses, click the ‘remove licenses’ button.
In the ‘remove licenses’ window, use the checkboxes to select the licenses you want to remove and click ‘continue’.
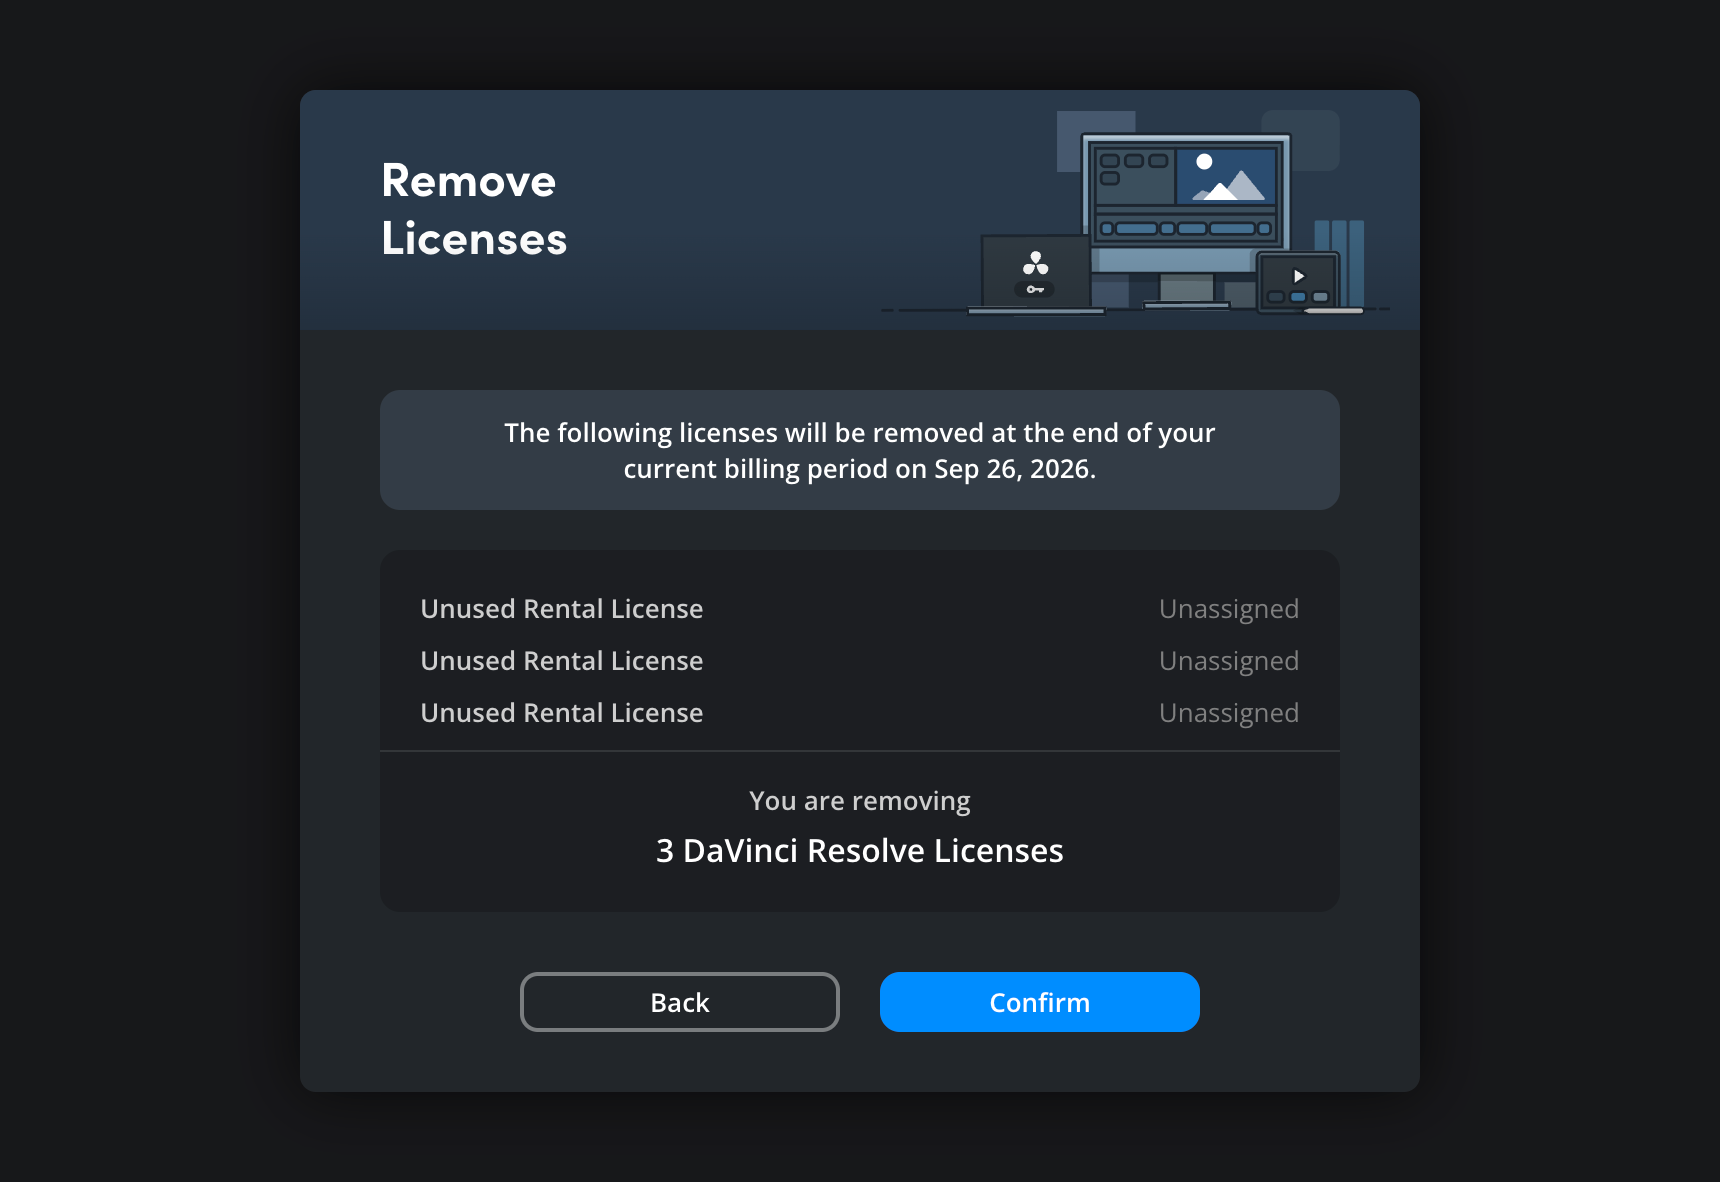
A confirmation window will be displayed. To confirm your selection, click ‘confirm’.
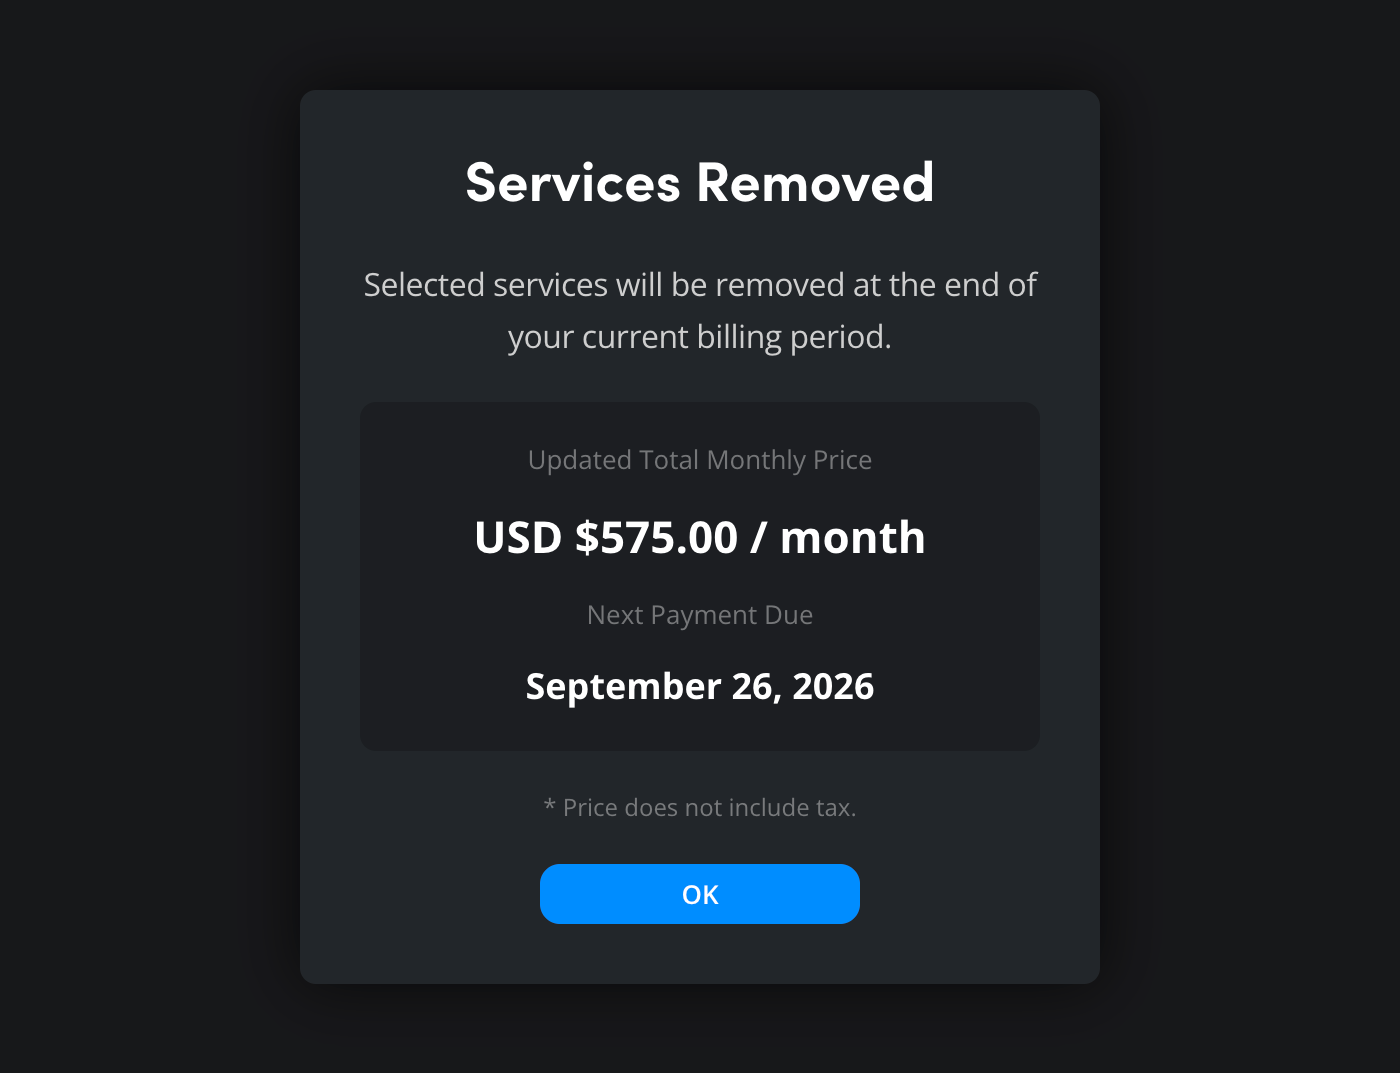
A window will open showing you an updated total monthly price for all your Blackmagic Cloud services.
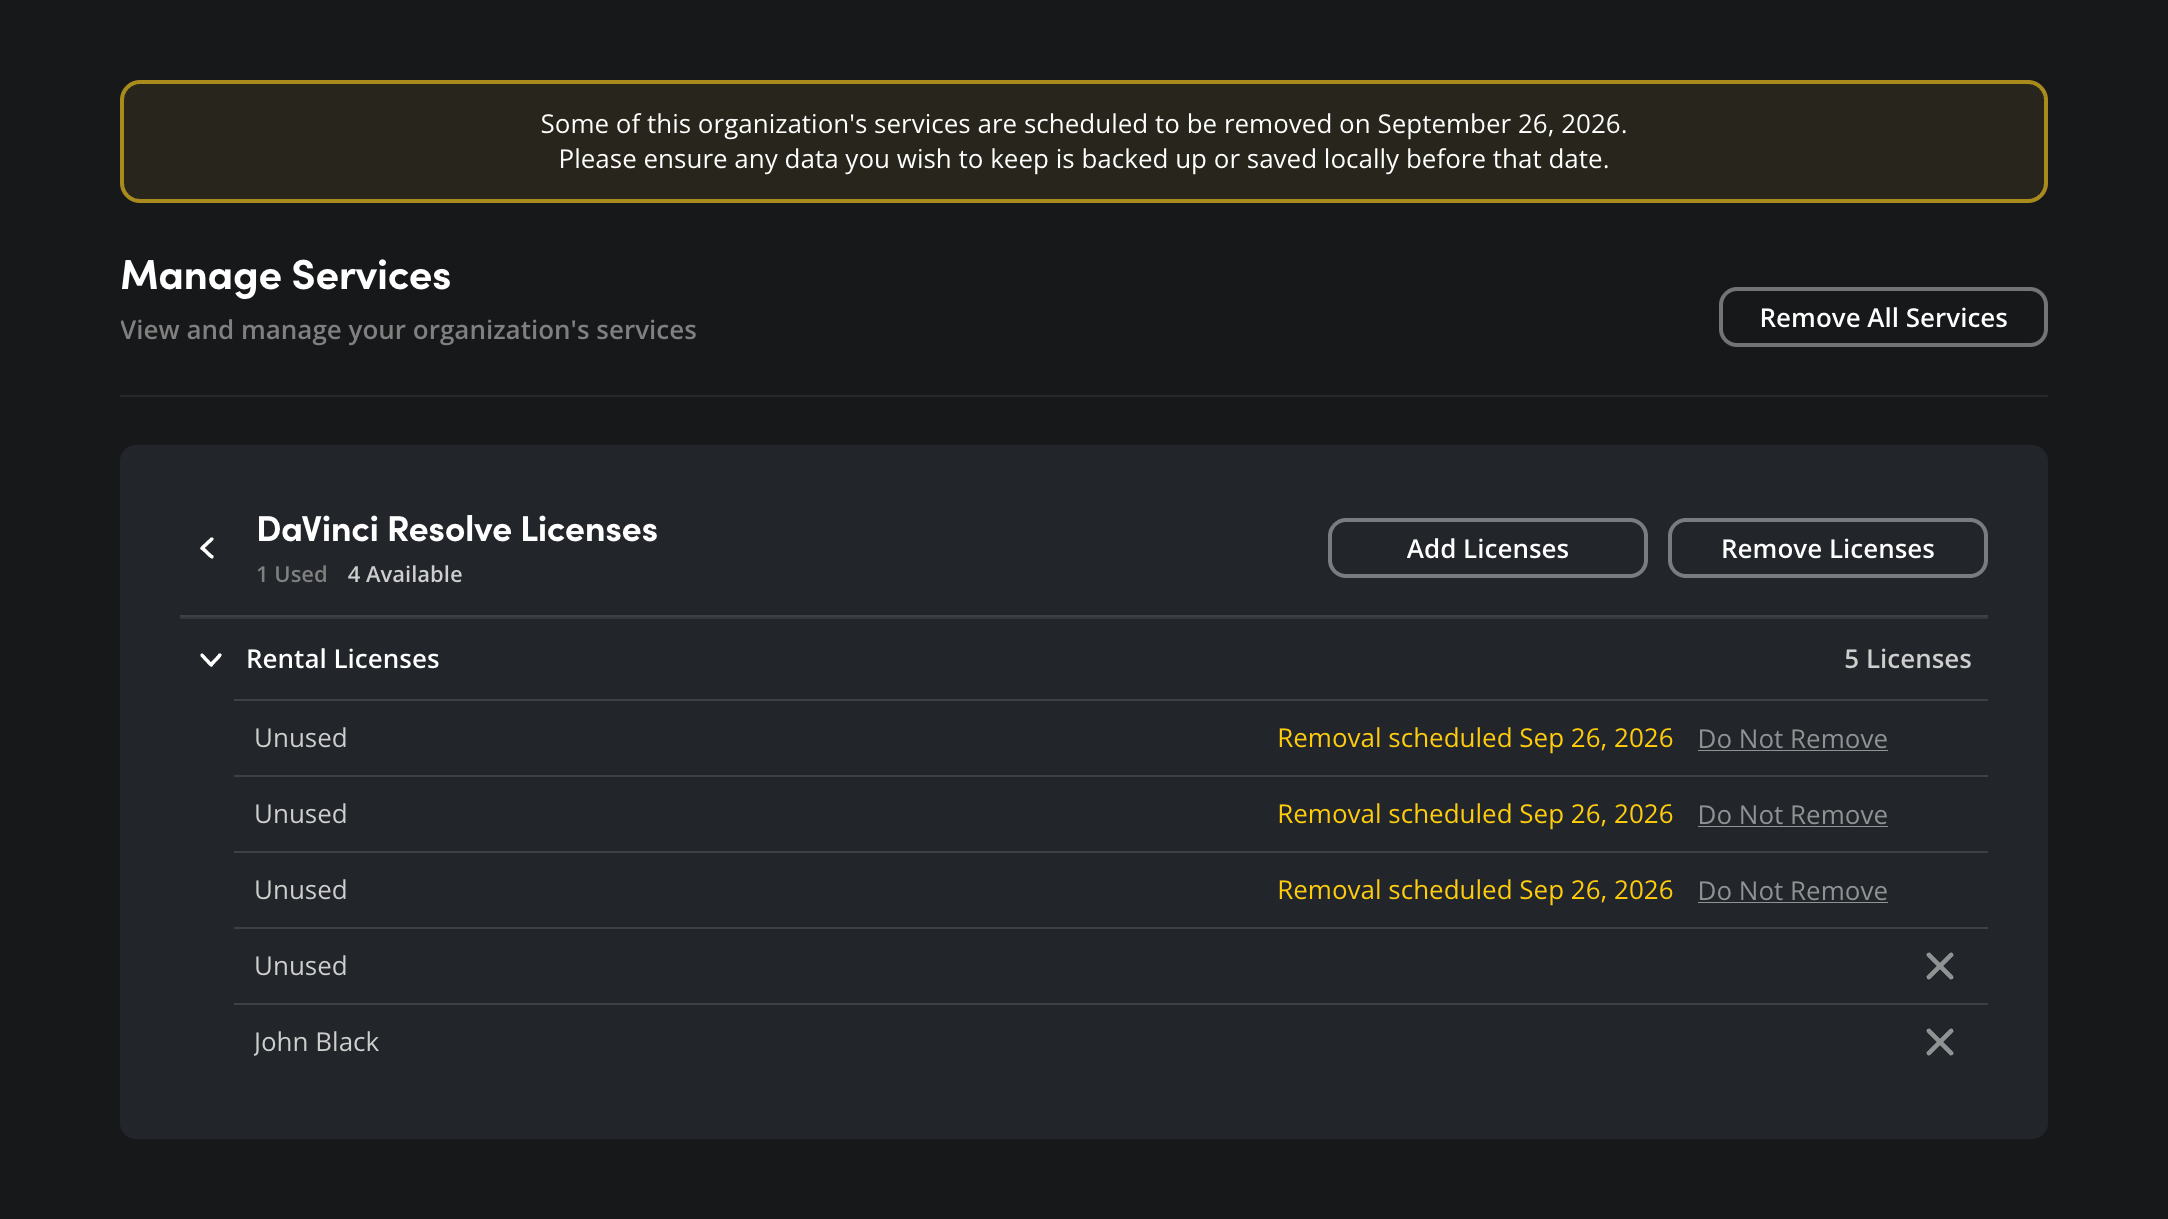
Once a DaVinci License has been scheduled for removal, it will remain active until the end of your current billing cycle.
Canceling License Removal
If you want to keep a DaVinci Resolve license that has been scheduled for removal, click the arrow icon in the ‘rental license’ pane to reveal the list of licenses. Click the ‘do not remove’ link next to a license you want to keep.
A ‘keep selected services’ window will be displayed showing the updated monthly price. Click the ‘confirm’ button.
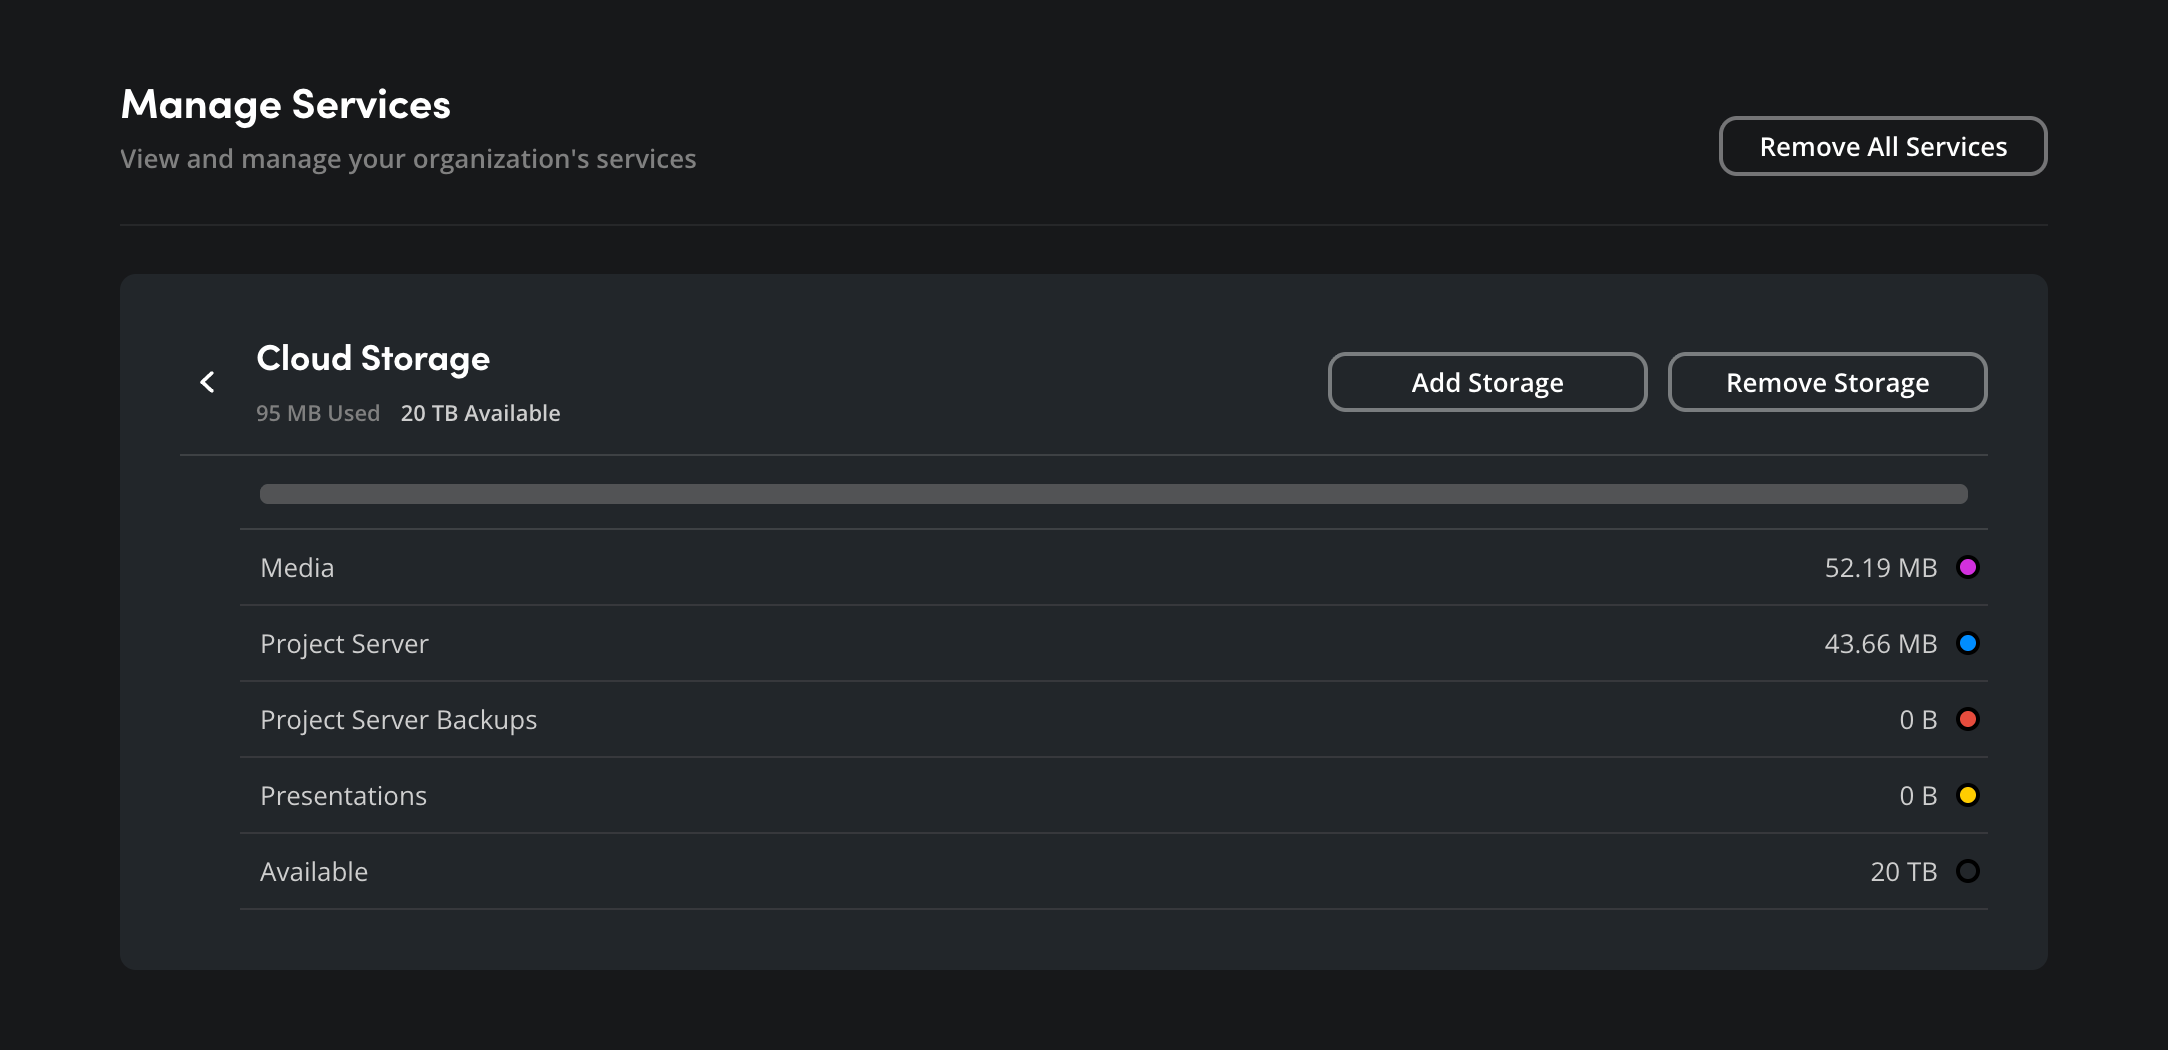
Cloud Storage
The ‘cloud storage’ page in ‘manage services’ provides detailed information of available and used space, plus options to add or remove storage.
Adding Storage
To add more cloud storage, click the ‘add storage’ button.

In the ‘buy cloud storage’ window, use the slider to increase the amount of storage. As you move the slider, the monthly cost of your cloud storage will automatically update.
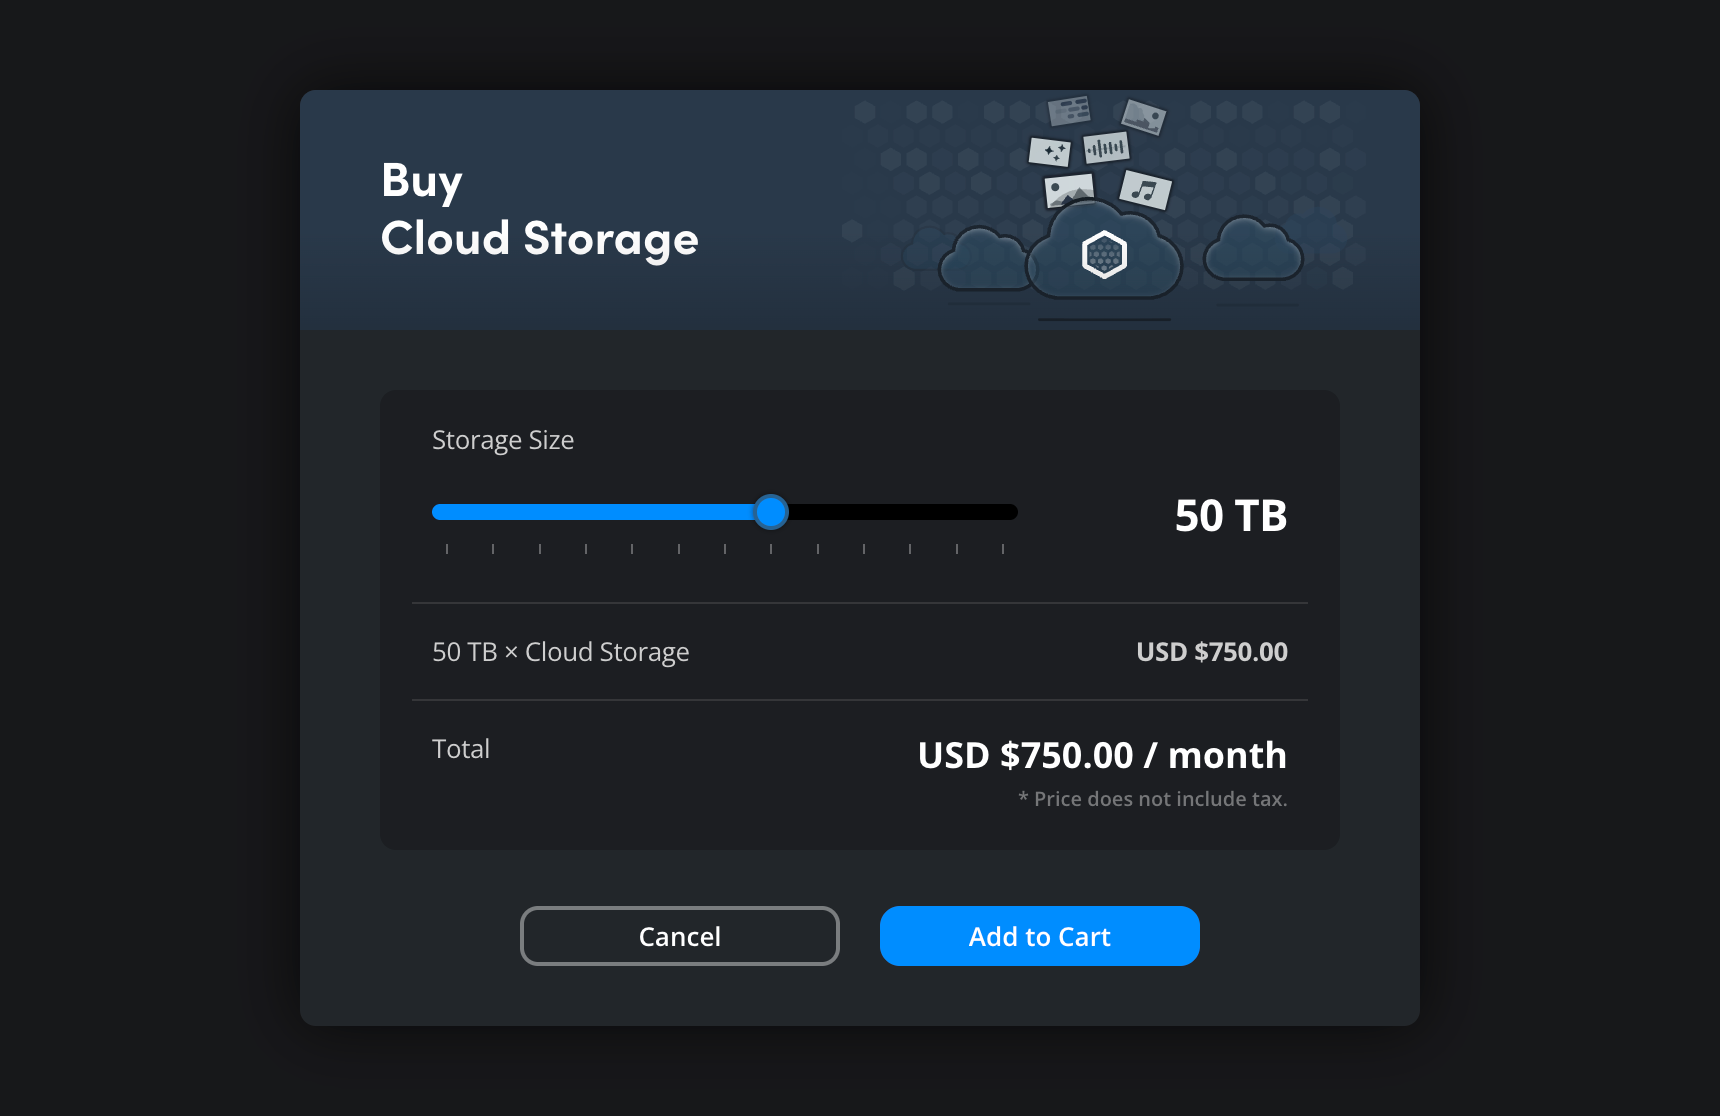
Click ‘add to cart’.
Removing Storage
To remove storage, click the ‘remove storage’ button. The ‘remove cloud storage’ window will open.
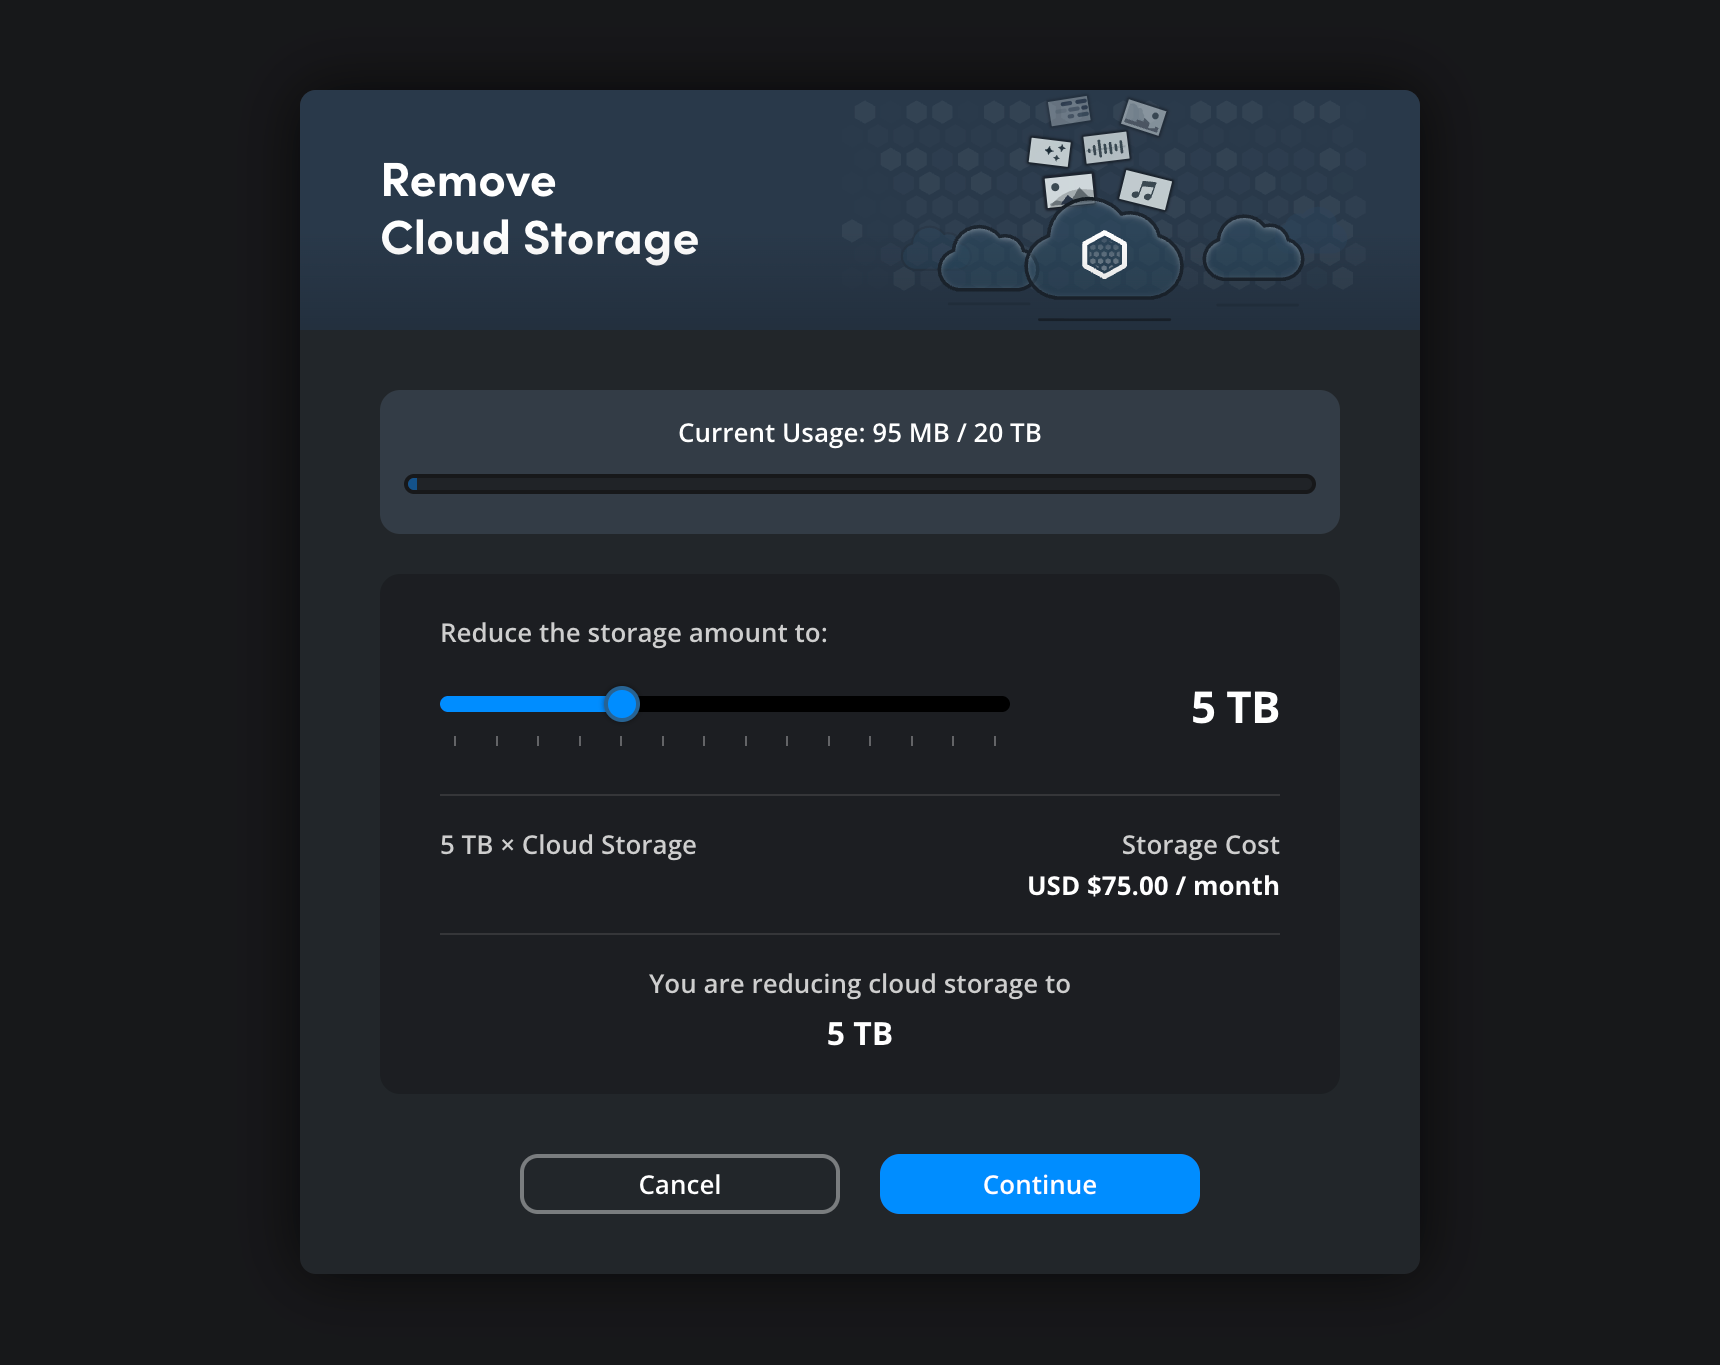
At the top of the window an indicator shows the current available and used cloud storage space. If you reduce the amount of available storage to below the amount currently being used, a message will be displayed asking you to delete data via the ‘cloud storage’ page. You can read more about deleting data in the ‘cloud storage’ section of this guide.
Use the slider to reduce the amount of cloud storage. The monthly cost indicator will adjust accordingly. Click ‘continue’.
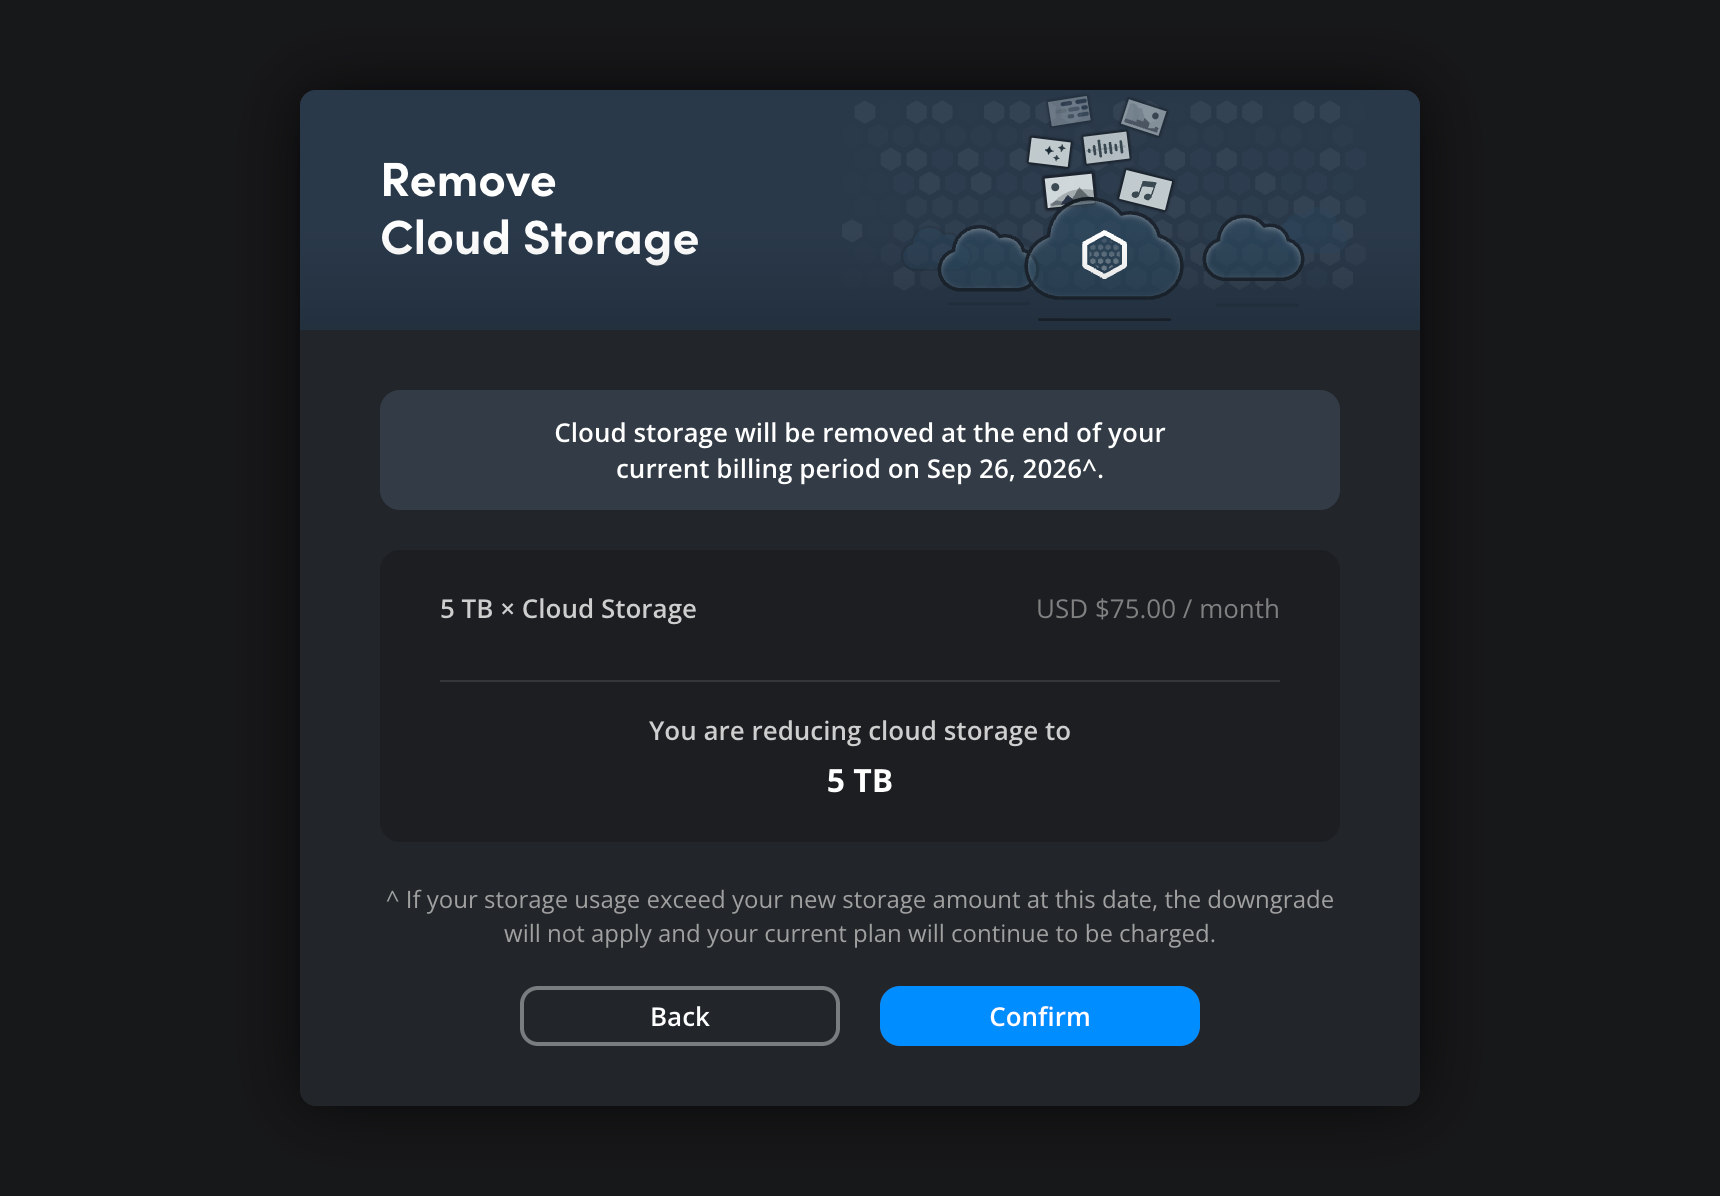
A new window will display the updated storage amount, plus the new monthly cost for your cloud storage. Click the ‘confirm’ button.
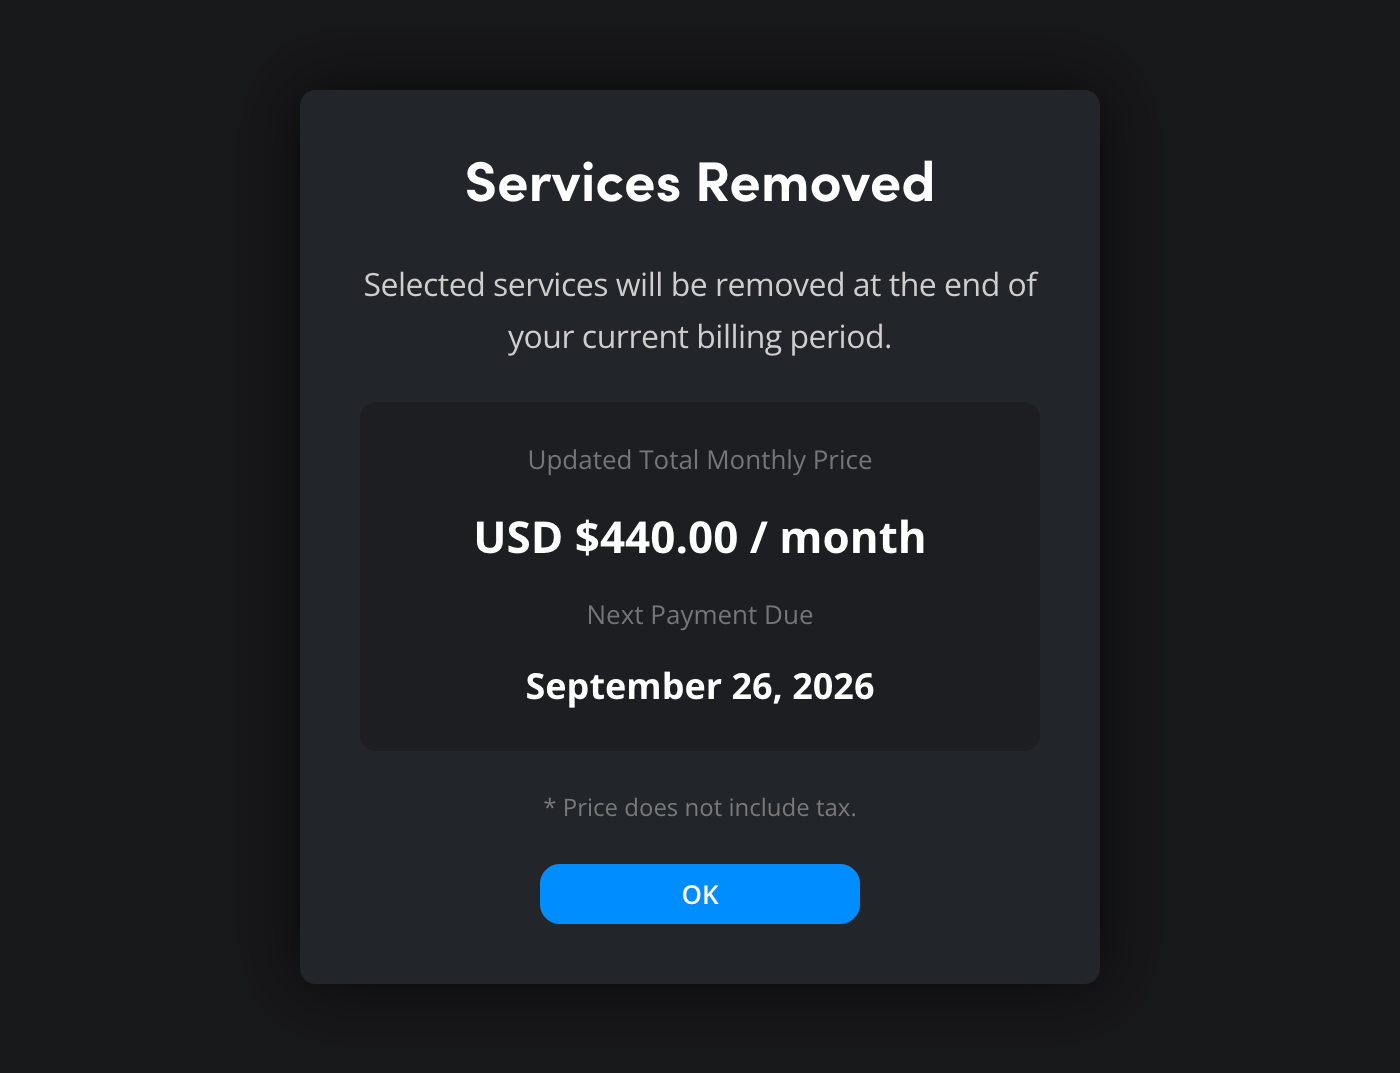
A confirmation window will open showing the updated total monthly price and the next payment date. Click ‘ok’ to close the window.
Canceling Storage Removal
You can cancel storage removal at any time prior to your next billing date by clicking the ‘do not reduce’ link in the ‘cloud storage’ pane.

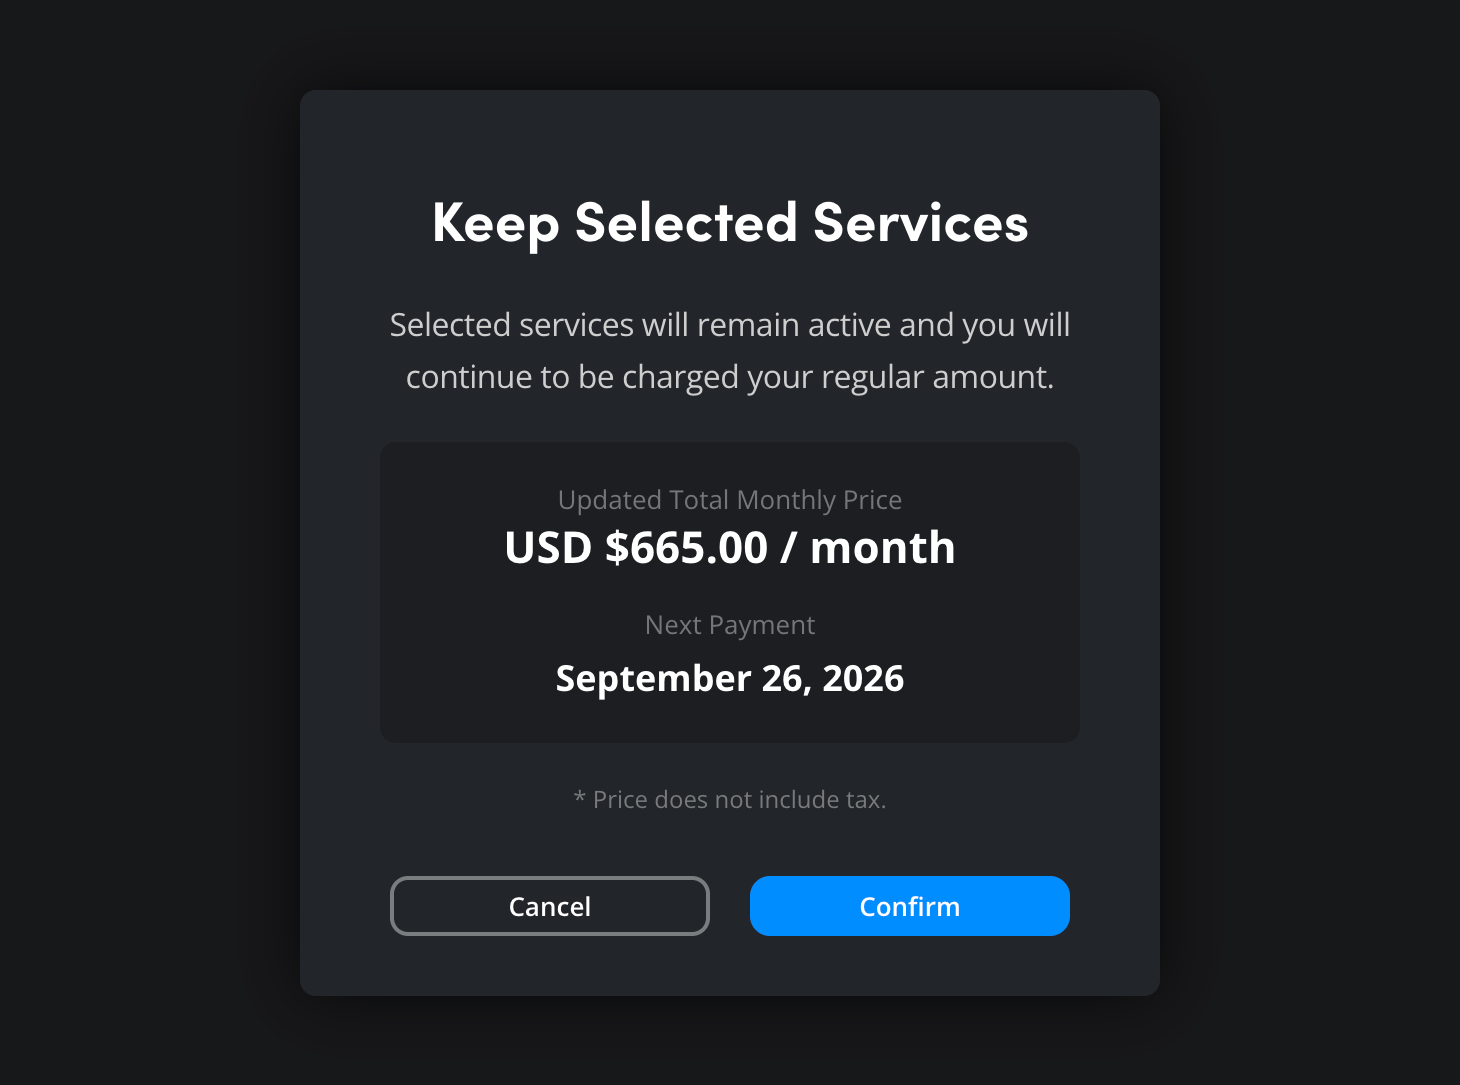
A confirmation window will display the updated total monthly price of all your Blackmagic Cloud services. Click the ‘confirm’ button to cancel storage removal.
Presentations
Each Blackmagic Cloud profile includes 20 free presentations for sharing clips with collaborators and clients. You can add or remove presentations using the options in the ‘presentations’ section of ‘manage services’.
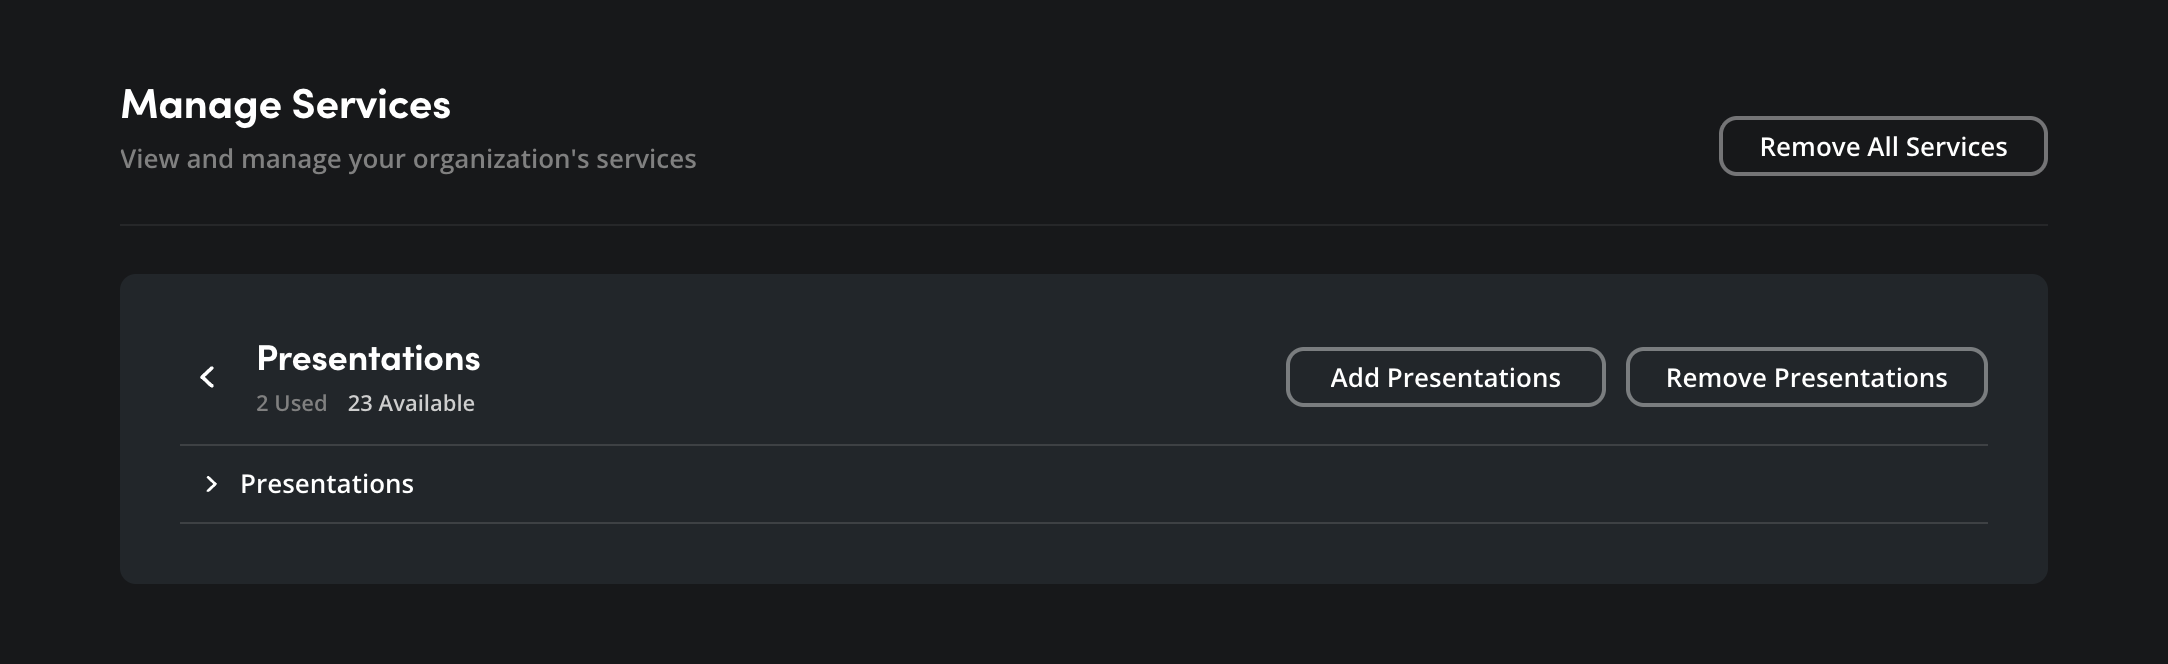
For more information on Blackmagic Cloud presentations, refer to the ‘presentations’ section of this guide.
Adding Presentations
To add additional presentations, click the ‘add presentation’ button.

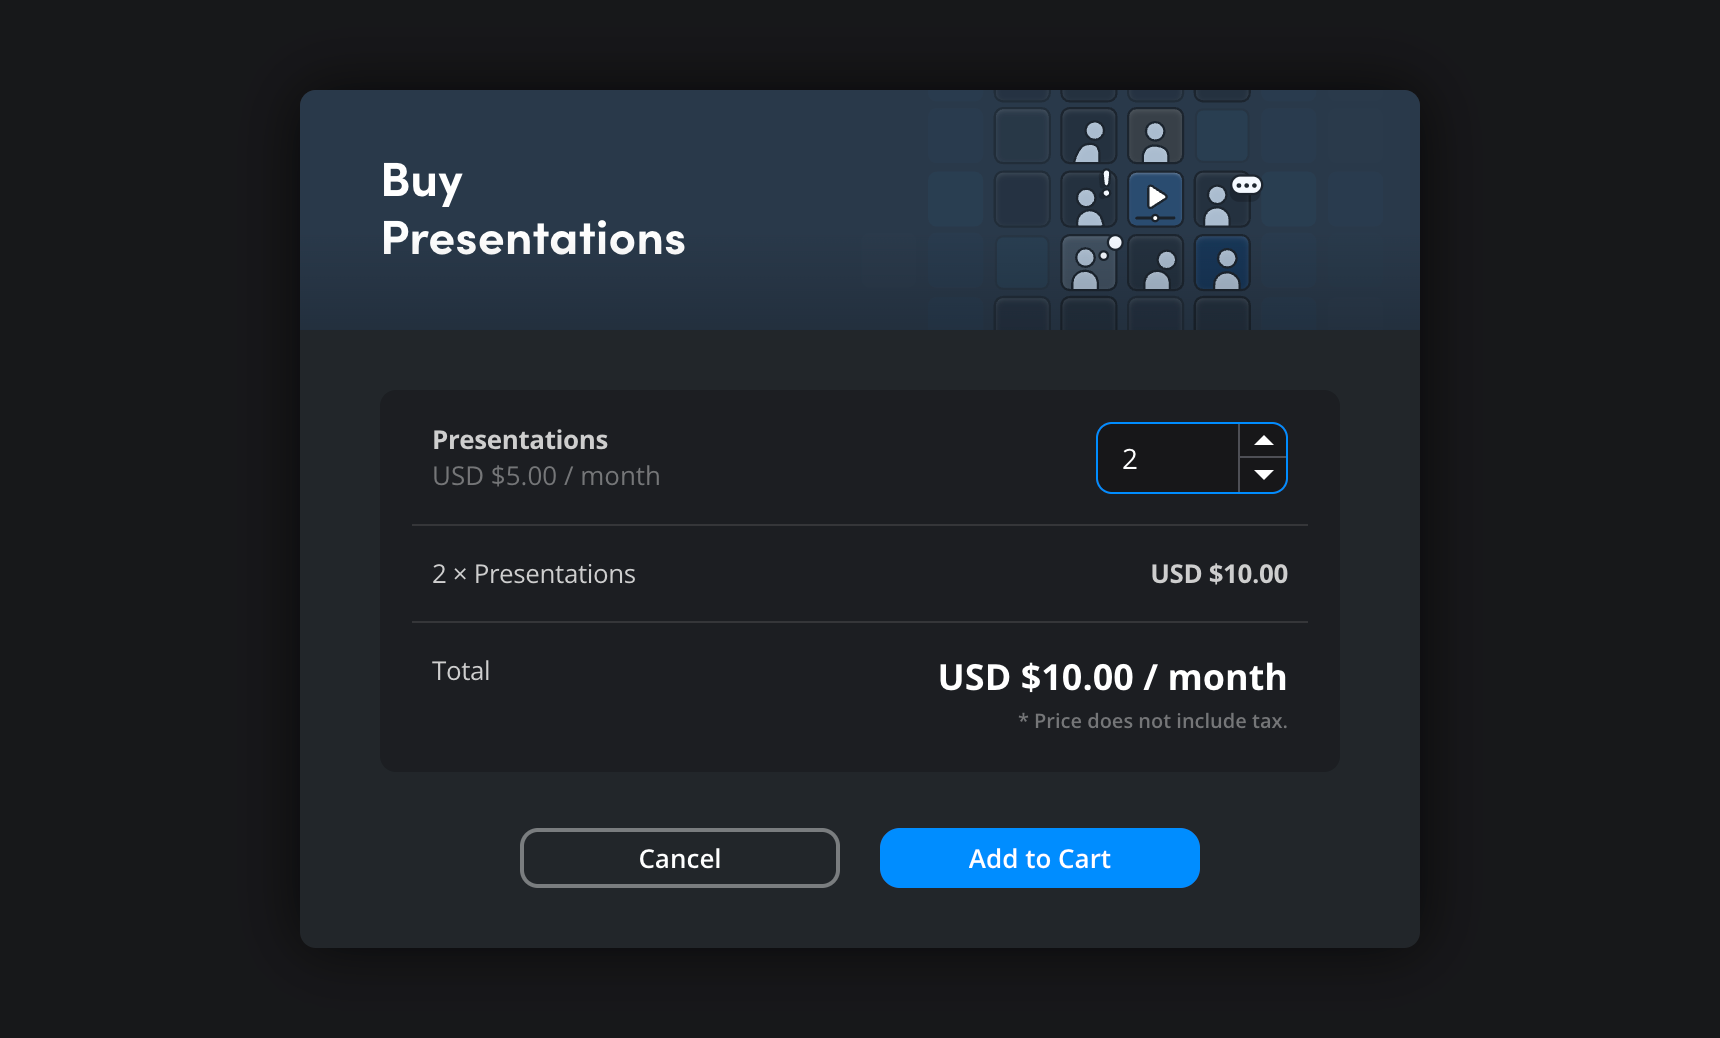
In the ‘buy presentations’ window, enter the number of presentations that you want to add. Click ‘add to cart’.
Removing Presentations
You can remove additional presentations that you have added to your profile. The 20 presentations included with your account profile cannot be removed.
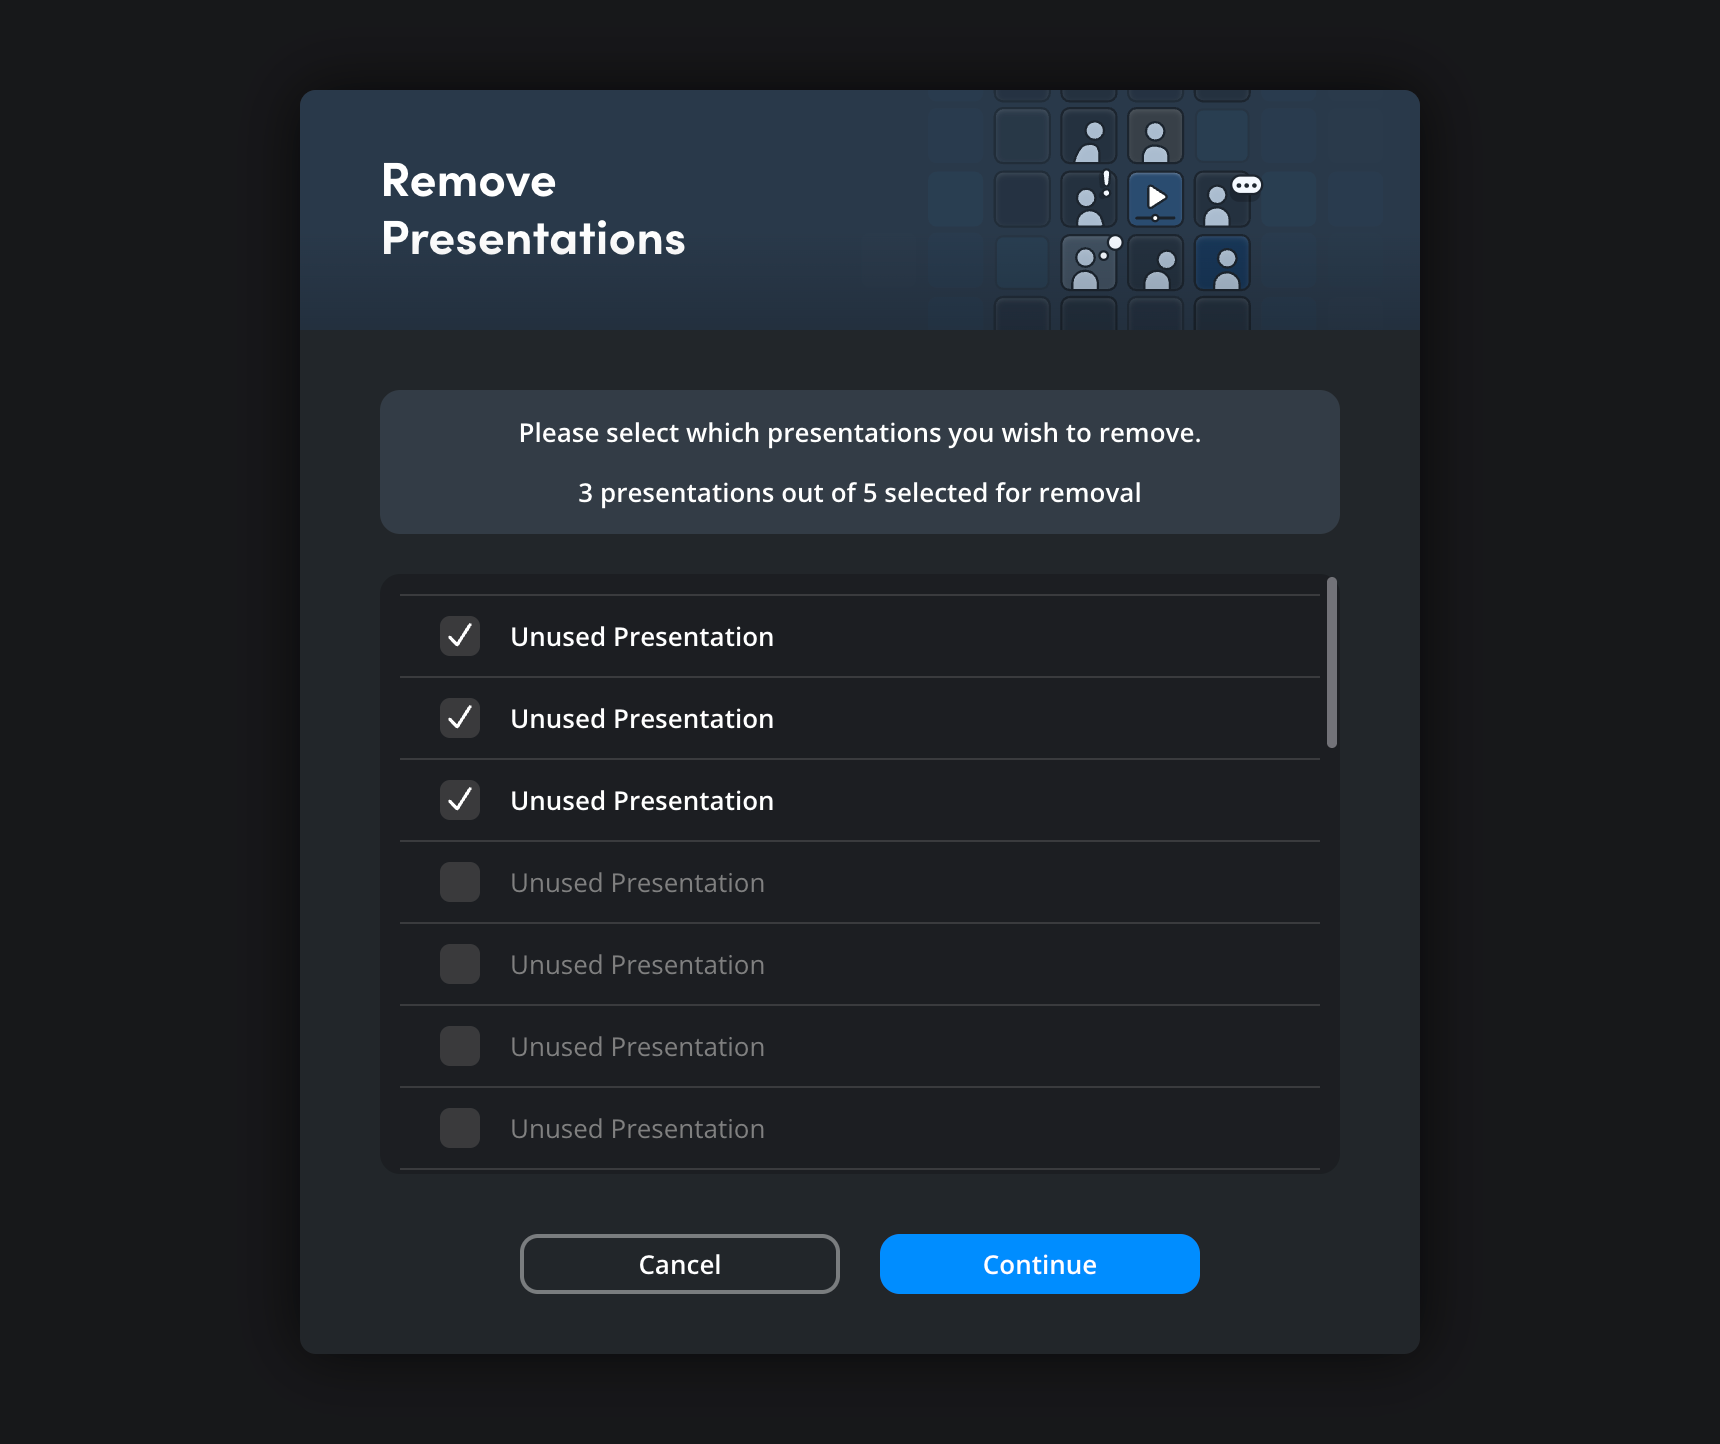
Click the ‘remove presentations’ button to open the ‘remove presentations’ window. In the ‘remove presentations’ window the number of presentations available for removal is shown at the top. Check the checkboxes next to the presentations you want to remove and click ‘continue'.
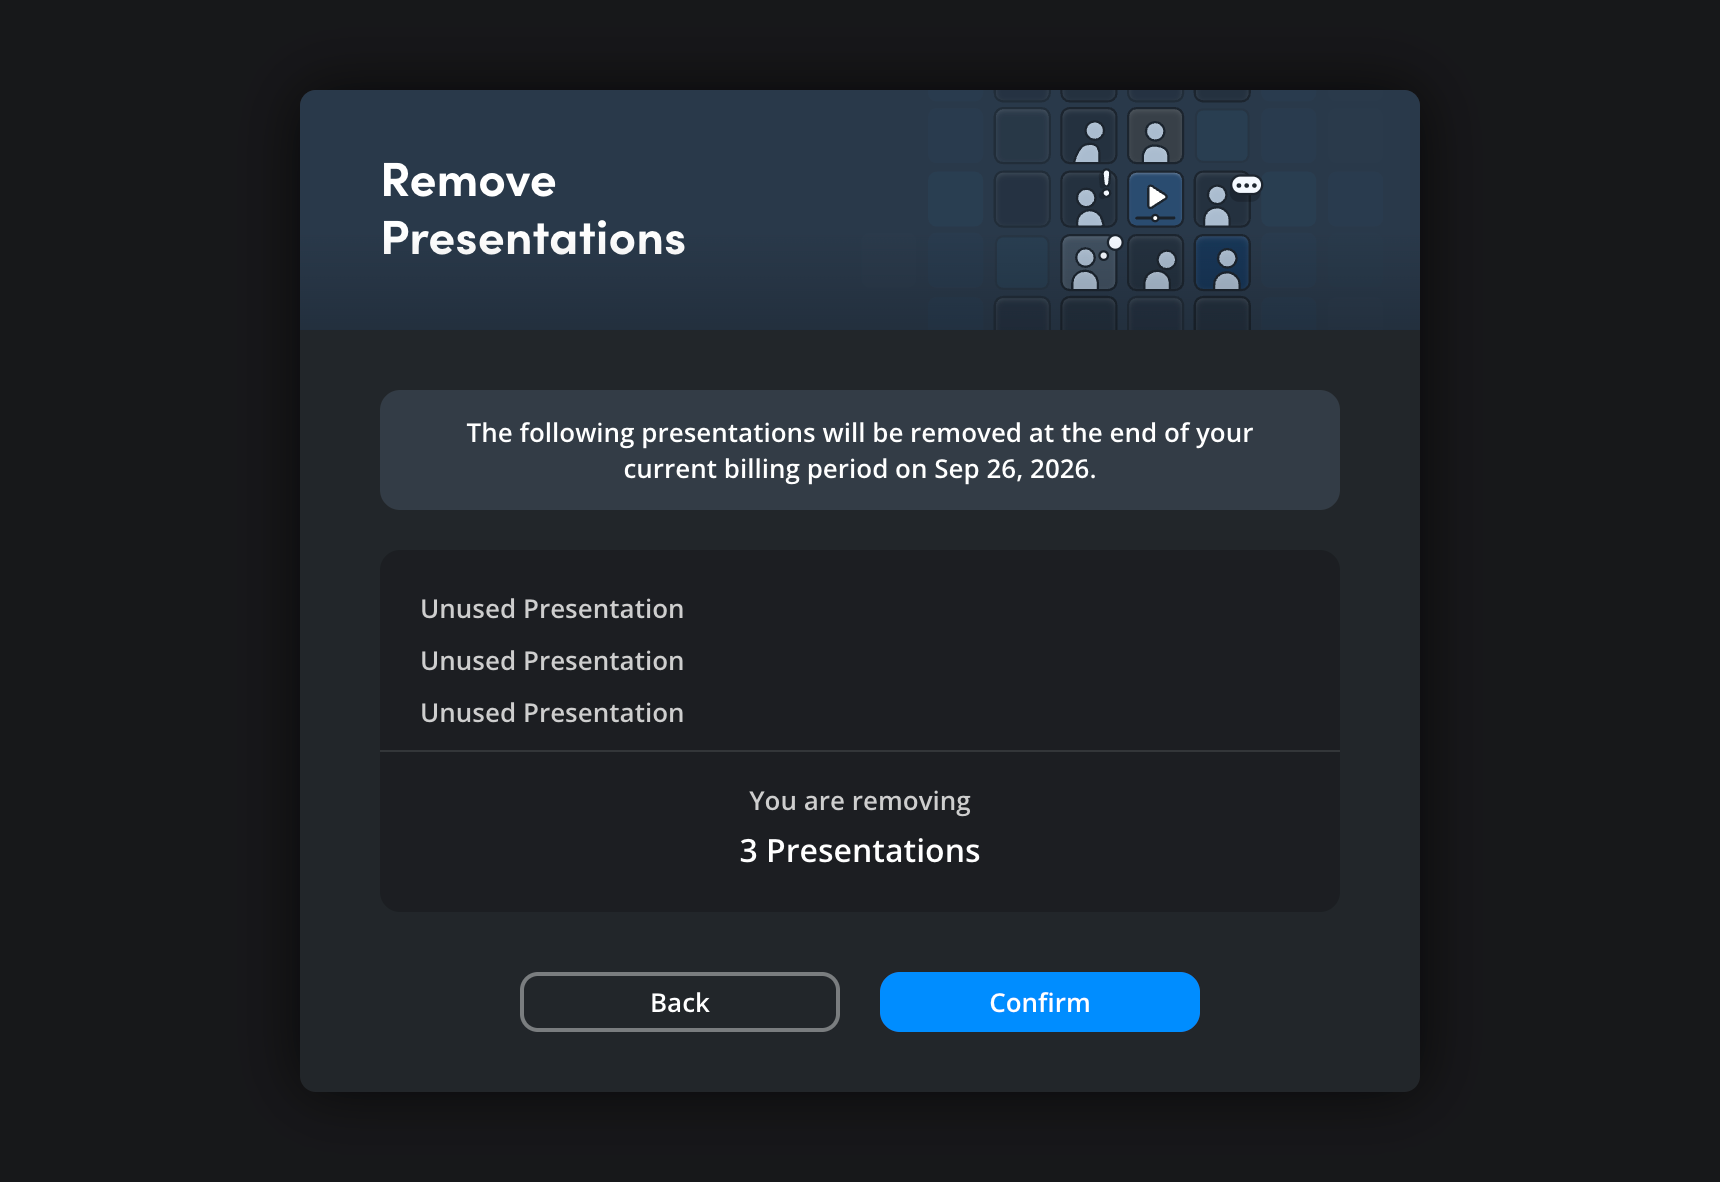
In the next window, click ‘confirm’.
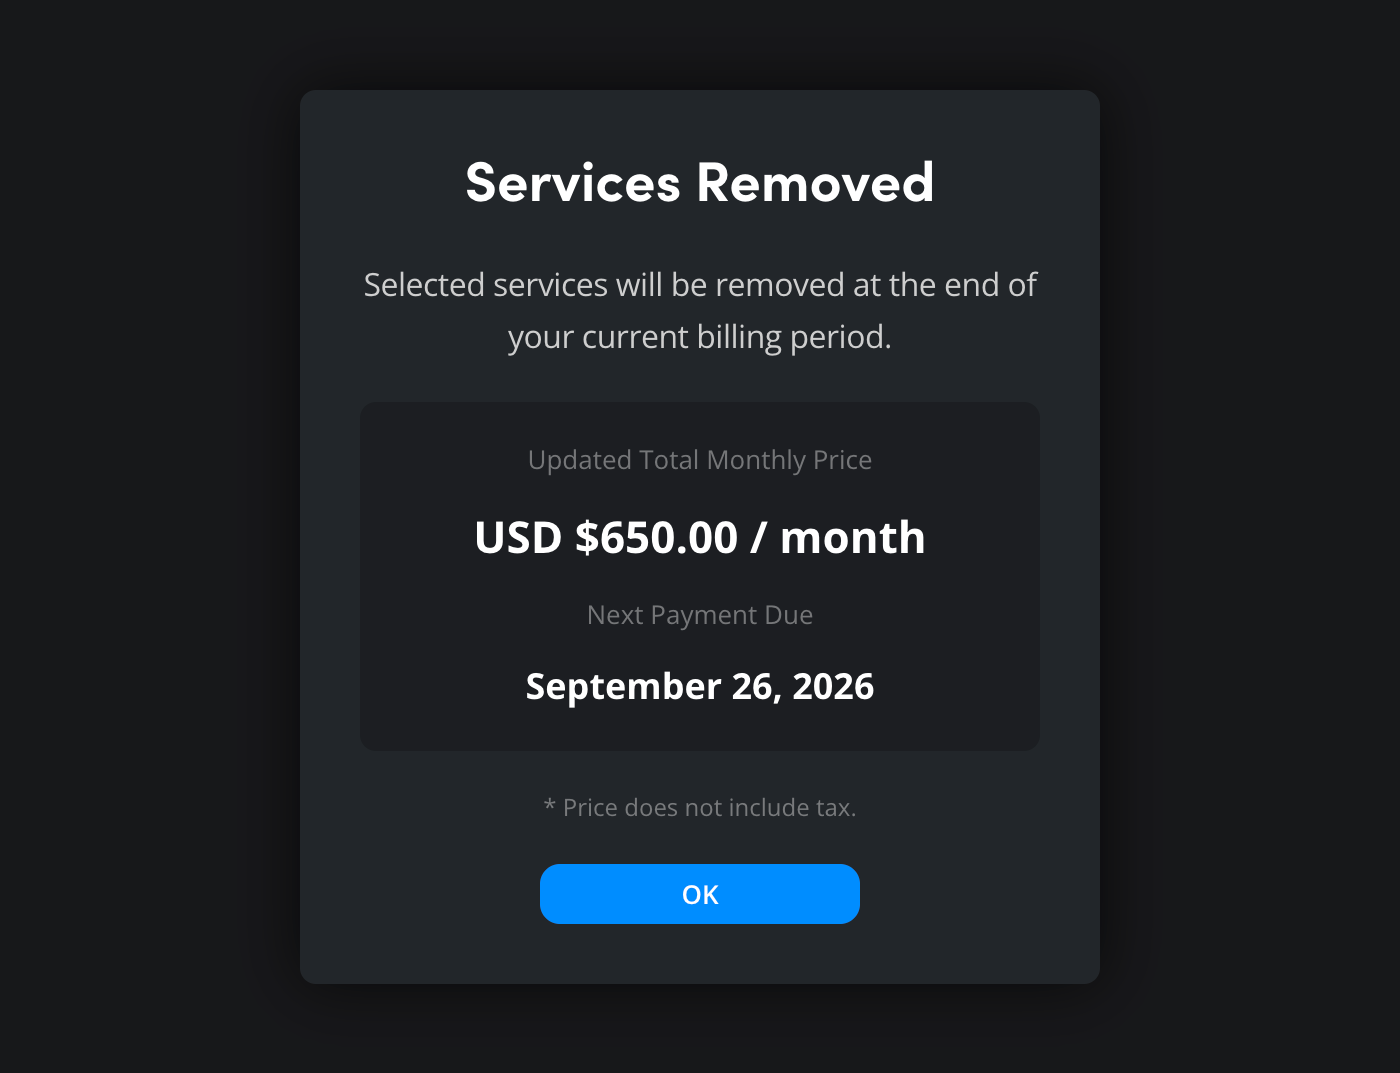
A confirmation window will display the updated total monthly price of all your Blackmagic Cloud services. Click ‘ok’.
Canceling Presentation Removal
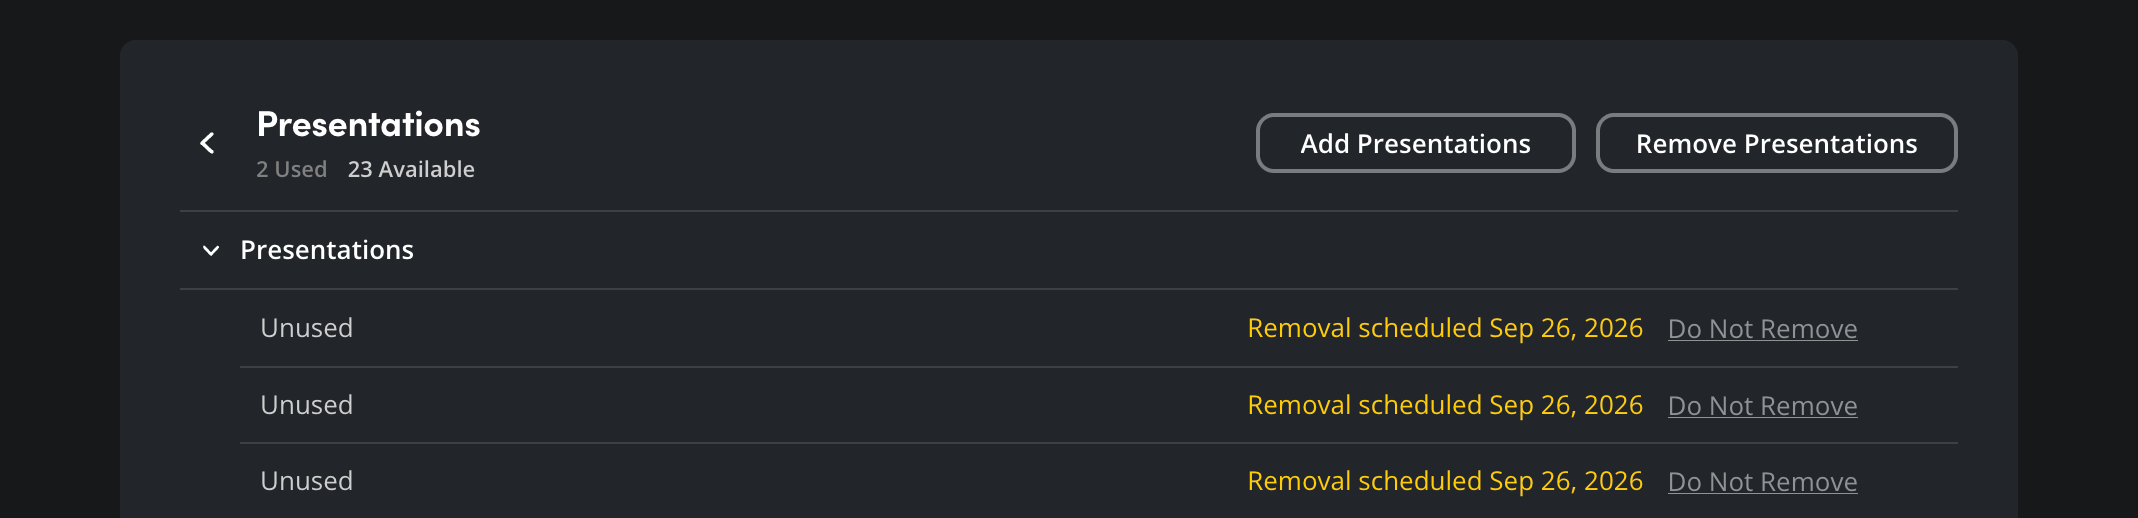
If you want to keep any presentations that are scheduled to be removed, you can cancel removal before your next billing date by clicking the ‘do not remove’ link next to the presentation you want to keep in the ‘presentations’ pane.
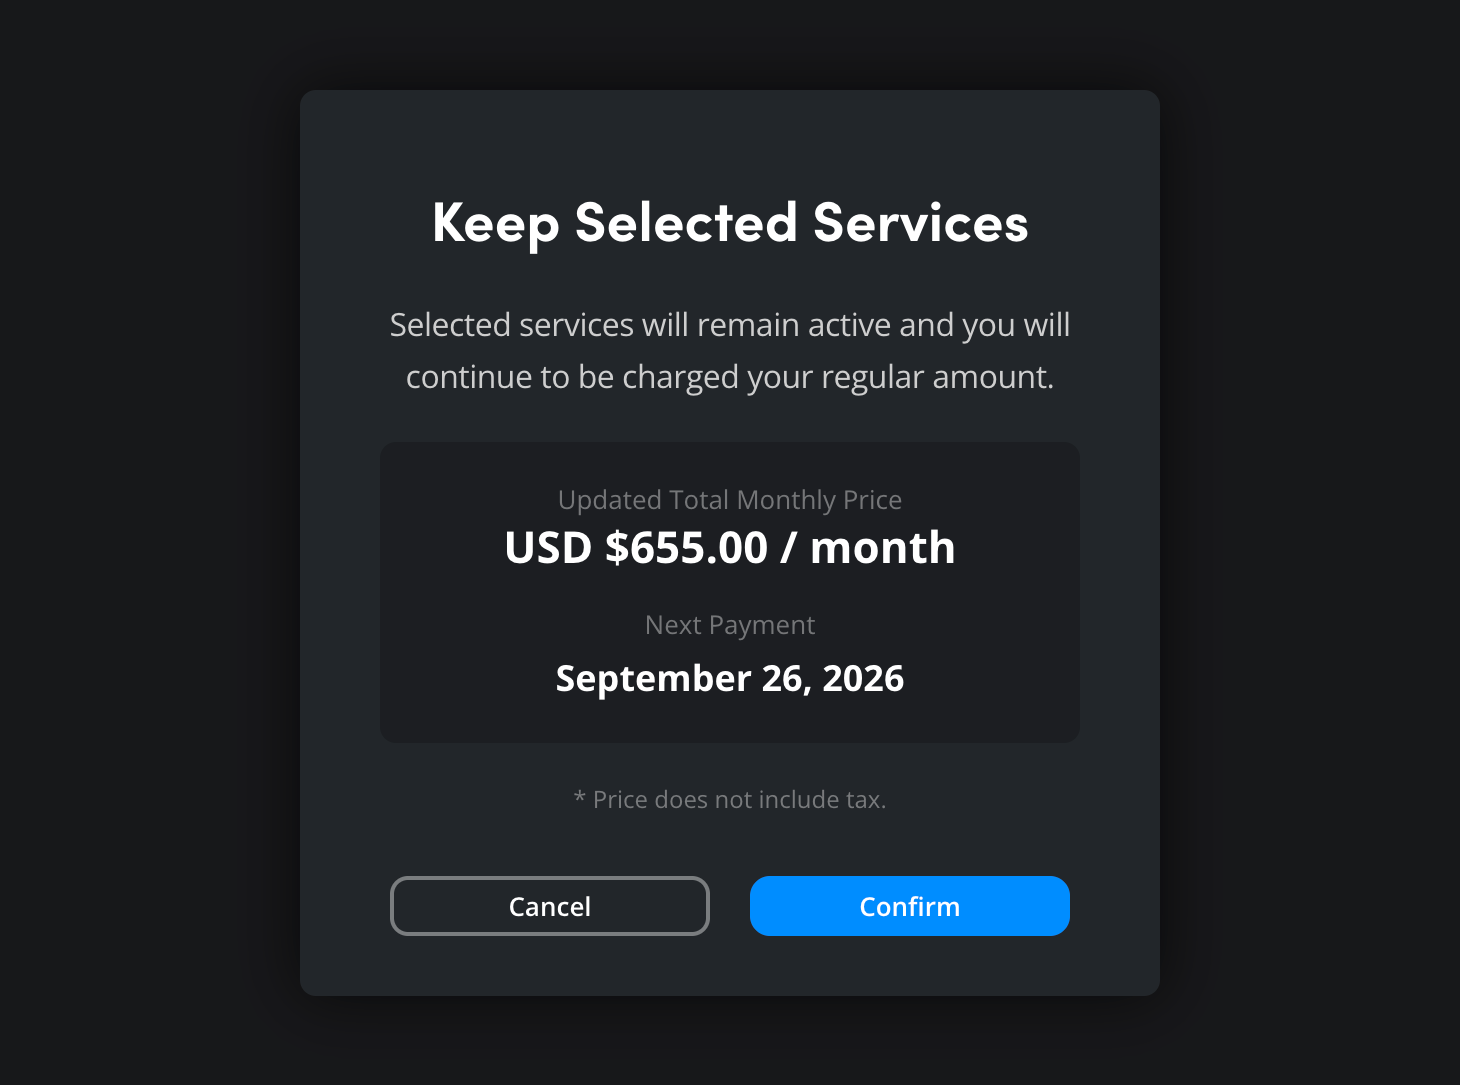
A confirmation window will display the updated total monthly price of all your Blackmagic Cloud services. Click the ‘confirm’ button to keep the presentation and cancel removal.
Stream Router Outputs
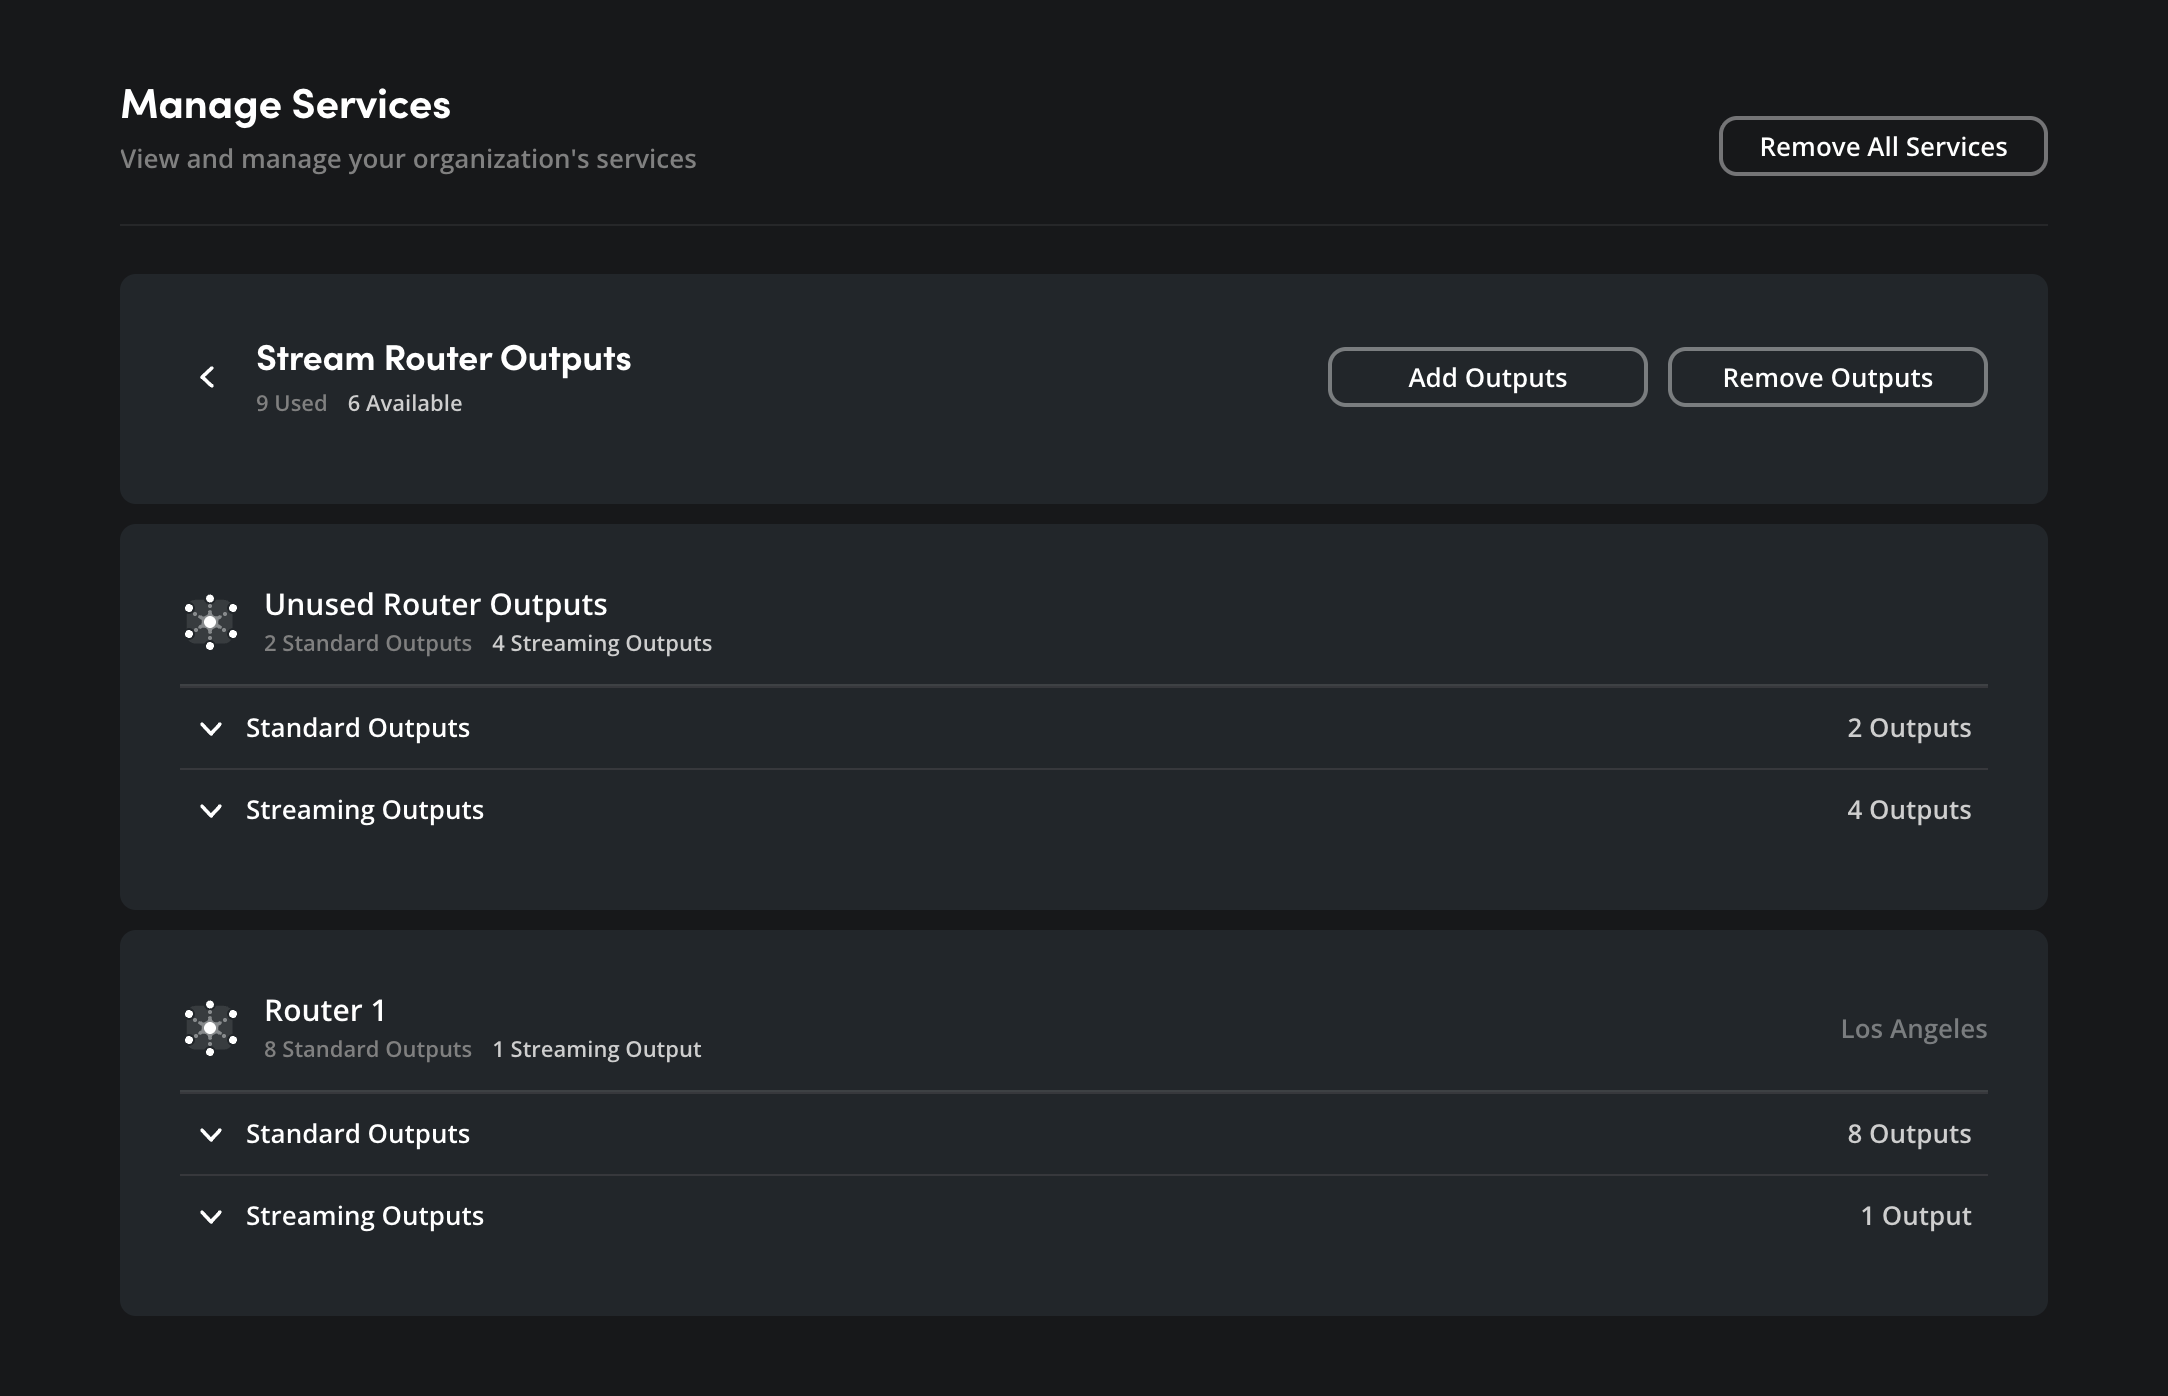
The ‘stream router’ page in ‘manage services’ displays information about any stream routers in your current profile, any available outputs, plus options to add or remove stream router outputs.
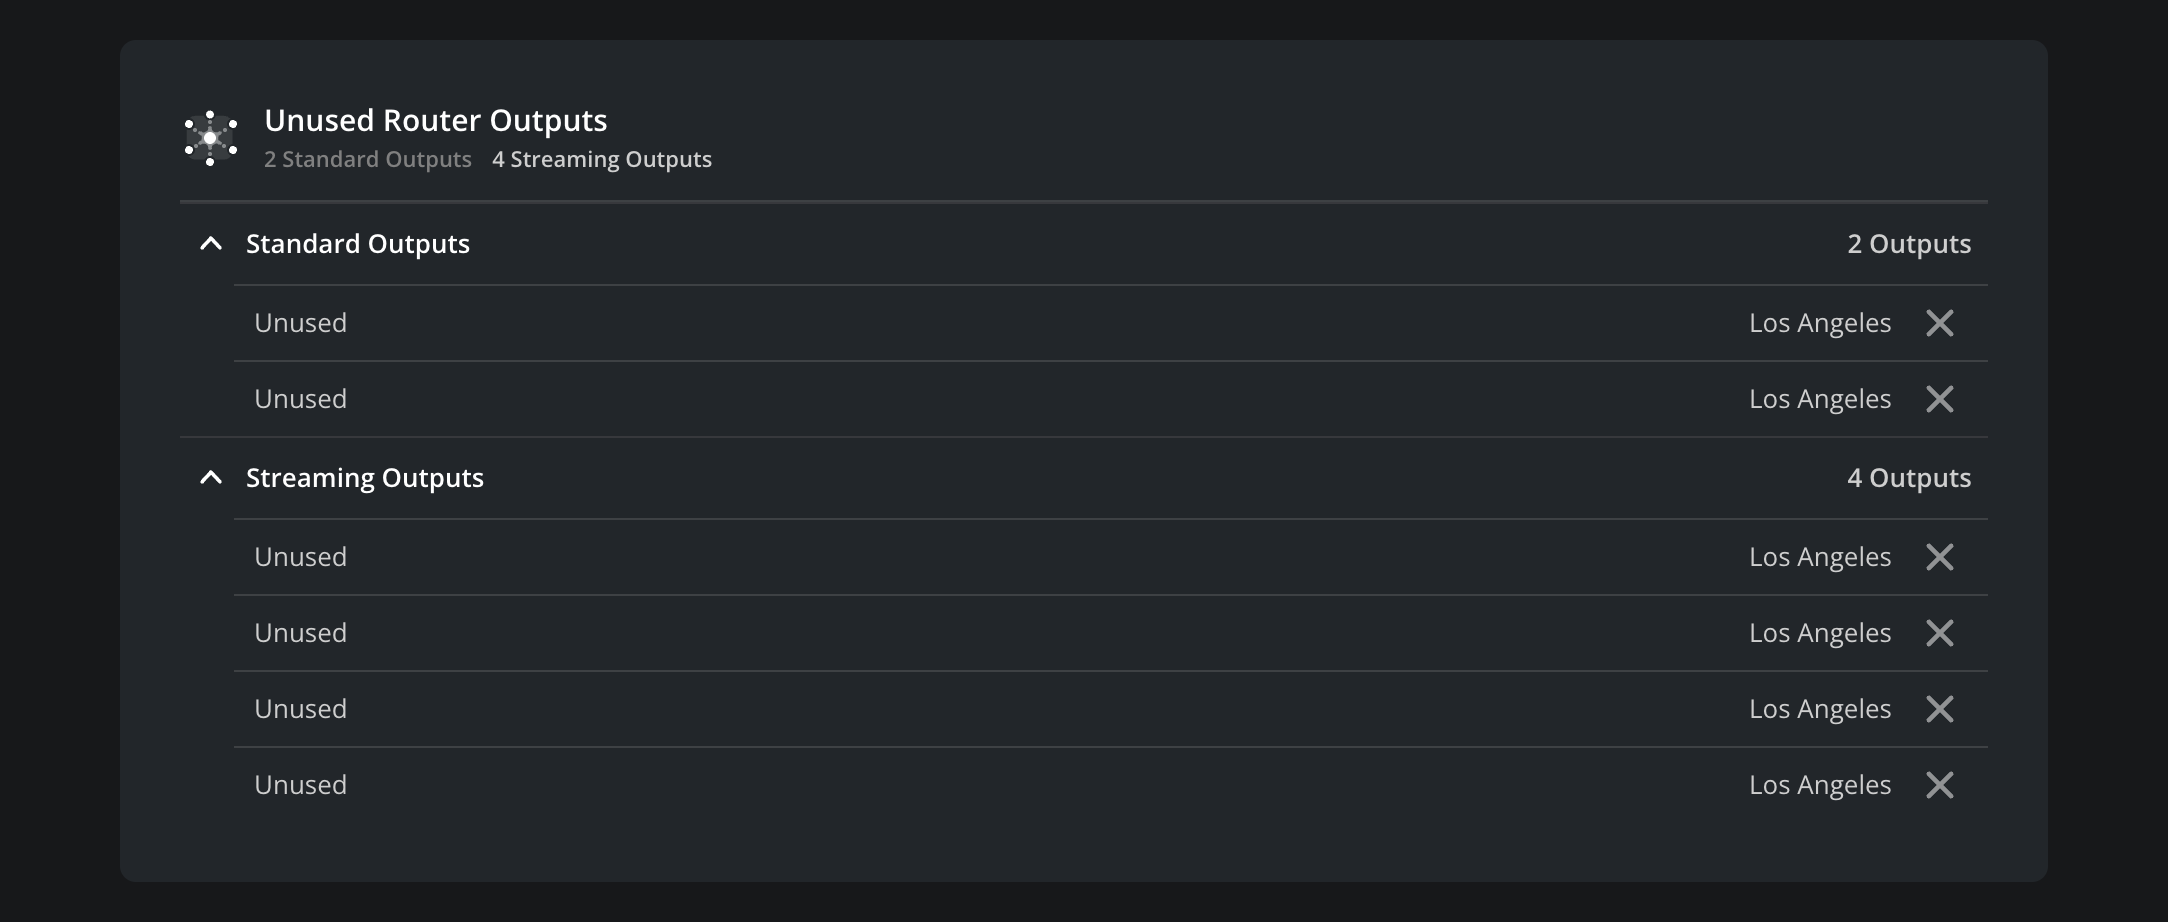
To view more information about current outputs, such as region, click the arrow next to an output category to expand the list.
For detailed information on setting up a Blackmagic Cloud Stream Router in a personal or organization profile, refer to the main ‘stream router’ section of this guide. If you are using a personal profile, you automatically receive a free stream router trial that includes four inputs, four standard outputs and one streaming output.
Adding Stream Router Outputs
To add stream router outputs, click the ‘add outputs’ button.

In the ‘buy stream router’ window, select a region. It is important to note that stream router outputs are linked to a geographical region. This means that when you add stream router outputs, you need to make sure that the region you choose matches the region of the stream router you are adding outputs to, or the stream router you want to create.
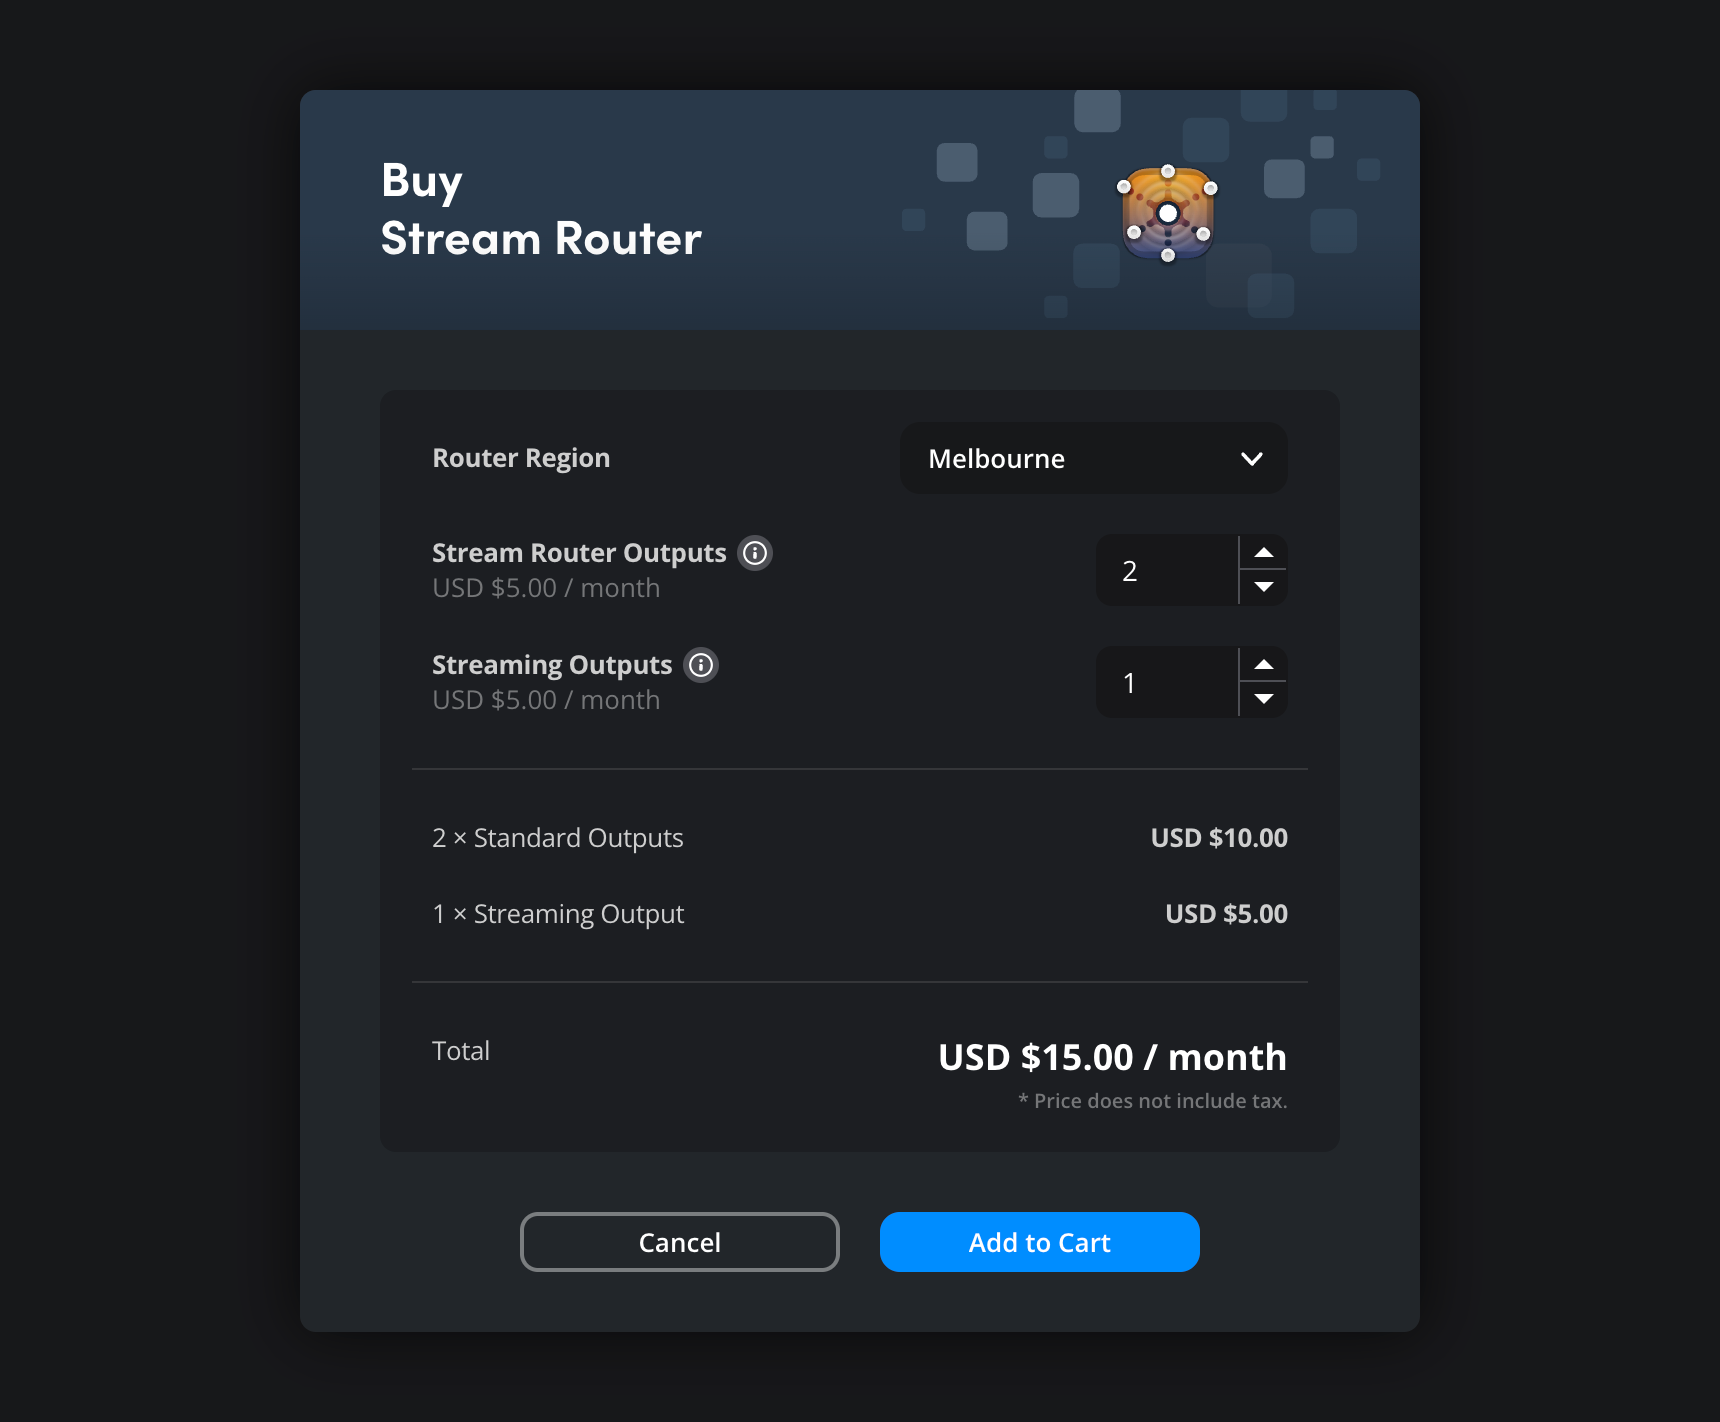
Use the ‘stream router outputs’ and ‘streaming outputs’ fields to set the number of outputs you want to add. The additional monthly cost will be displayed at the bottom of the window. Click ‘add to cart’.
Removing Stream Router Outputs
If you want to remove stream router outputs that you are no longer using, click the ‘remove outputs’ button.
The ‘remove stream router outputs’ window will open. Unused outputs that are not part of a current stream router will be displayed at the top of the list. Outputs that are allocated to a router will be listed under the router name.
Select the checkbox for each output that you want to remove and click ‘continue’.
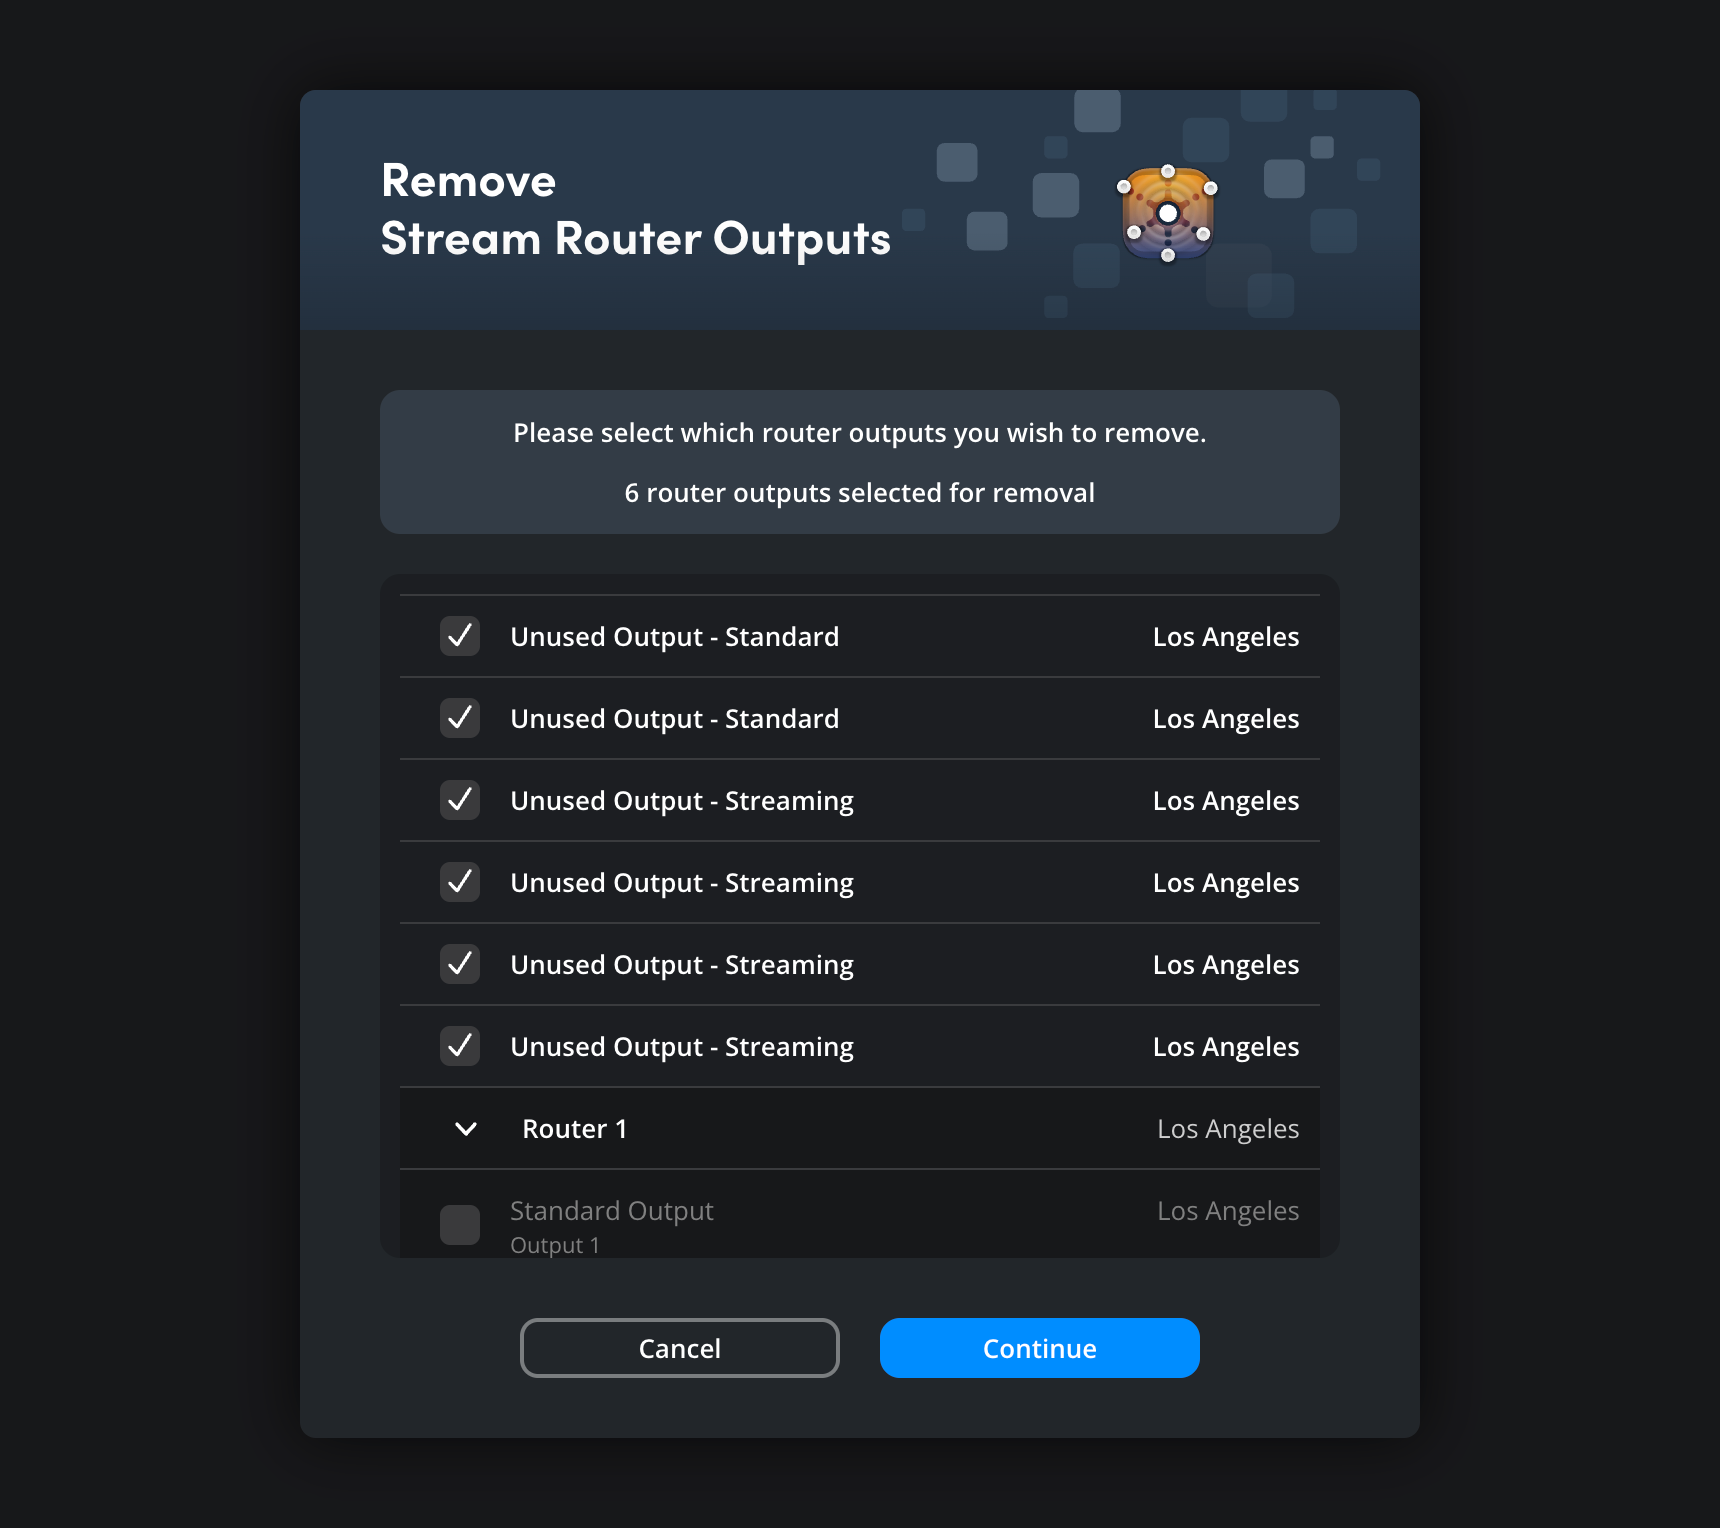
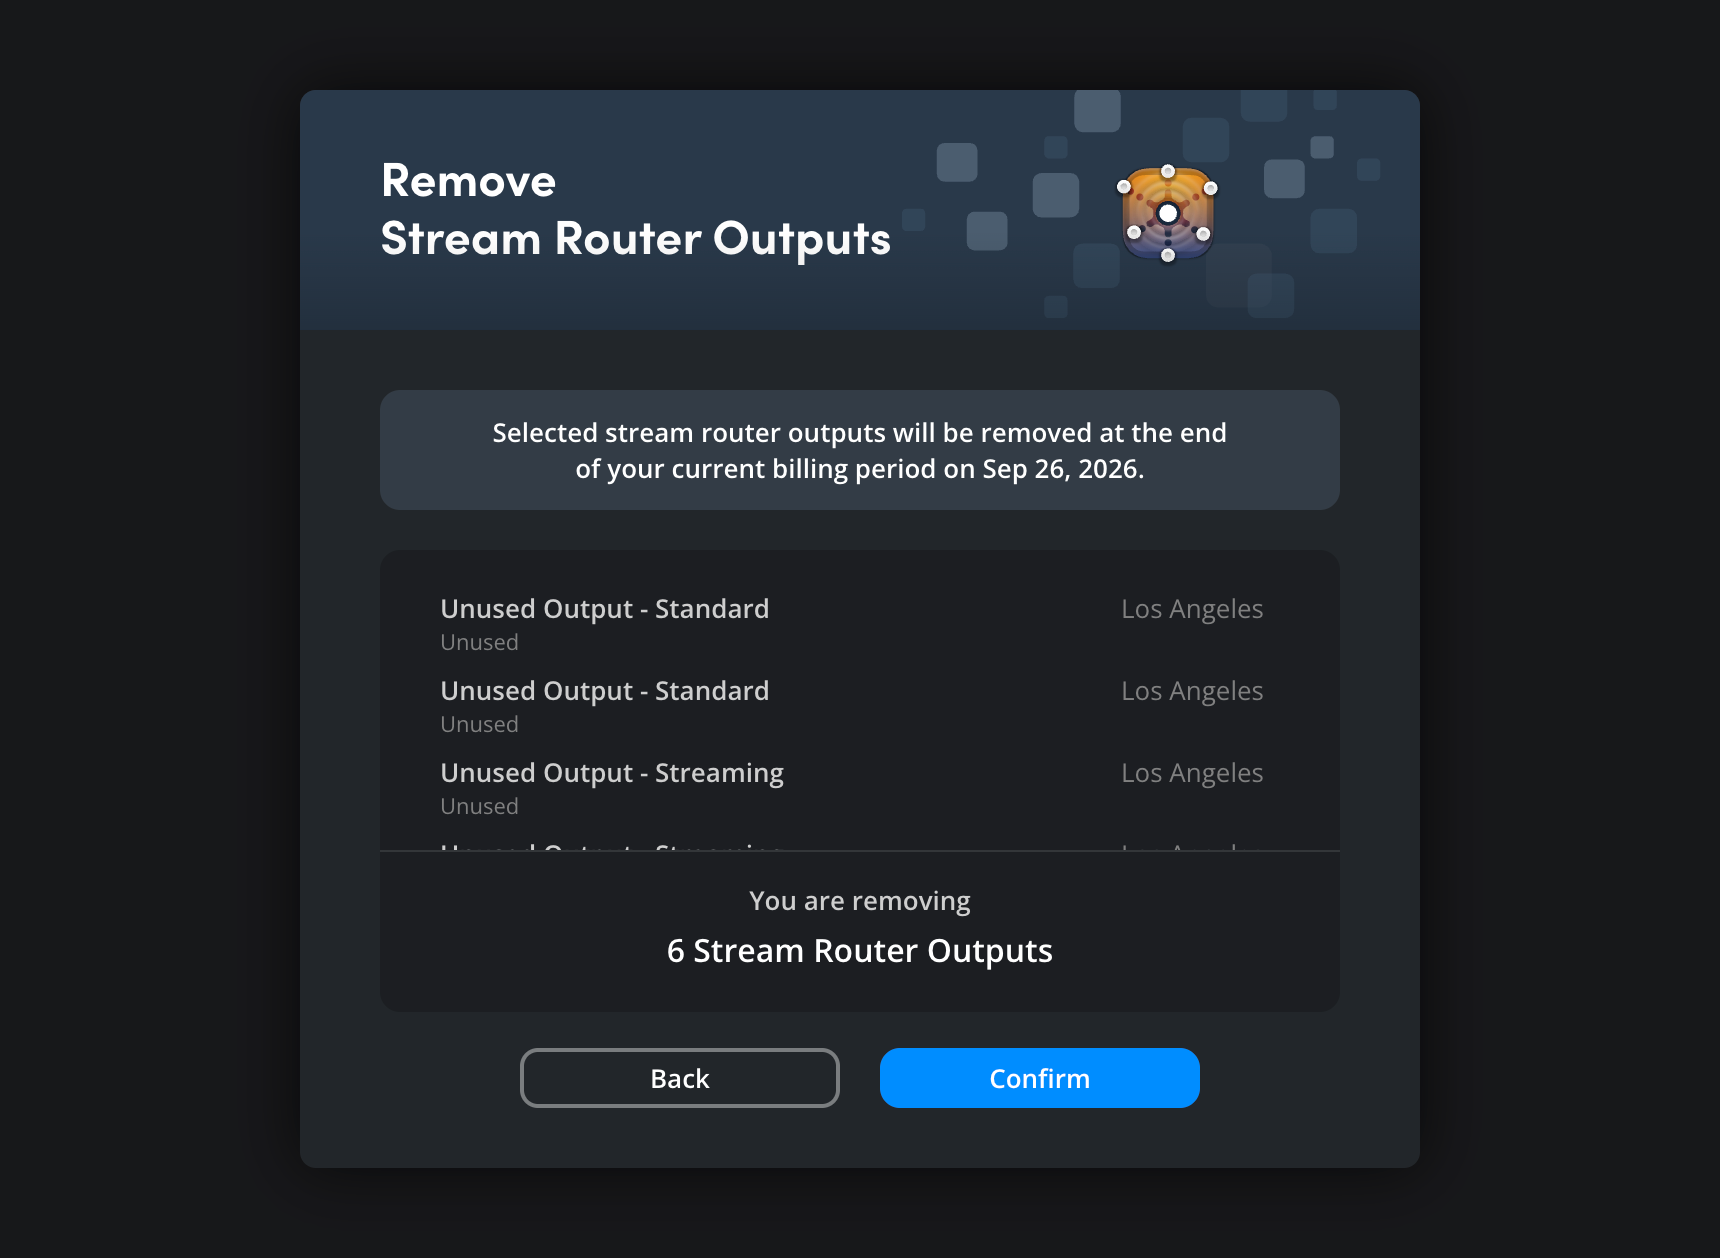
A new window will display a summary of the selected outputs, click ‘confirm’ to continue.
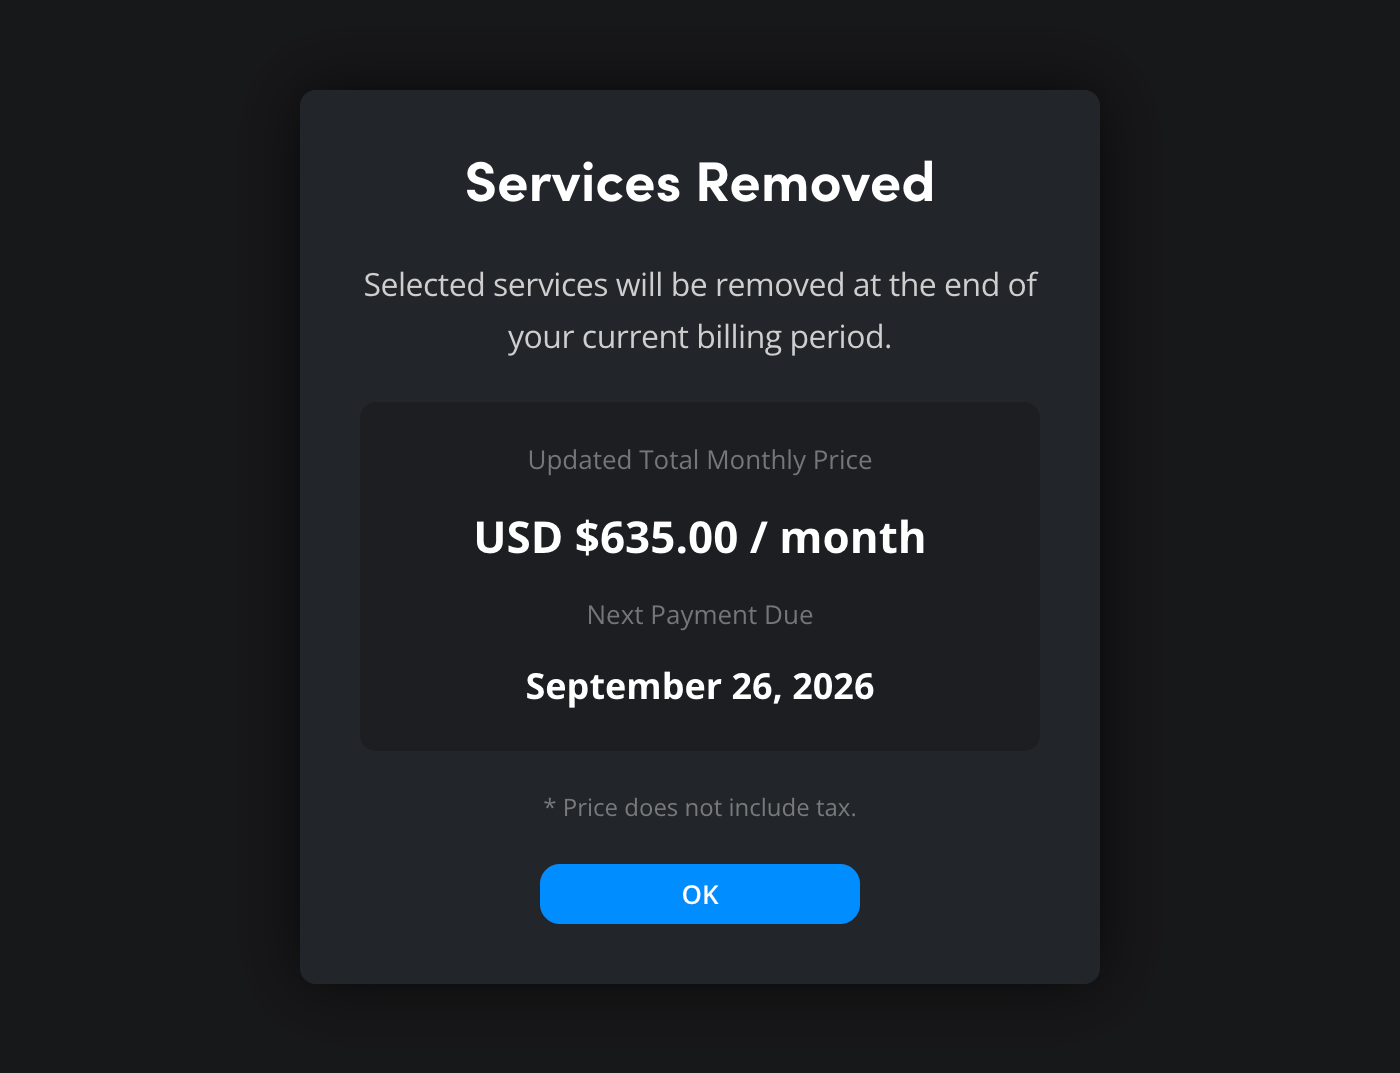
A confirmation window will display the updated total monthly price of all your Blackmagic Cloud services. Click ‘ok’.
Canceling Stream Router Output Removal
You can cancel the removal of a stream router output before the end of the current billing cycle.
Locate the stream router output that you want to keep and click its ‘do not remove’ link.
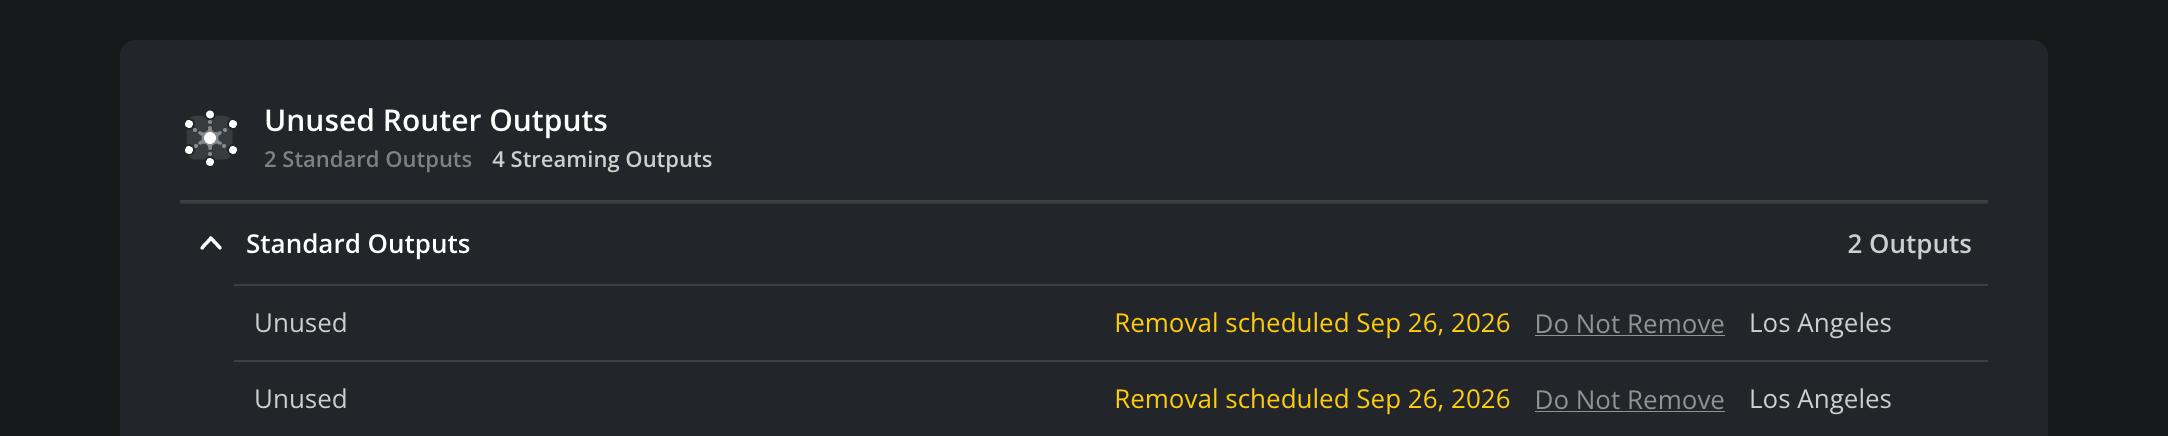
A confirmation window will display the updated total monthly price of all your Blackmagic Cloud services. Click ‘confirm’.