User Profile
The menu options contained under the ‘user profile’ heading include your ‘account settings’ and ‘account security’ options. These settings are global across your personal and organization profiles. For example, if you are logged in to your personal profile and update your contact details, the information will also be updated in your organization profiles.
Account Settings
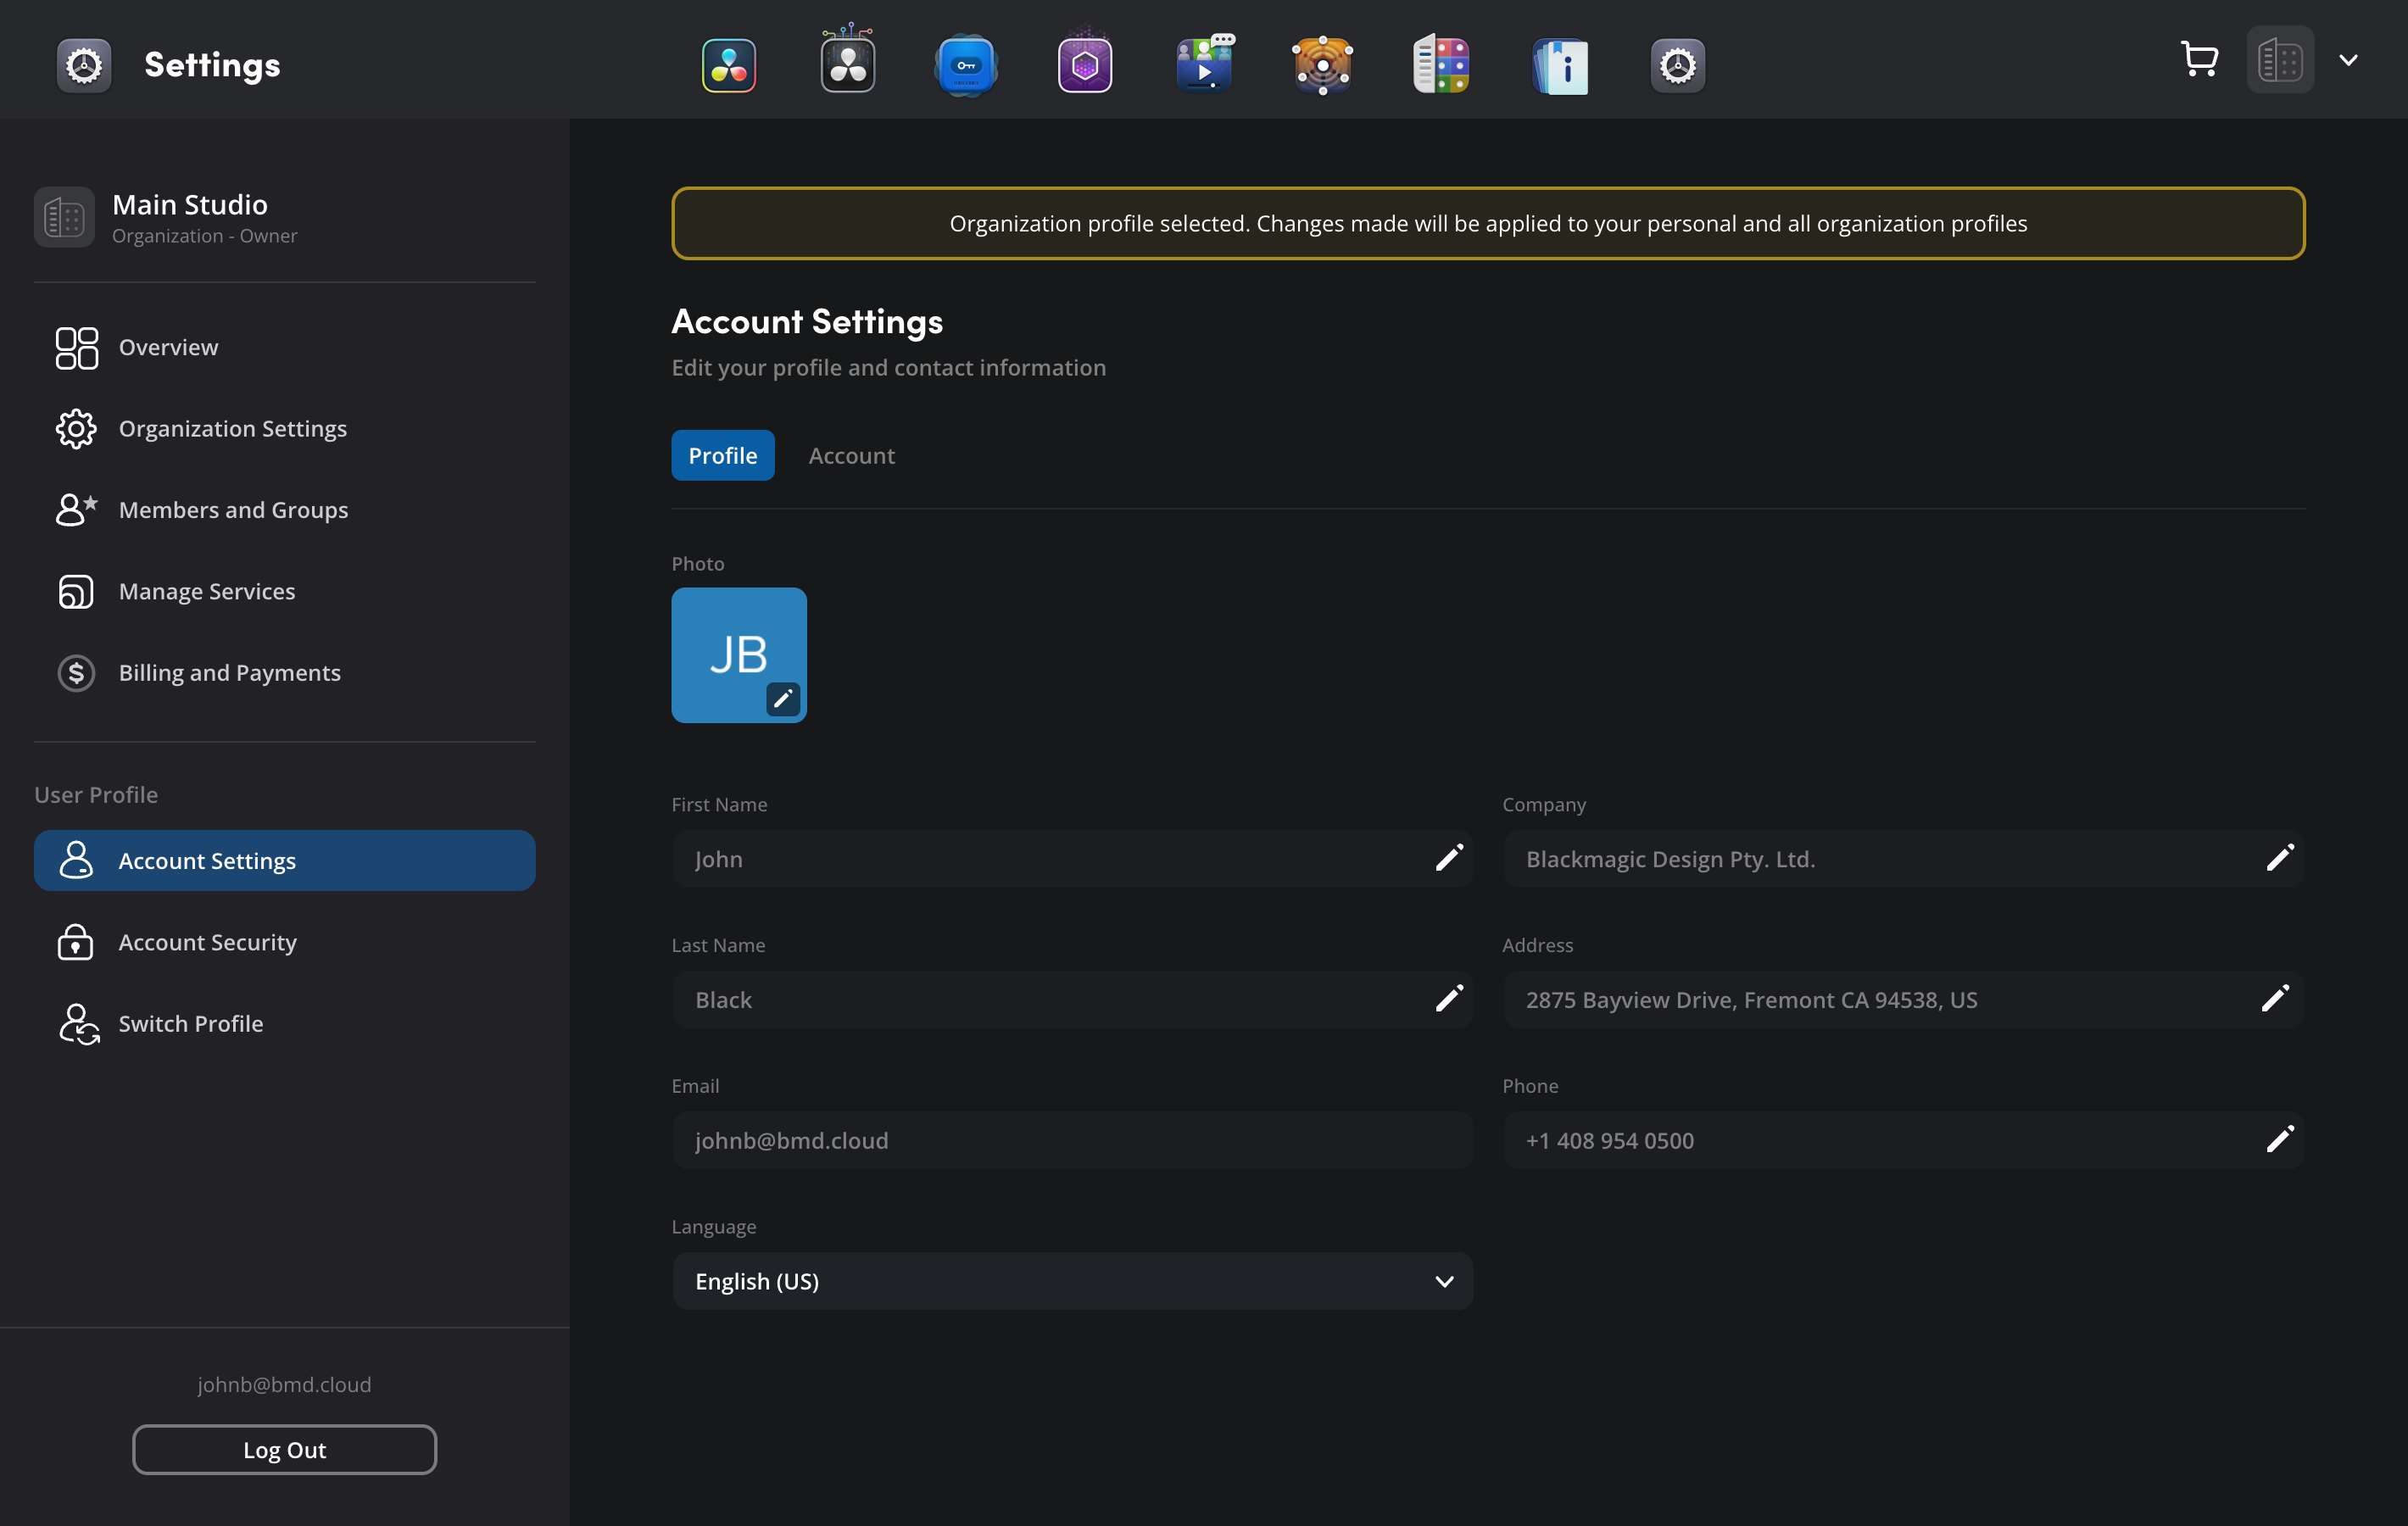
The ‘account settings’ page is divided into ‘profile’ and ‘account’ tabs. The ‘profile’ tab lets you update your profile and contact information. The ‘account’ tab contains options for deleting your Blackmagic Cloud account and associated data.
Profile
To update your personal or contact information in the profile tab, click the pencil icon next to the item you want to update, enter the new information and click ‘save’.
Account
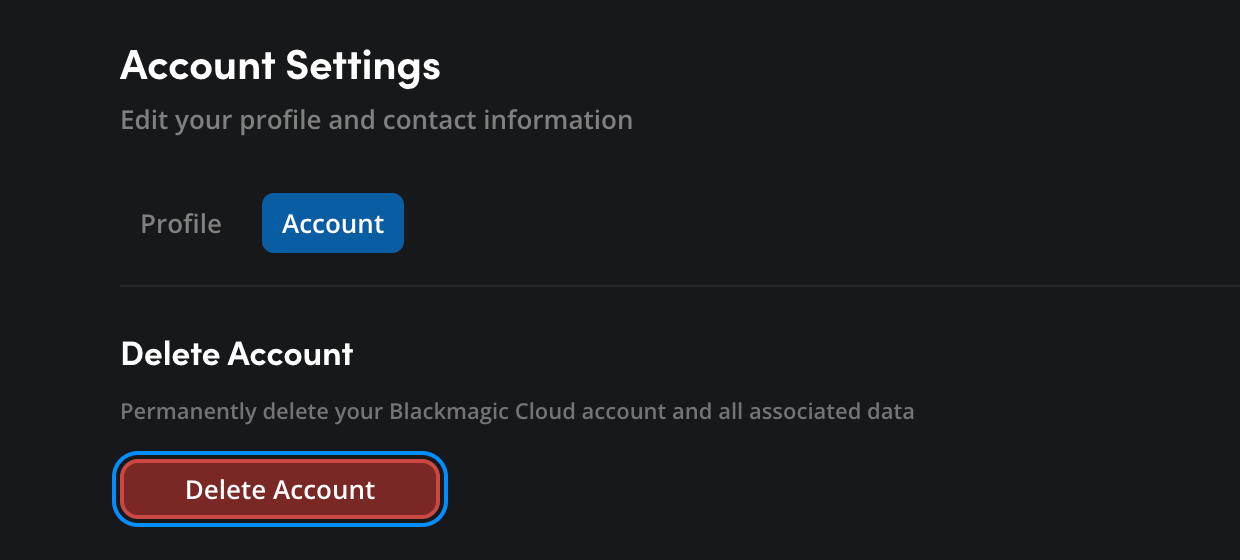
The account tab contains the ‘delete account’ option for your Blackmagic Cloud account. It’s important to note that this option will permanently delete your Blackmagic Cloud account and all its associated data.
Before you delete your account, it’s a good idea to make sure you have made local backups of any data that you wish to keep. For example, project libraries and any files or folders in cloud storage.
To delete your Blackmagic Cloud account:
- In the ‘account’ tab, click the ‘delete account’ button.
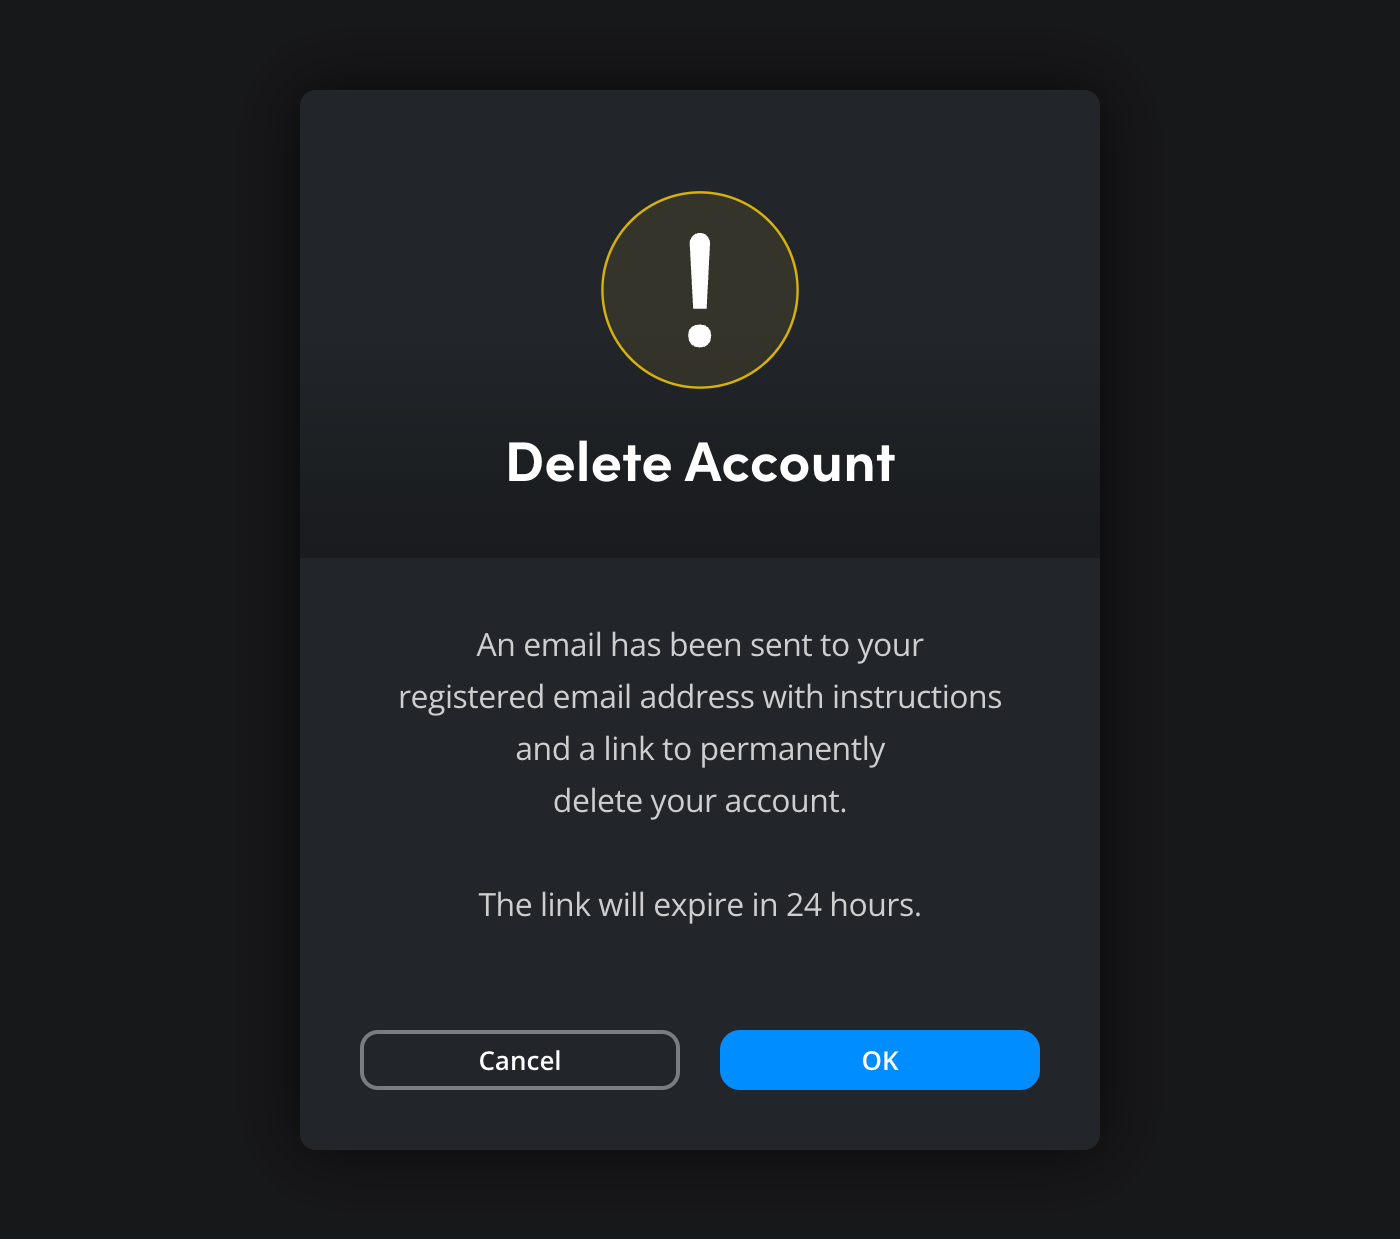
- A new window will open to let you know that a confirmation email has been sent to your email address. The email contains a link to finalize the deletion process and will expire after 24 hours.
- Open your email account’s inbox and look for an email from Blackmagic Cloud, with the subject heading ‘confirm account deletion’.
The email contains a confirmation link that you will need to click to delete your account. It will also confirm that the deletion process is permanent and will list any organizations that you are the sole owner of. These will also be permanently deleted.
If you want to continue with the account deletion process, click the link in the email. - You will be taken to your Blackmagic Cloud account and asked to confirm that you want to delete your account. To continue and permanently delete your Blackmagic Cloud account, associated data and any organizations that you are the sole owner of, click the ‘delete account’ button.
Account Security
The ‘account security’ settings include options to end all Blackmagic Cloud sessions, change your password and set up multi factor authentication.
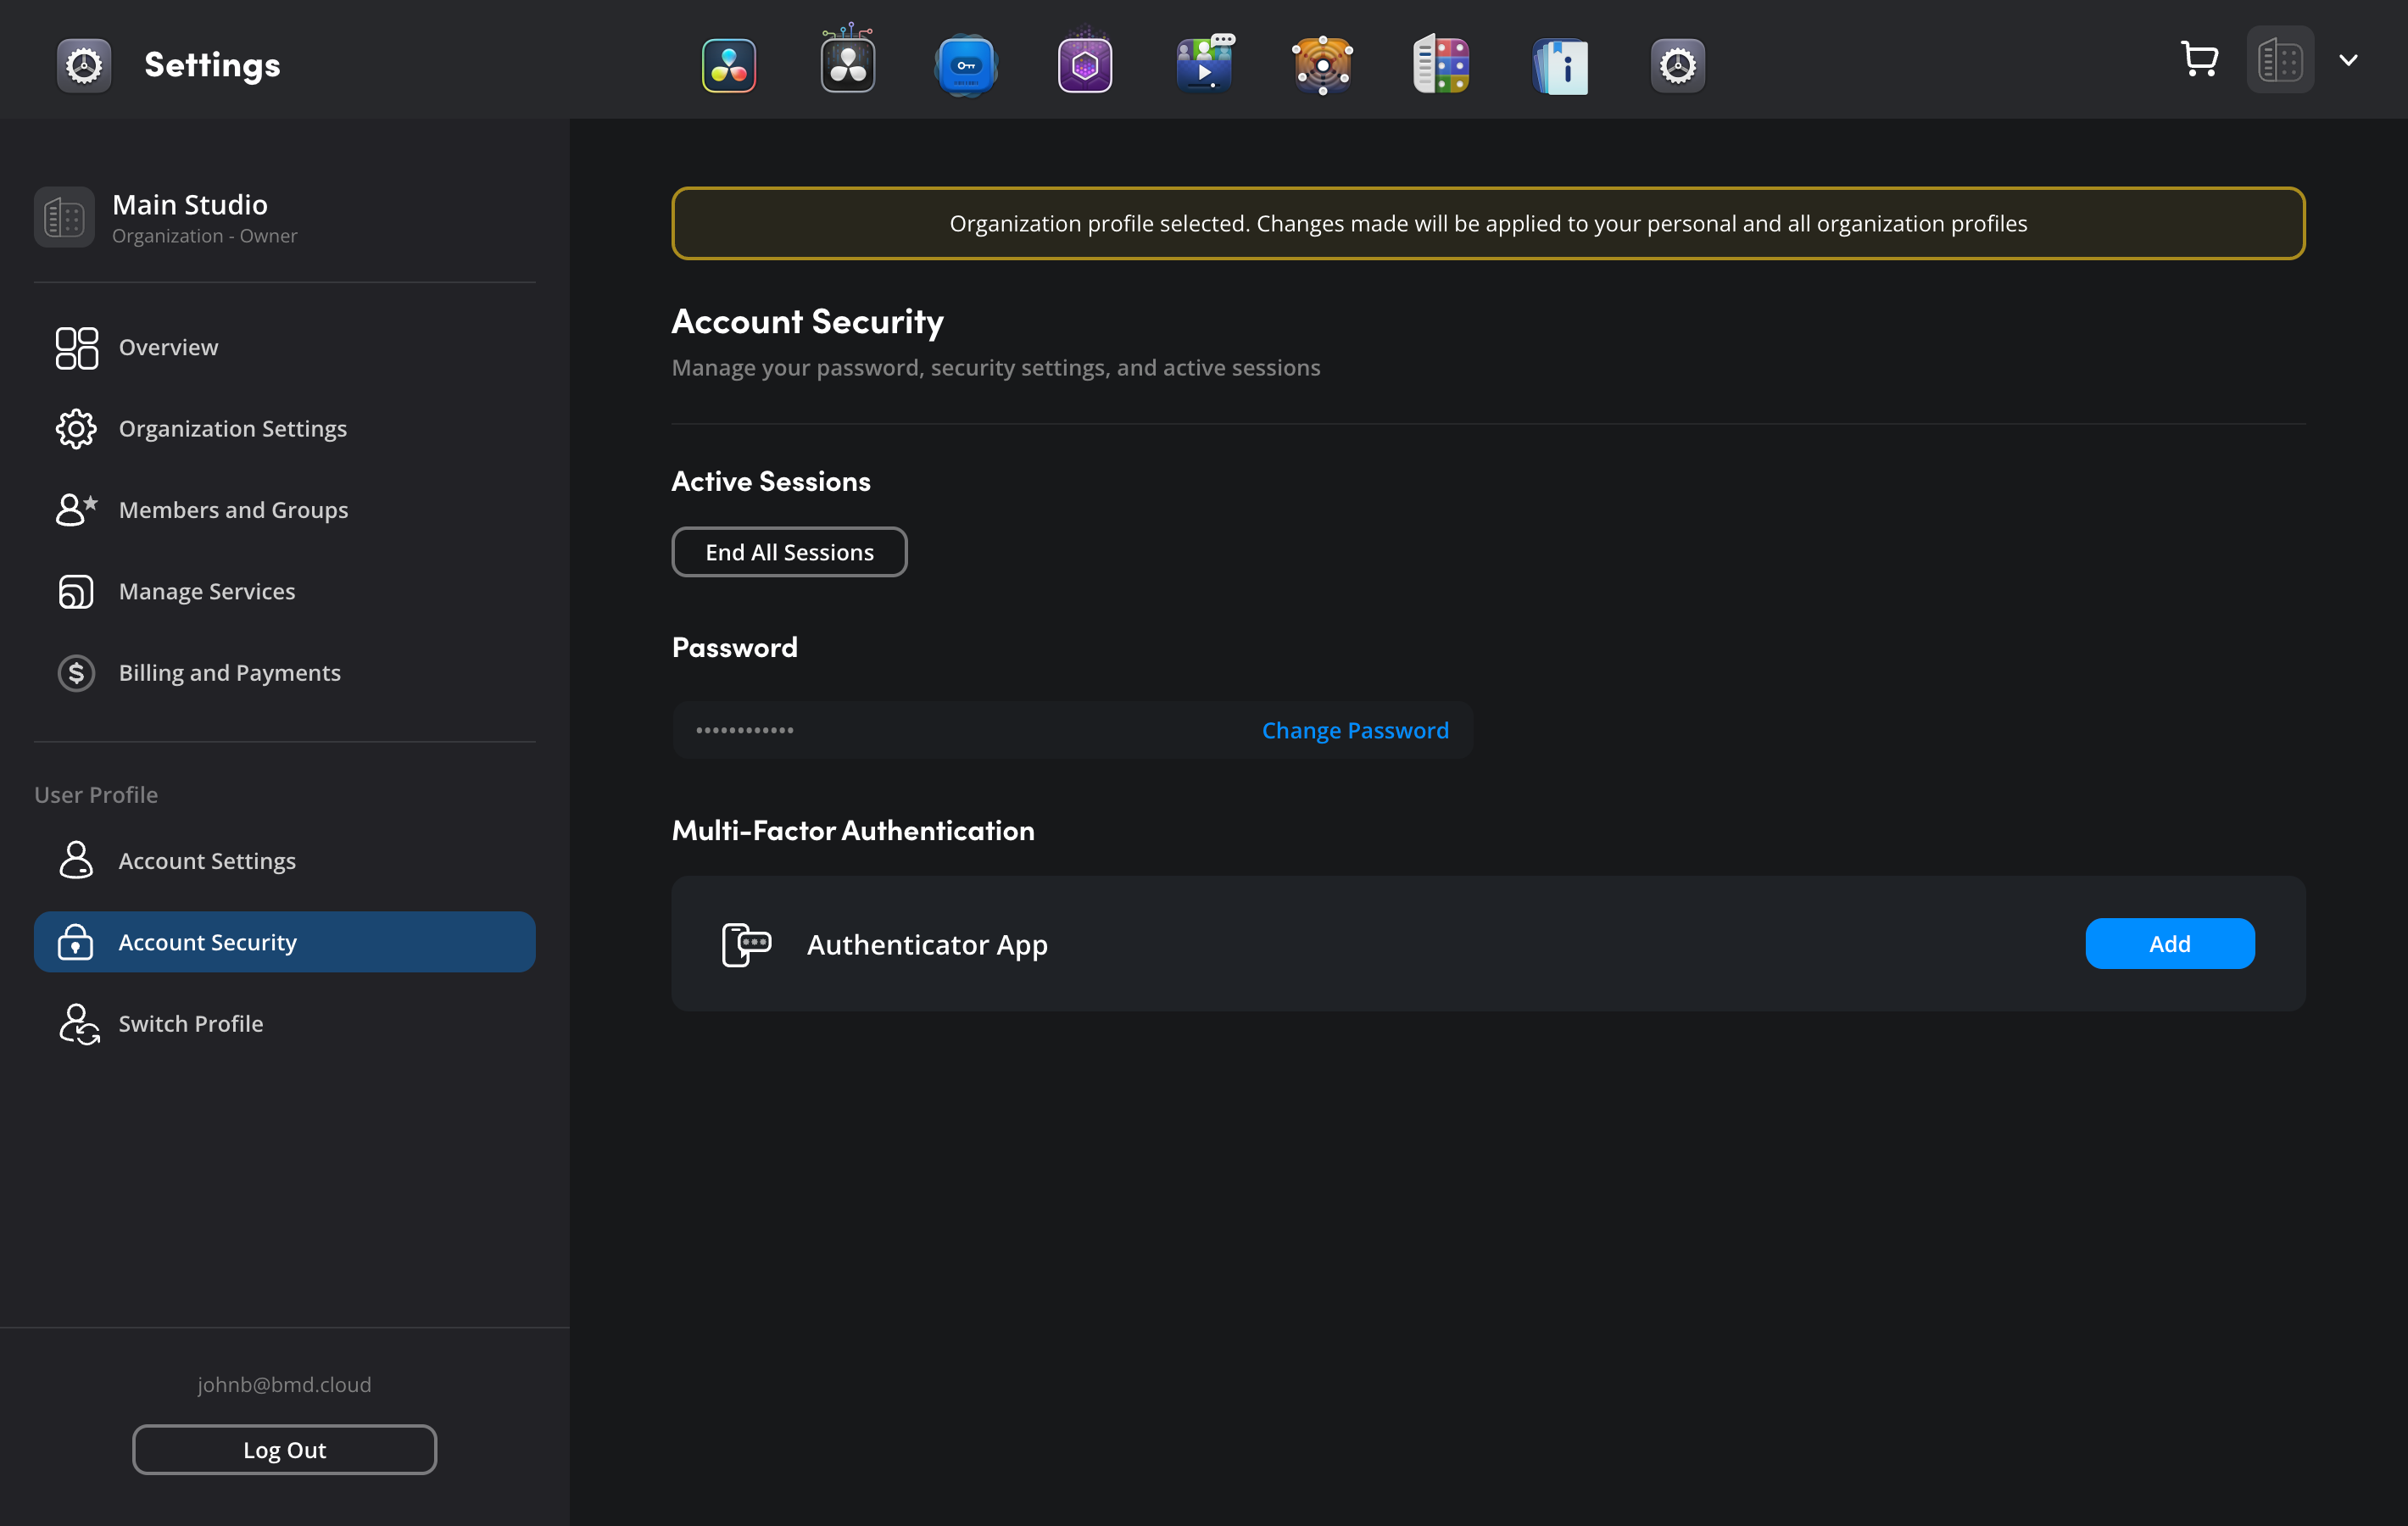
Active Sessions
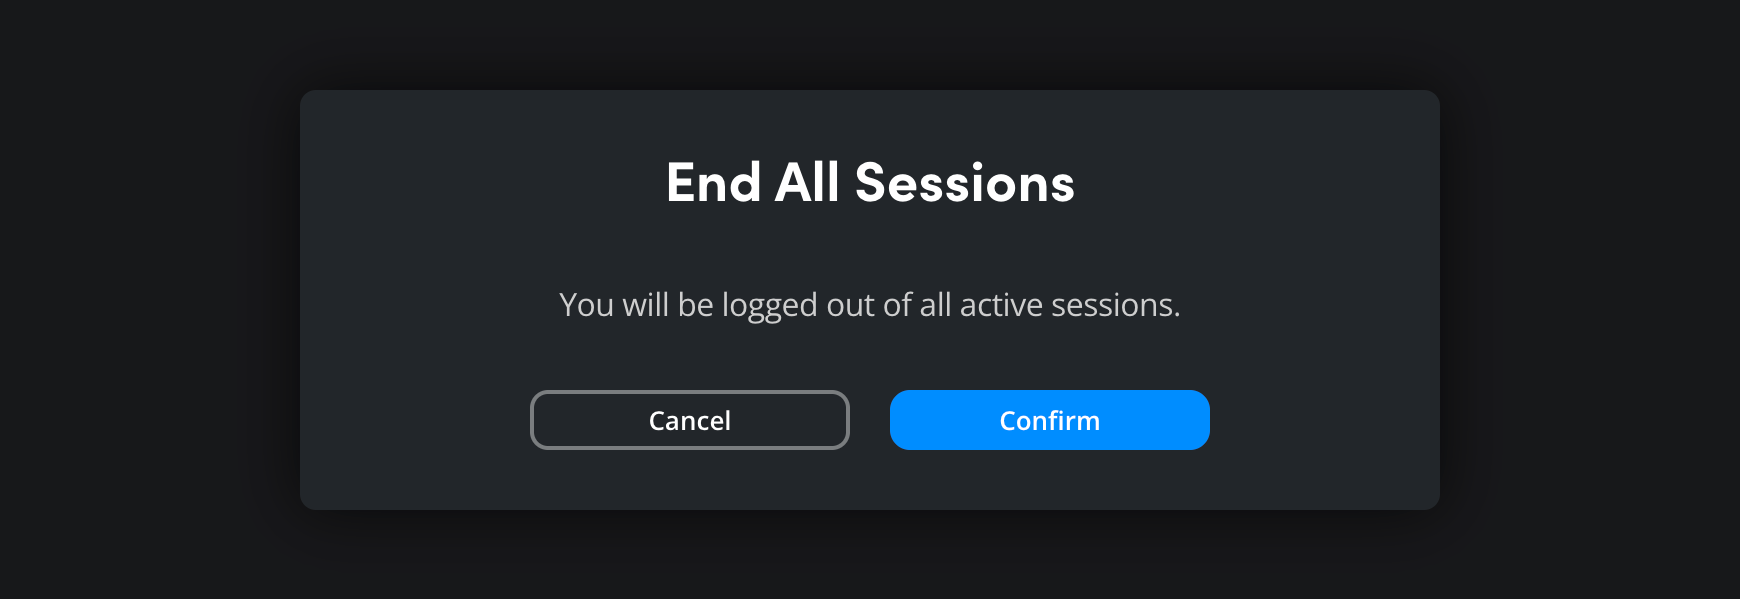
The ‘end all sessions’ option will log you out of all active Blackmagic Cloud sessions, including on the computer you are currently using. This can be useful if you have logged in to your Blackmagic Cloud account on a shared computer that you no longer have access to.
To end all sessions:
- Click the ‘end all sessions’ button.

- A confirmation window will open, to continue click ‘confirm’. You will then be logged out.
Password
You can use this option to change your Blackmagic Cloud account password.
To change your password:
- Click the ‘change password’ link.

- For security reasons, a password reset link will be sent to your email address.
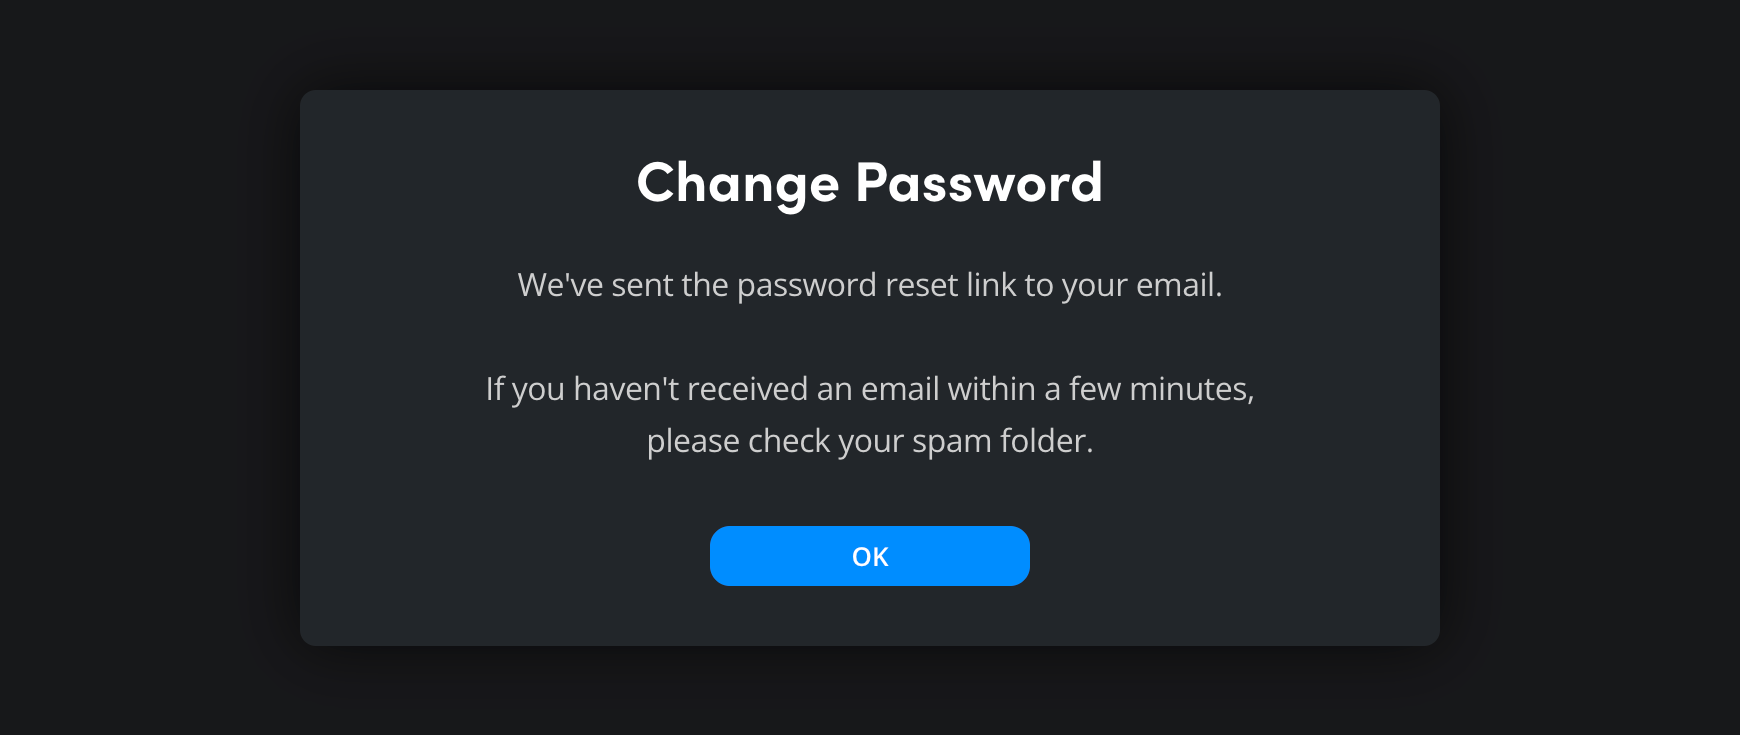
- Open the email and click the ‘reset password’ link.
- You will be prompted to enter and confirm your new password.
Multi Factor Authentication
Multi factor authentication adds an extra layer of security to your Blackmagic Cloud account.
To enable multi factor authentication:
- Click the ‘add’ button.

- A confirmation window will open. To continue and set up multi factor authentication, click ‘confirm’.
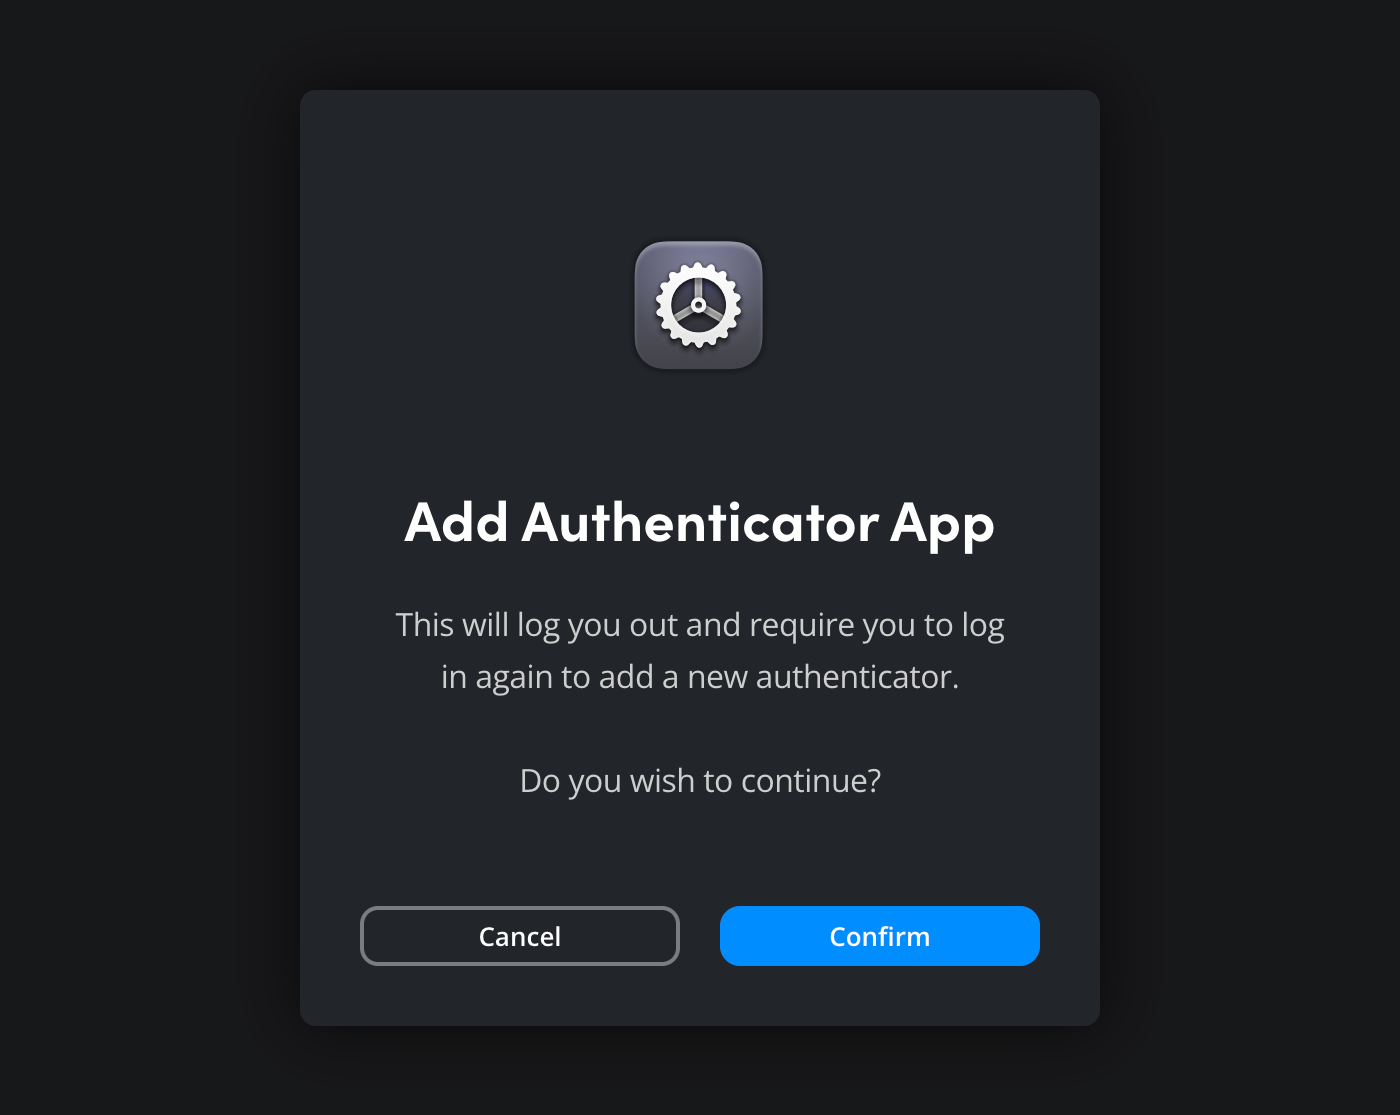
- You will be logged out of your account. On the next screen, scan the QR code using your chosen multi factor authentication app on your phone, enter the 6 digit code and click ‘verify’. This will enable multi factor authentication and add your Blackmagic Cloud account to your multi factor authentication app.
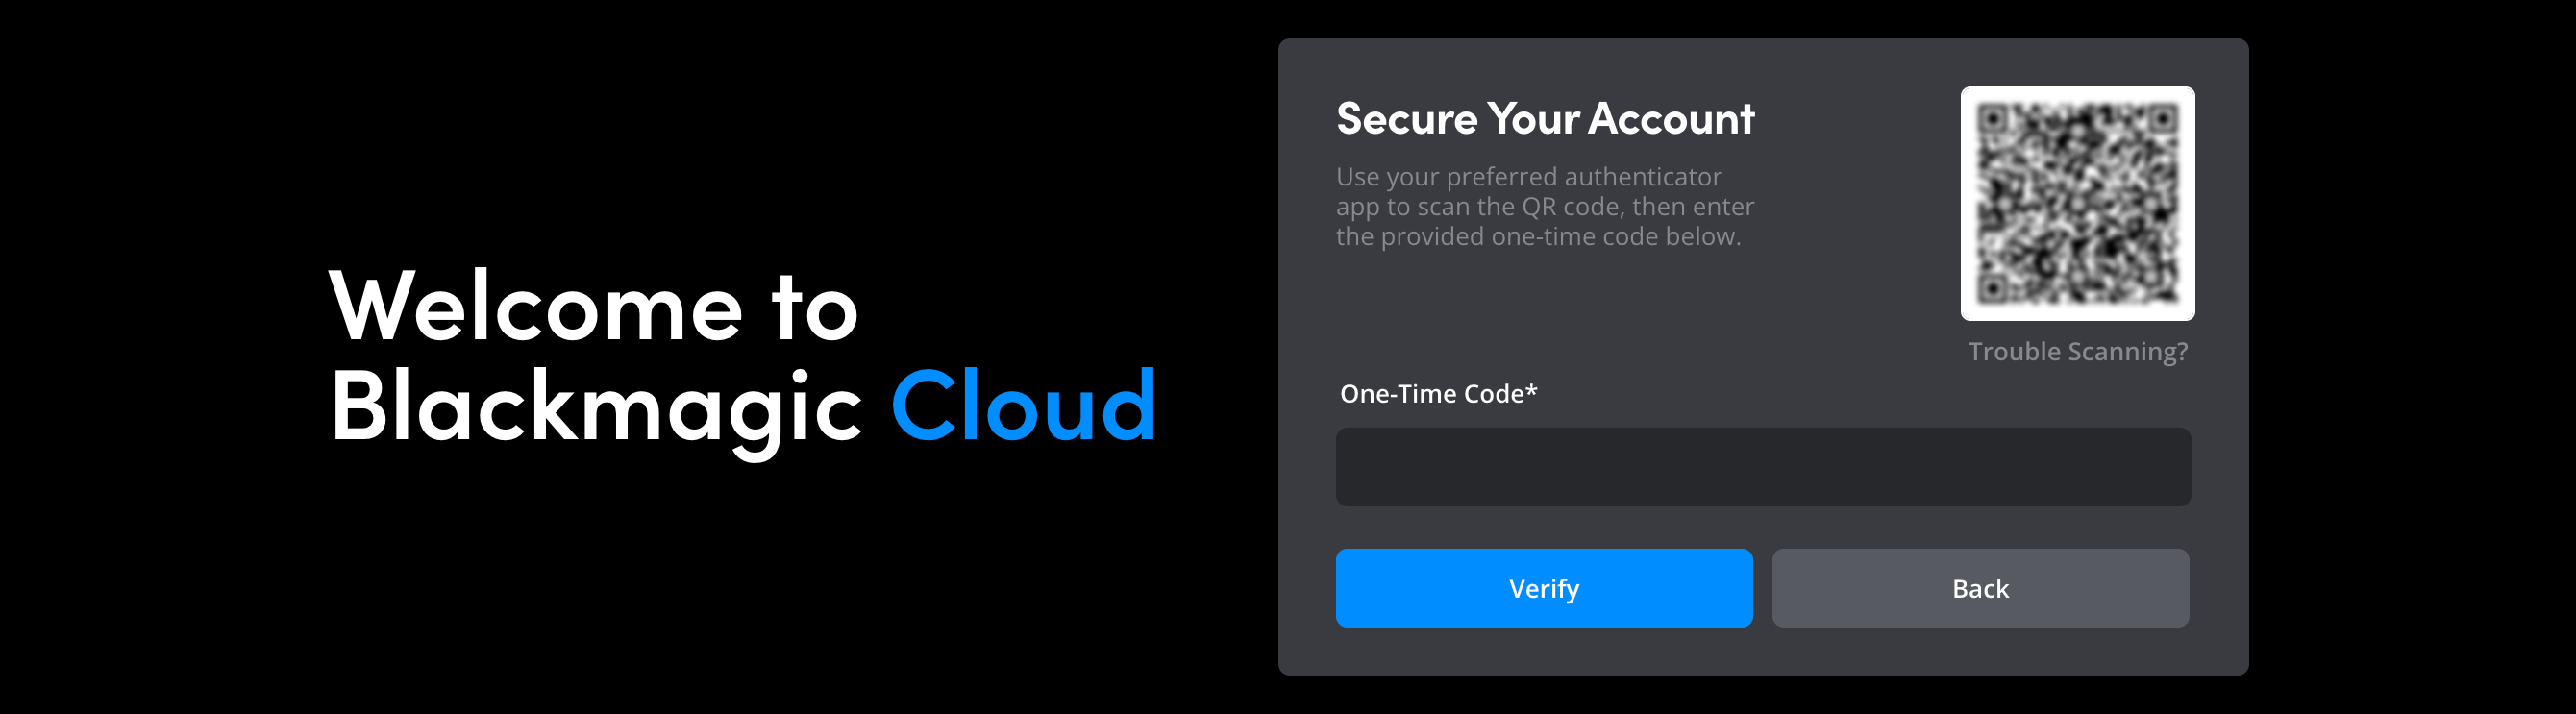
- A confirmation window will appear to let you know that two factor authentication has been enabled.
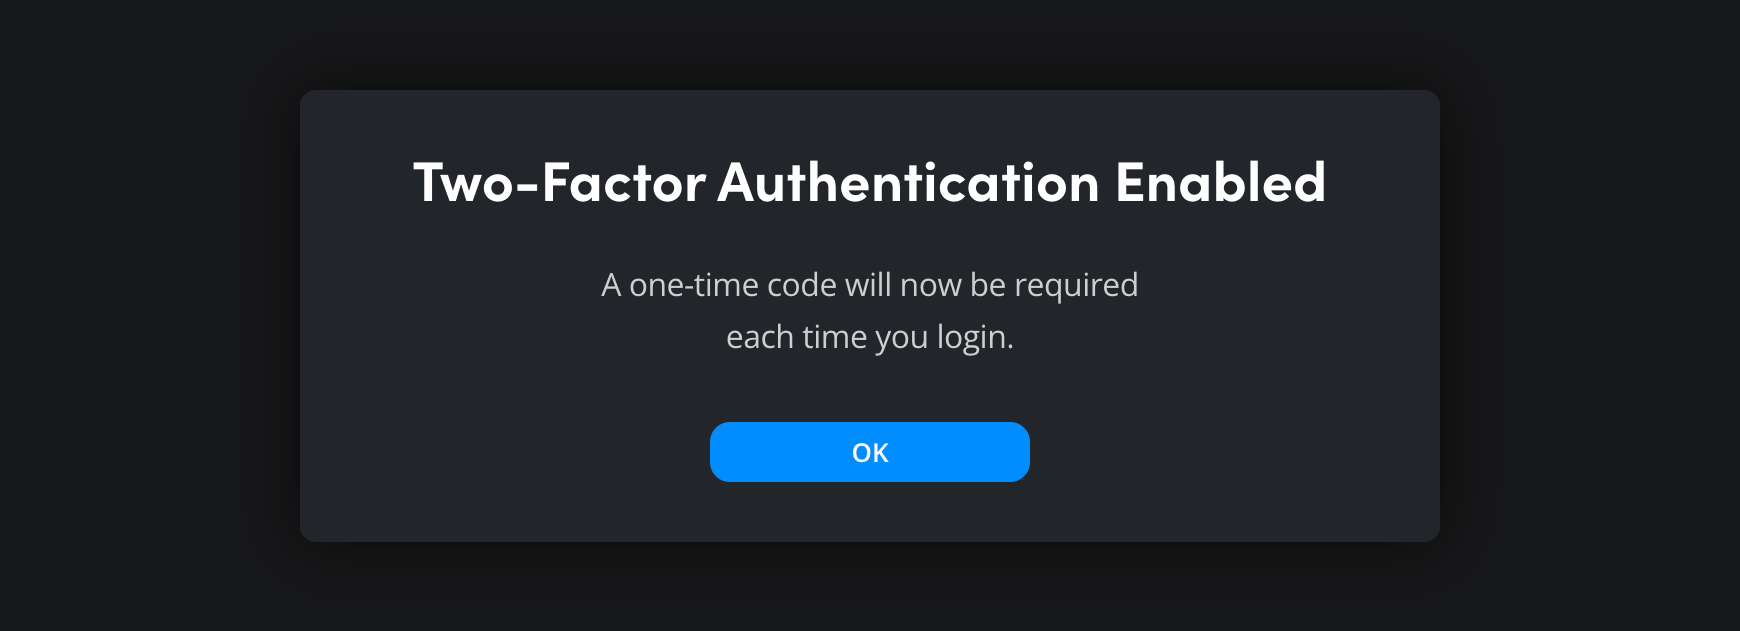
- The next time you log in to your Blackmagic Cloud account, you will be prompted to enter the one time code from your authenticator app after you have entered your username and password.
If you want to switch multi factor authentication off, click the ‘remove’ button and click ‘confirm’. The next time you log in to your account, you will just require your username and password.


