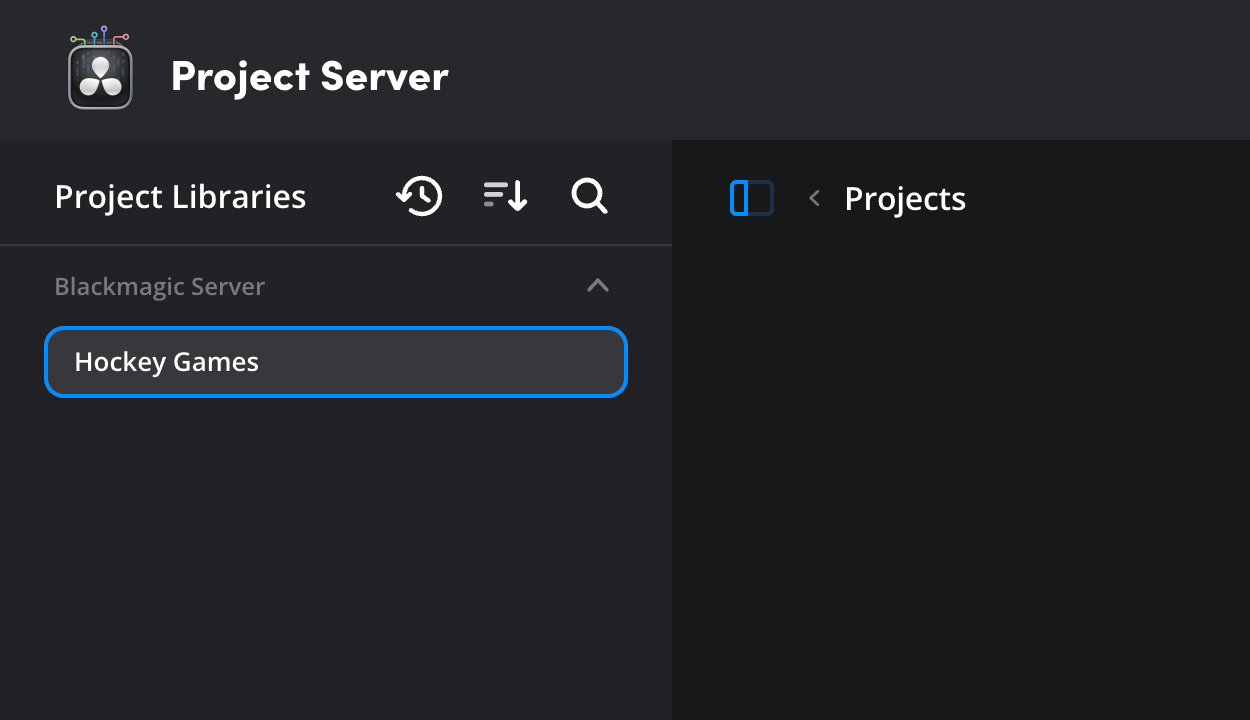
Creating a Project Library
Sign in to the Blackmagic Cloud account profile where you would like to create your Blackmagic Cloud project library. You can create a project library in either a personal or organization profile.
To add a project library to your project server, click the ‘project server’ icon in the Blackmagic cloud dashboard.
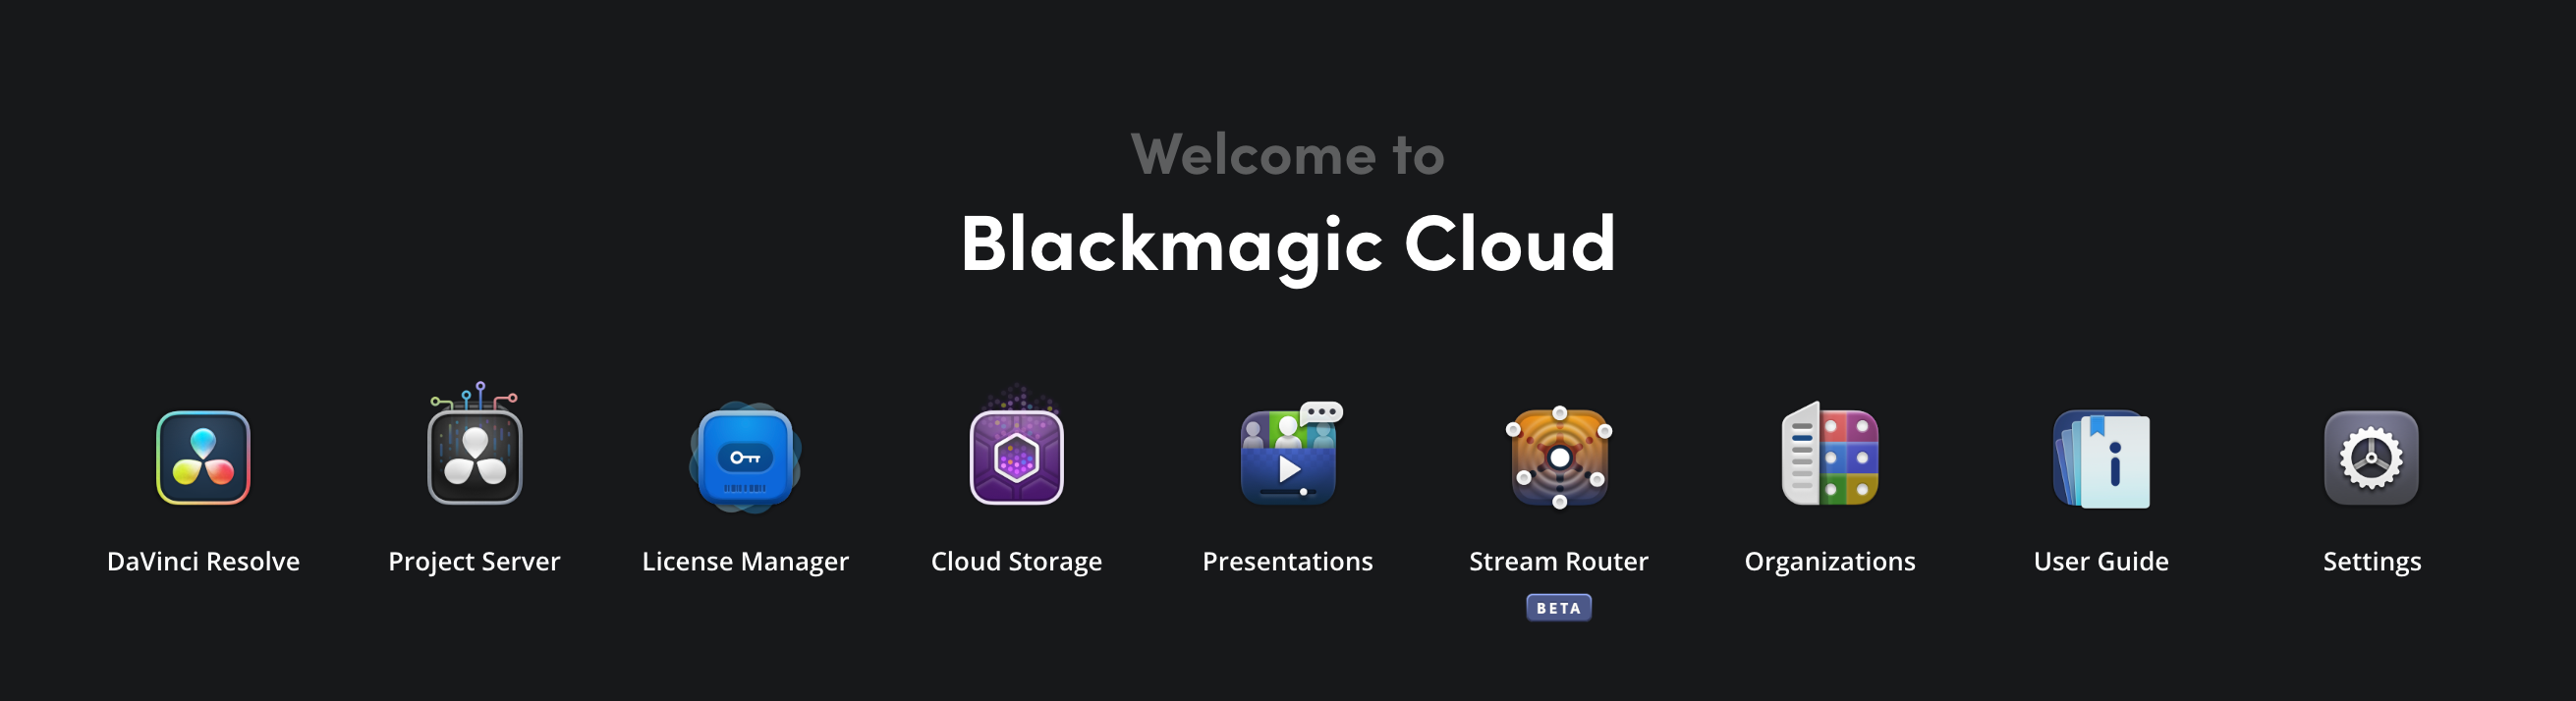
If you are adding a project library for the first time, the ‘add project library’ options will be displayed. If you are adding an additional project library, click the ‘add project library’ button in the bottom left of the ‘project server’ page.
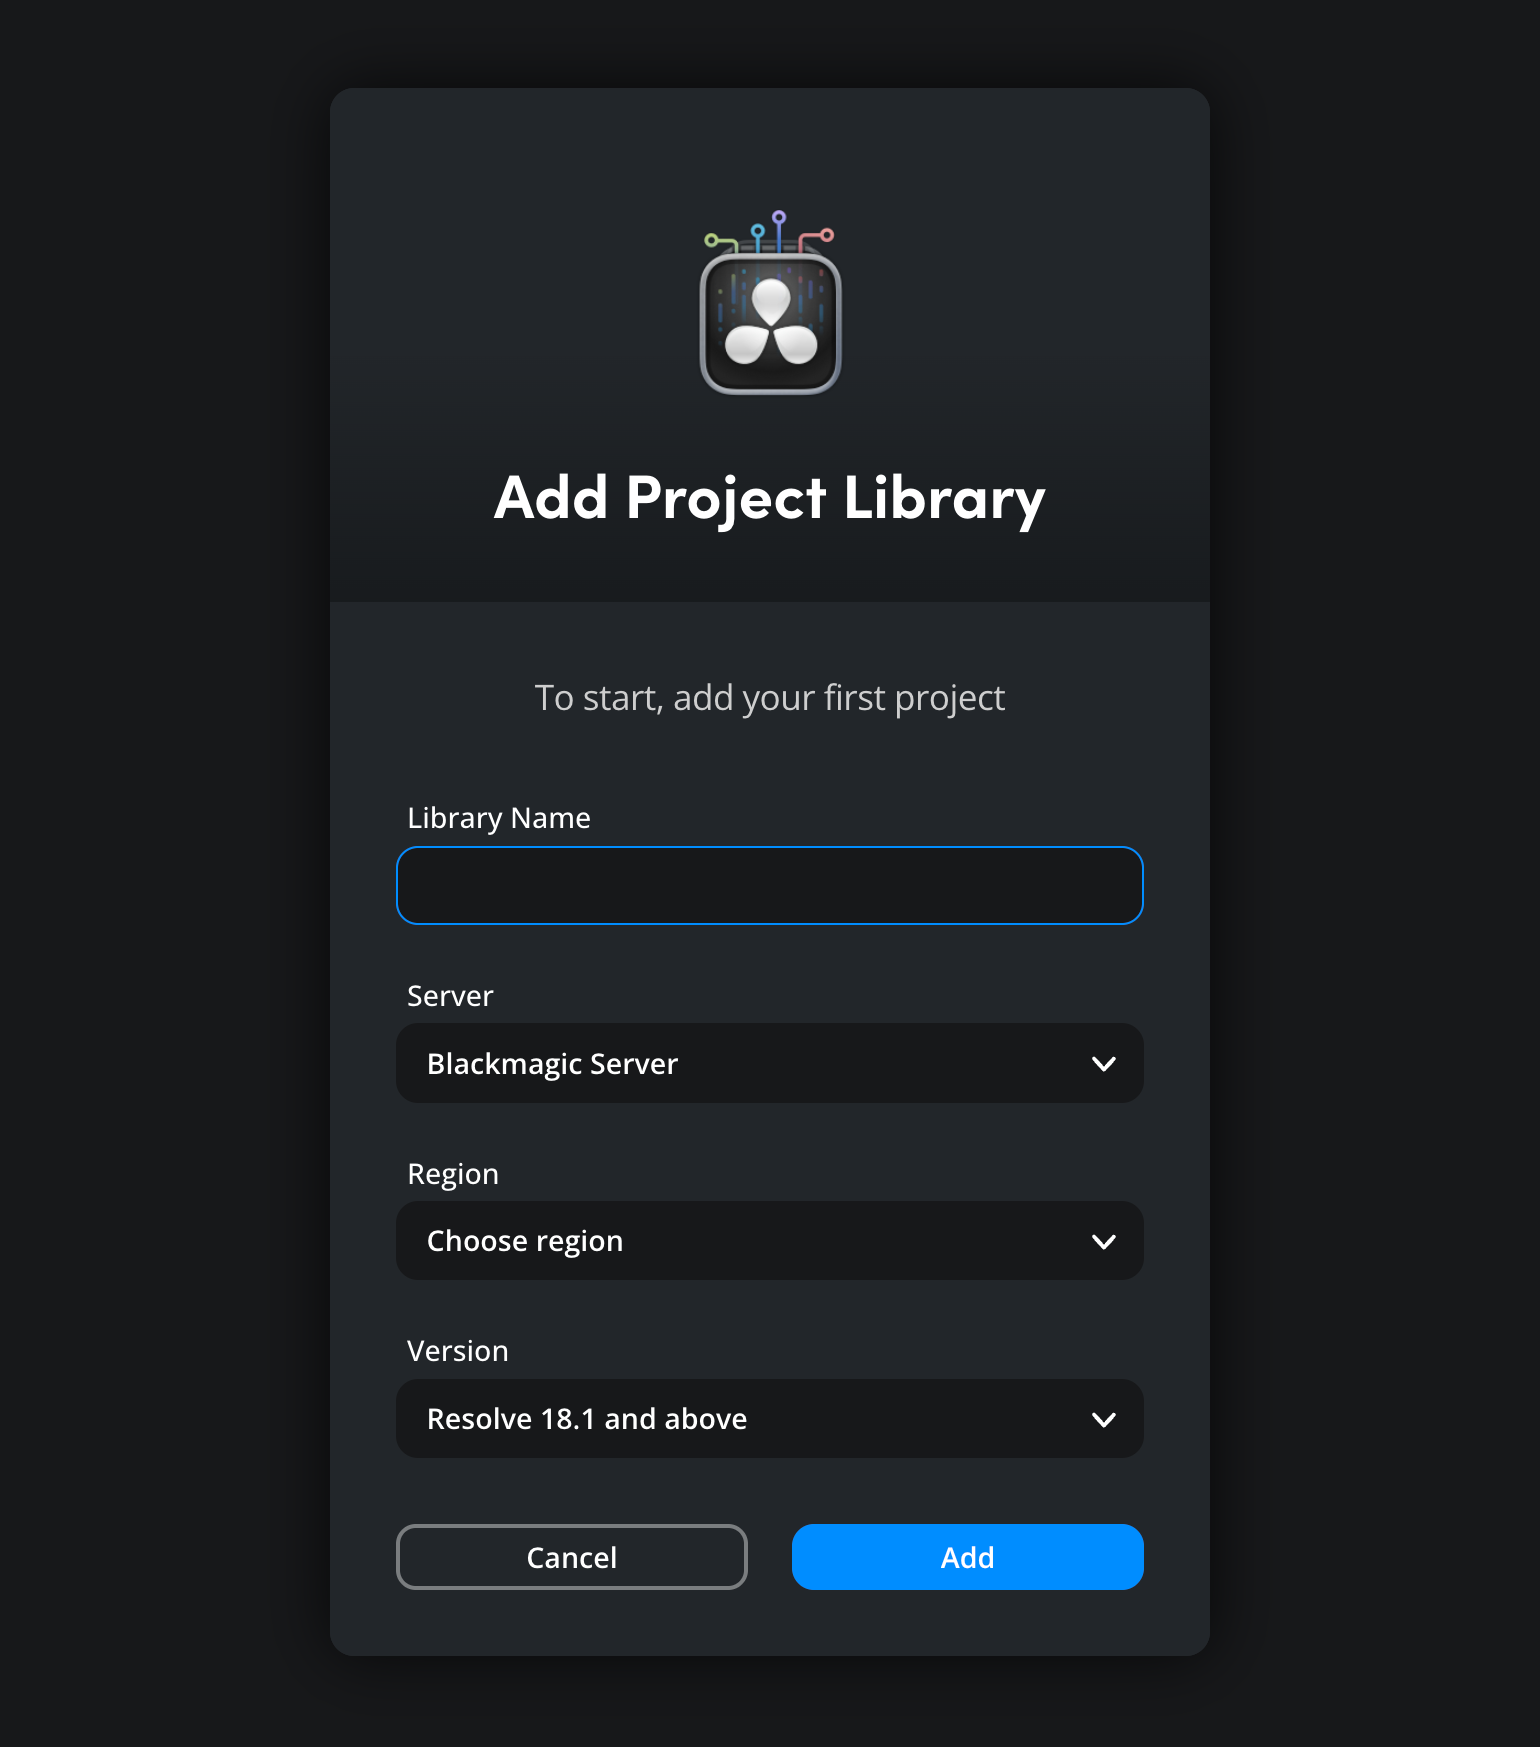
Library Name
Give your project library a suitable name. If you are collaborating with other users, it’s a good idea to make it easy to recognize. You can change the name of your project library later if you need to.
Server
In the ‘server’ menu, select ‘Blackmagic Server’ or the name of your dedicated server from the list.
Region
If you are using a Blackmagic Server. Select a region from the list. For the best response times and lower latency choose your local region or the region where the majority of your collaborators are based.
If you are using a dedicated server, the region is set when the server is first created in your account settings.
Version
Select your DaVinci Resolve software version. The default option is DaVinci Resolve 18.1 and above. If you are using DaVinci Resolve 18, select that version from the list.
When you have finished entering your information, click the ‘add’ button at the bottom of the ‘add project library’ window to create your project library. The new project library will appear in the ‘project libraries’ panel in the ‘project server’ page.