Video Conferencing
If you have video conferencing enabled for your presentation, you will see each user’s video stream appear in a live thumbnail in a strip above the presentation viewer. By default, the camera and microphone are switched off, however you can choose to enable one or both.
To enable your camera or microphone:
-
Click on the camera or microphone icon in the upper left of the viewer.

-
If you see a message from your computer’s web browser asking to confirm that you want to enable your camera or microphone, click ‘allow’.
-
Once your camera and microphone are enabled, you will see your live thumbnail appear above the presentation viewer and other viewers will be able to see and hear you through their web browser.
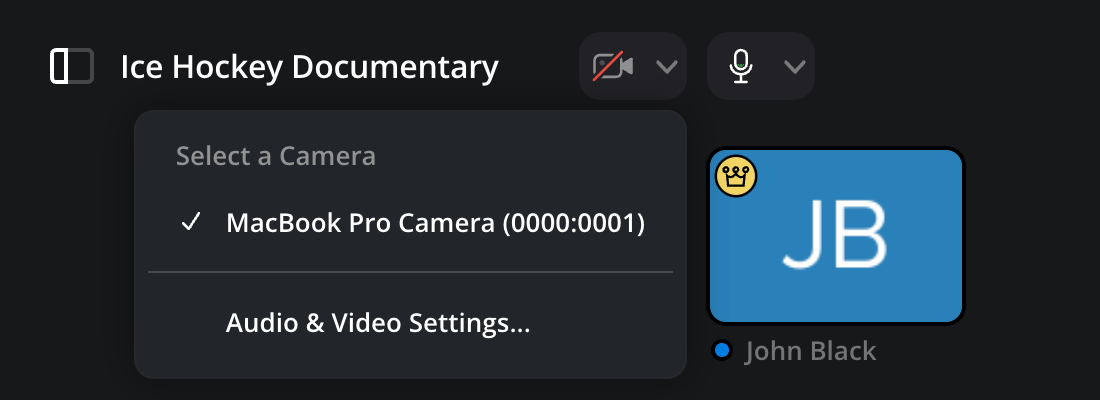
If you want to turn your camera or microphone off at anytime, click the corresponding icon. A red line will be displayed when the camera or microphone is disabled.
Audio and Video Settings
If you want to choose a different camera, microphone or speaker for video conferencing, for example an external webcam, you can do so by clicking the arrow next to the camera or microphone icon.
Choose a different camera, microphone or speaker by clicking on the list of available options. To test your camera, microphone or speaker and see additional configuration options, click ‘audio and video settings’.