
Groups
In a Blackmagic Cloud organization, a ‘group’ is a collection of users all under one name. Creating groups of users makes managing and sharing easier and faster. For example, if you have four editors working on the same project you could add them all to an ‘editors’ group. Then instead of sharing a Blackmagic Cloud project library with each editor individually, all you have to do is share the project library with the ‘editors’ group to give them all access.
To create a group, click the ‘settings’ icon in the Blackmagic Cloud dashboard. In the ‘settings’ page select ‘members and groups’.
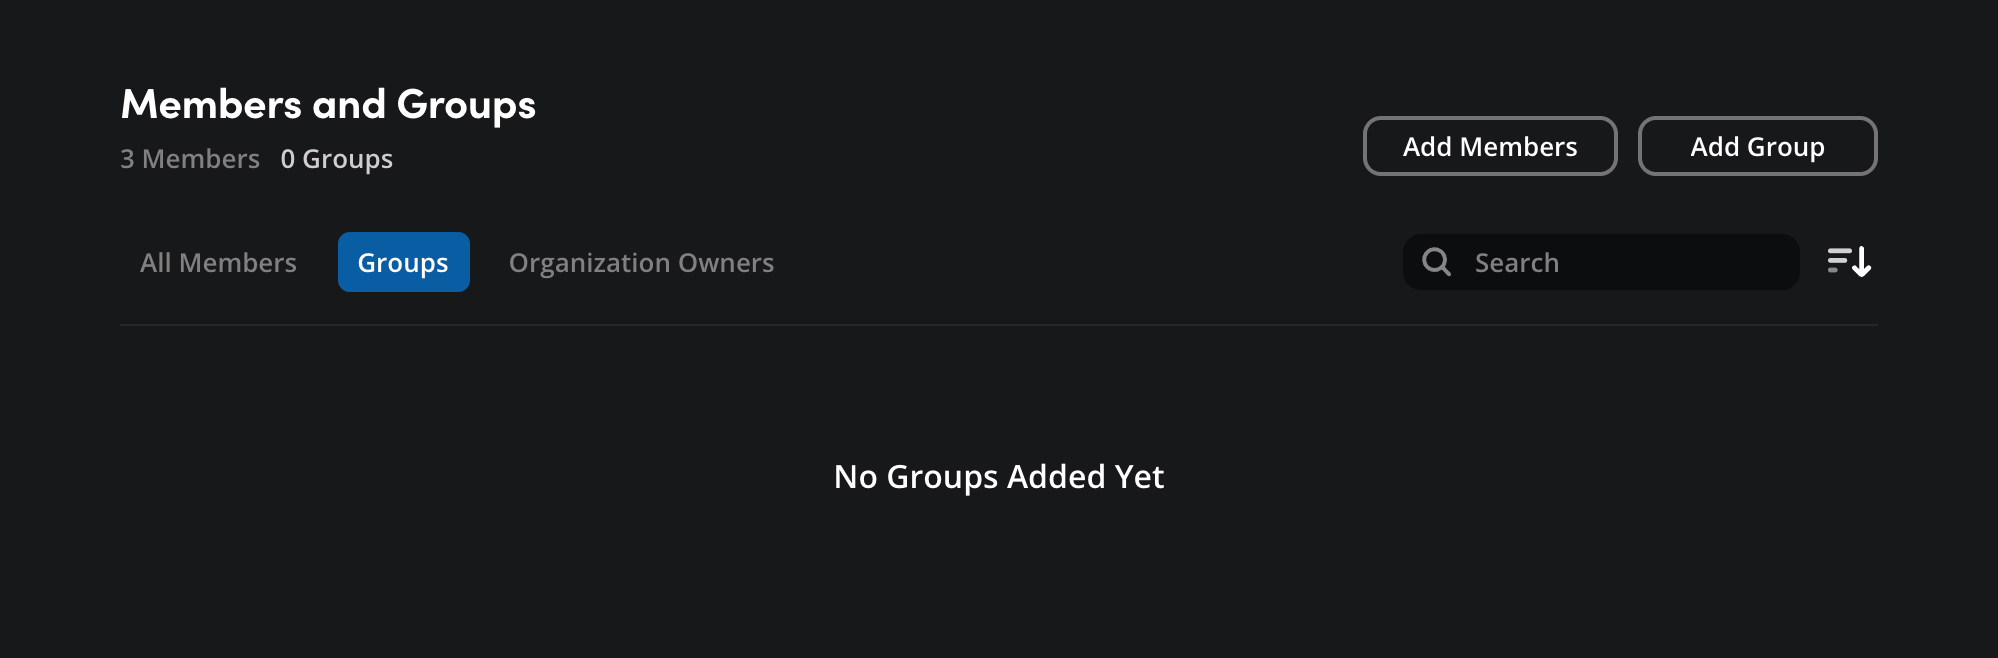
To create a group:
-
In the ‘members and groups’ page, click the ‘add group’ button in the top right of the page. The ‘add group’ window will open.
-
In the ‘add group’ window, type a name for your group in the ‘group name’ field.
If you have set up a shared email address for the users you are adding to the group, you can enter it in the optional ‘group email’ field. This email address will be used to keep group members up to date. For example, an email notification will be sent to the address if a project library is shared with the group.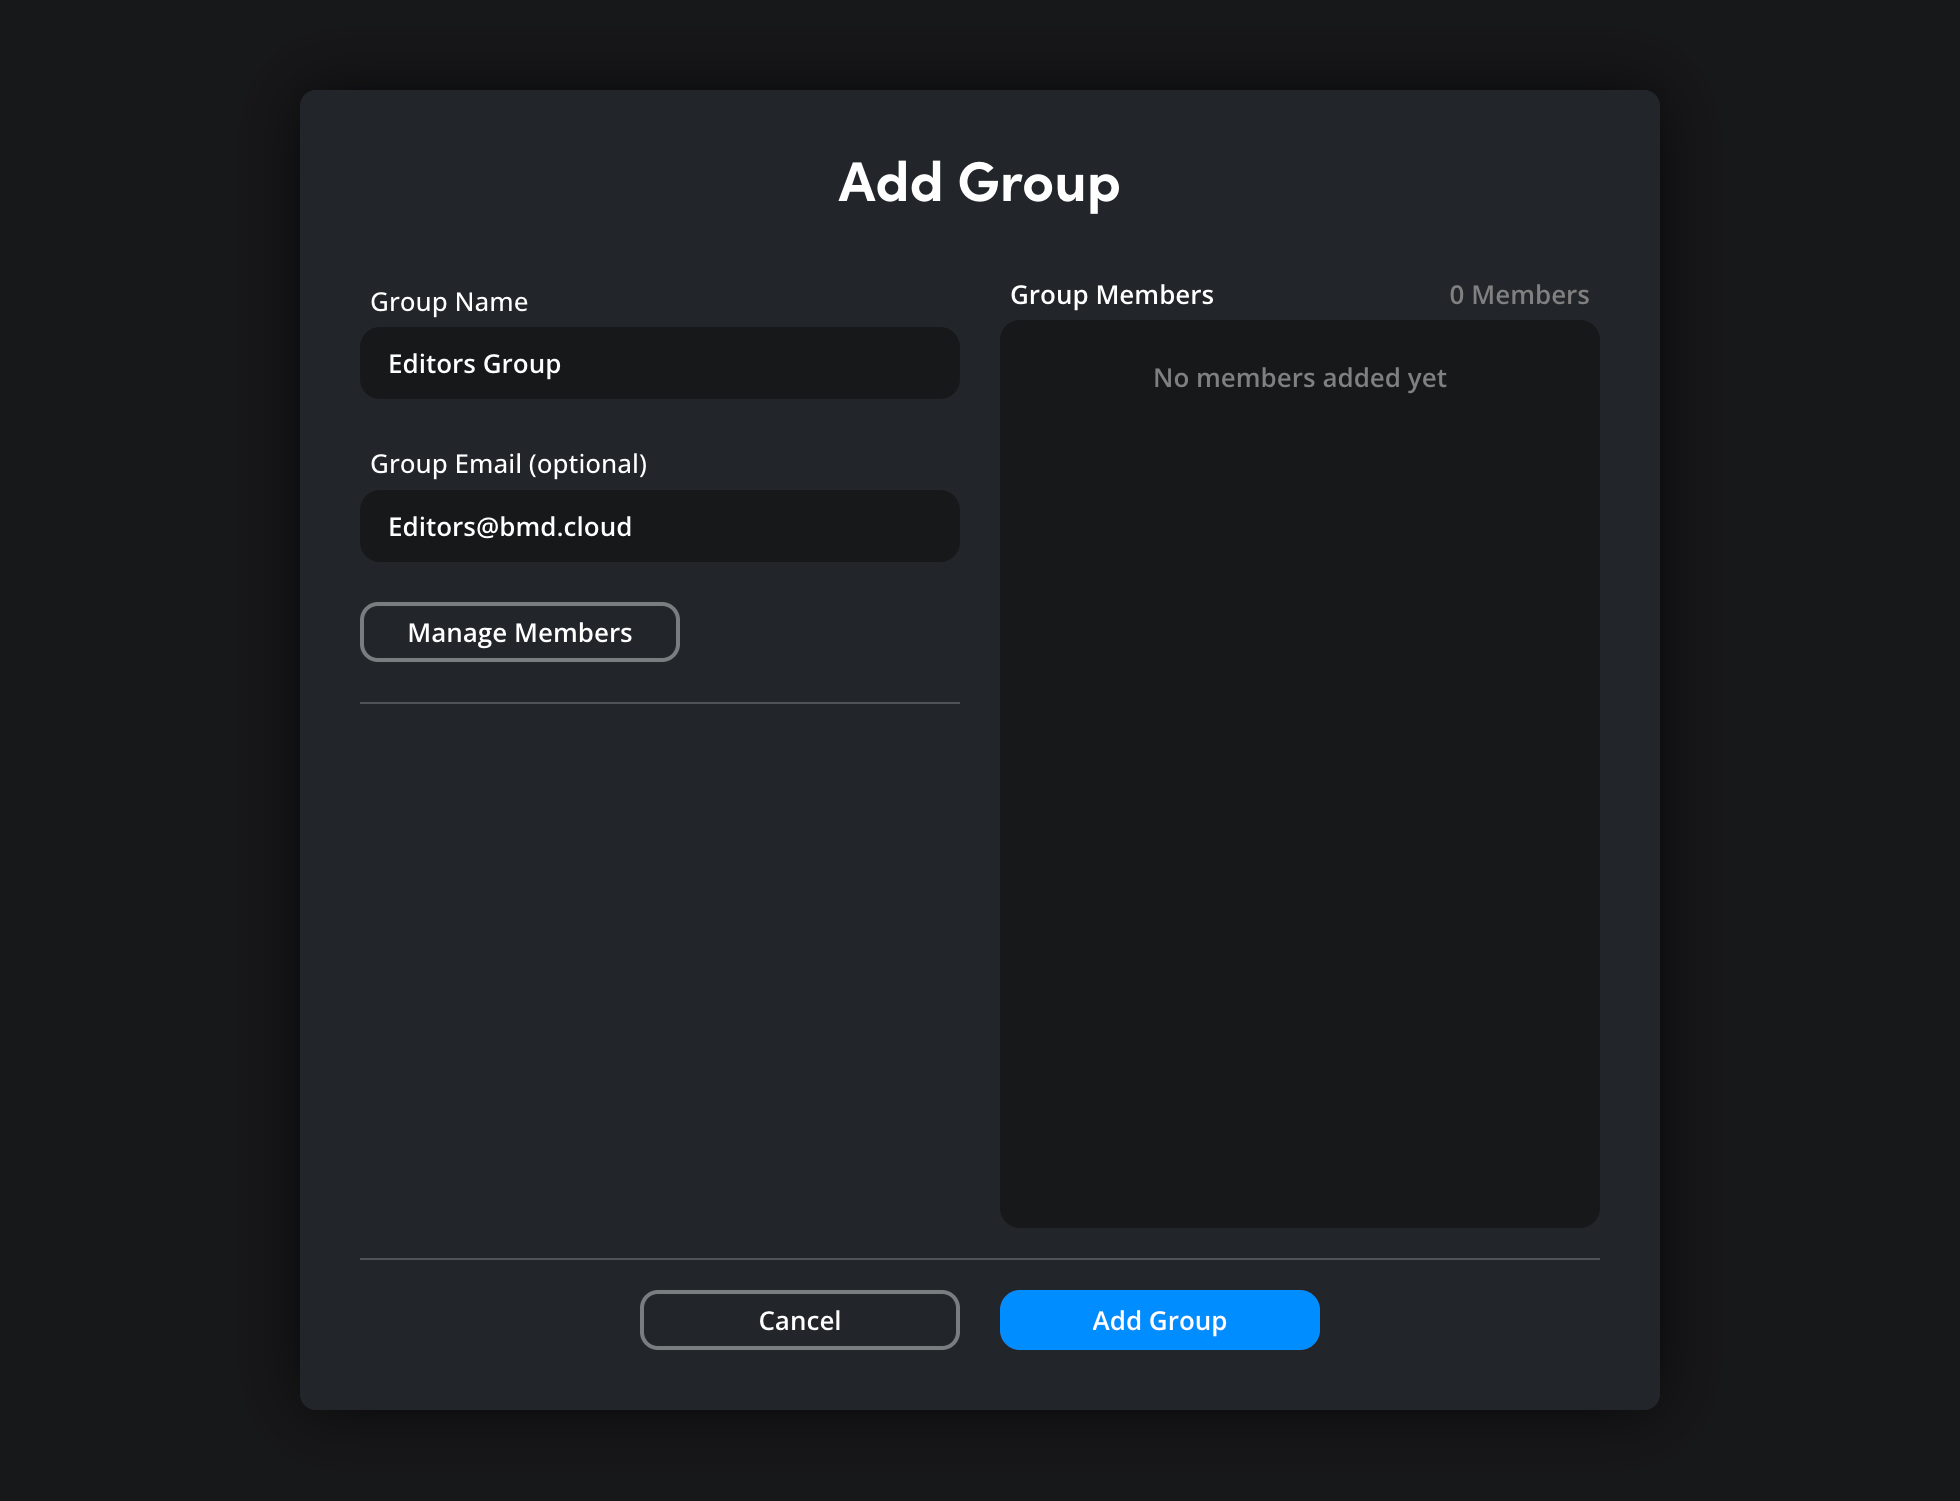
-
To start adding members to the group, click the ‘manage members’ button.
In the ‘manage members’ window select the organization members that you want to add to the group by clicking the checkbox next to their name. Click the ‘add selected to group’ button. The selected members will be displayed in the ‘group members’ column. If you want to remove a member from the ‘group members’ list, click their checkbox and click ‘remove selected’. When you have chosen the members you want to add to the group, click ‘update’.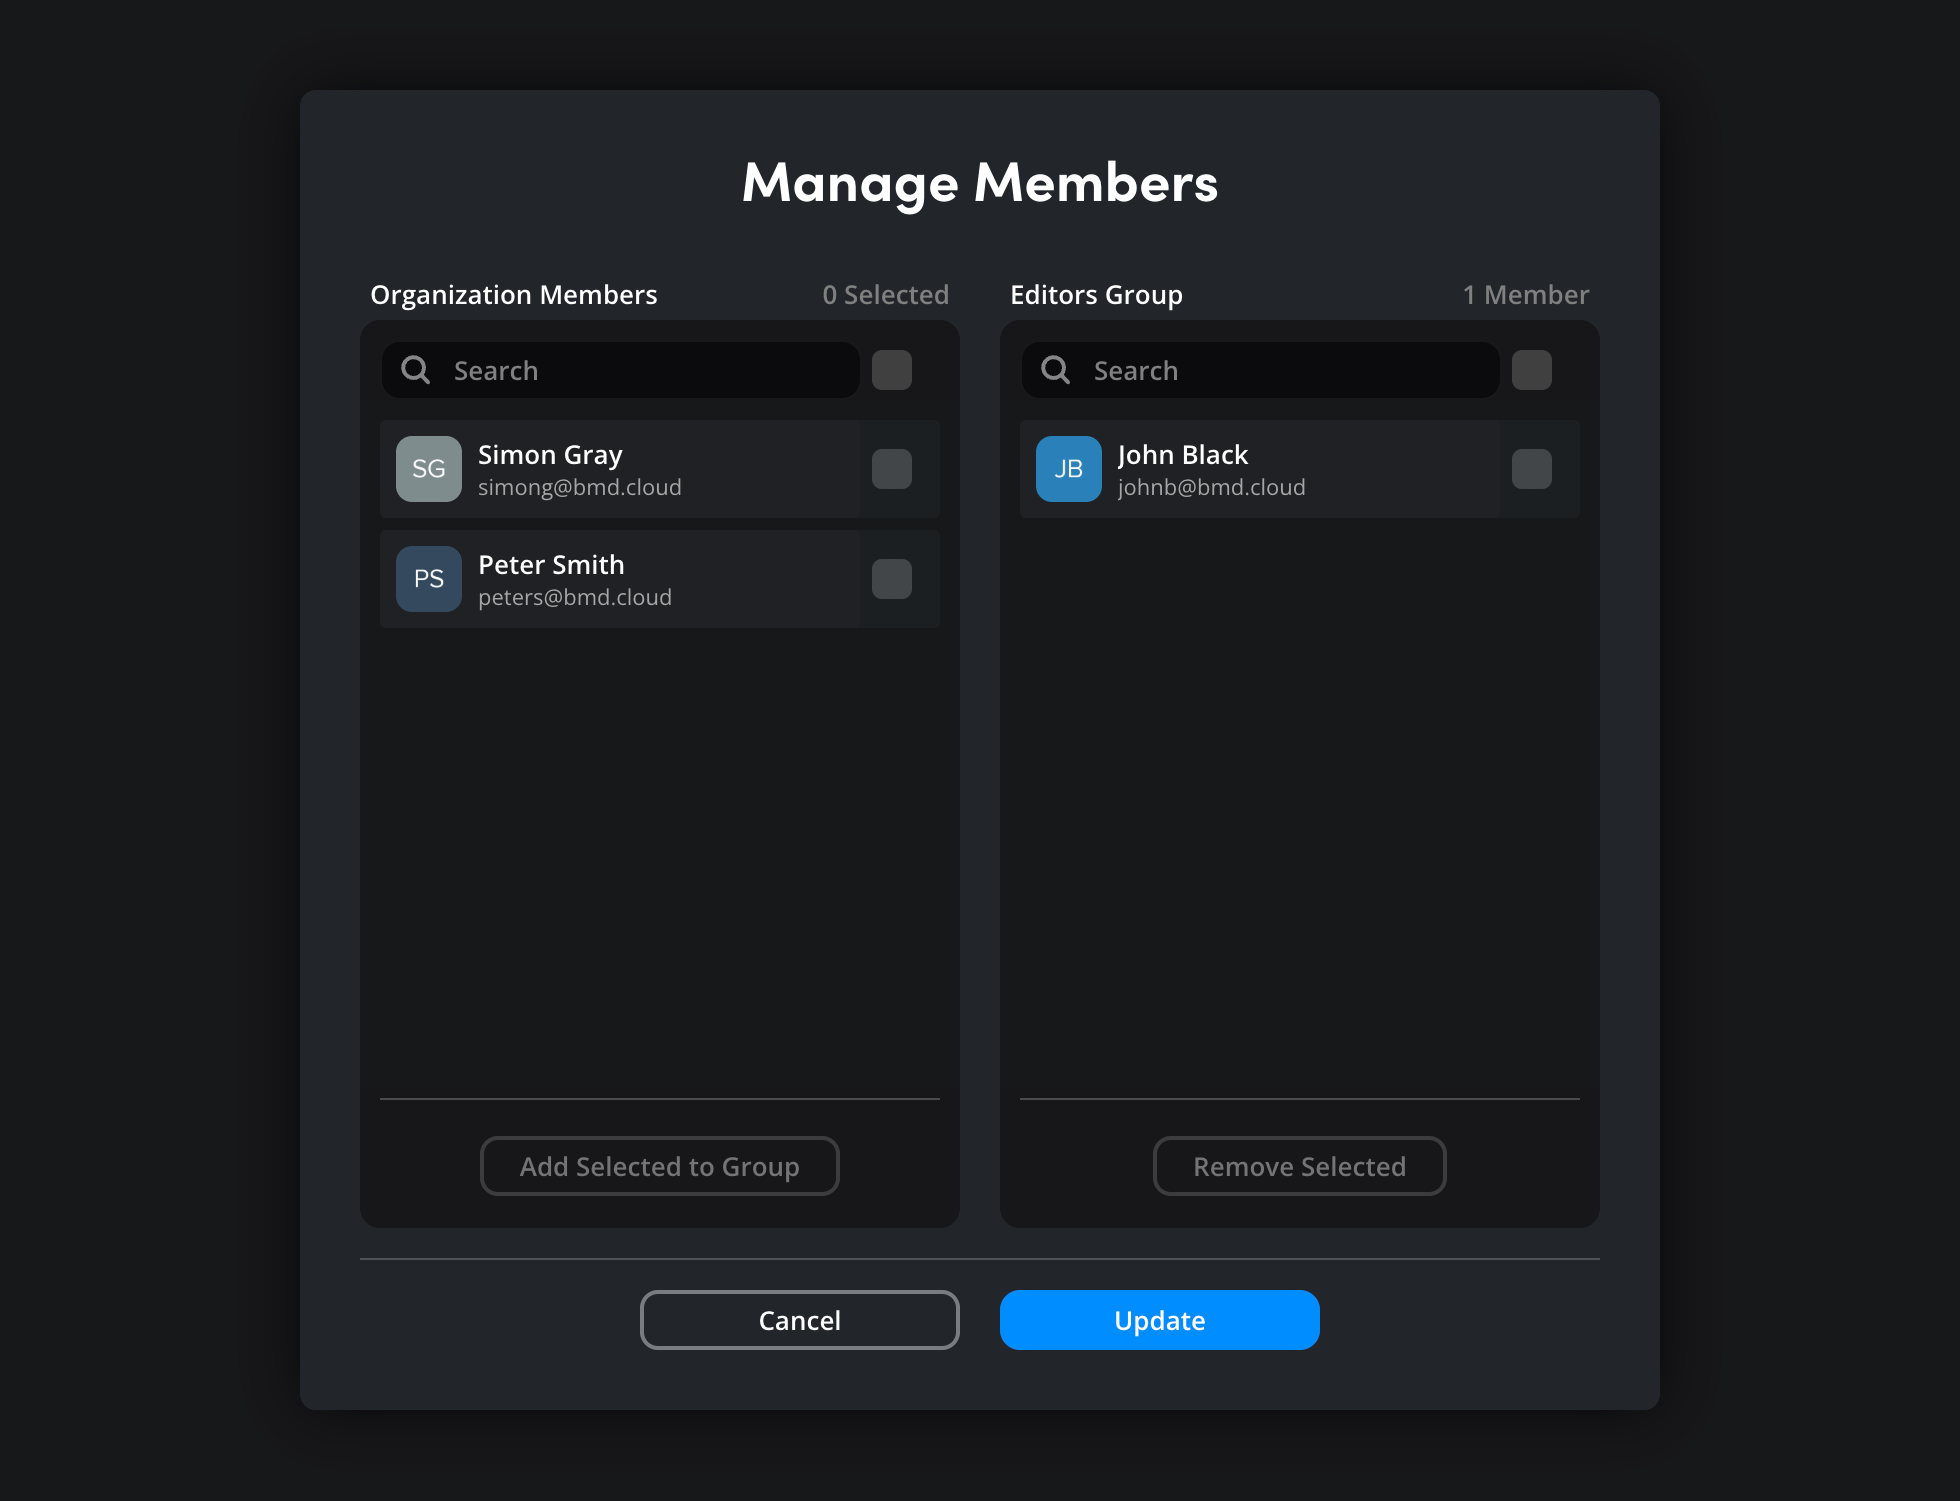
-
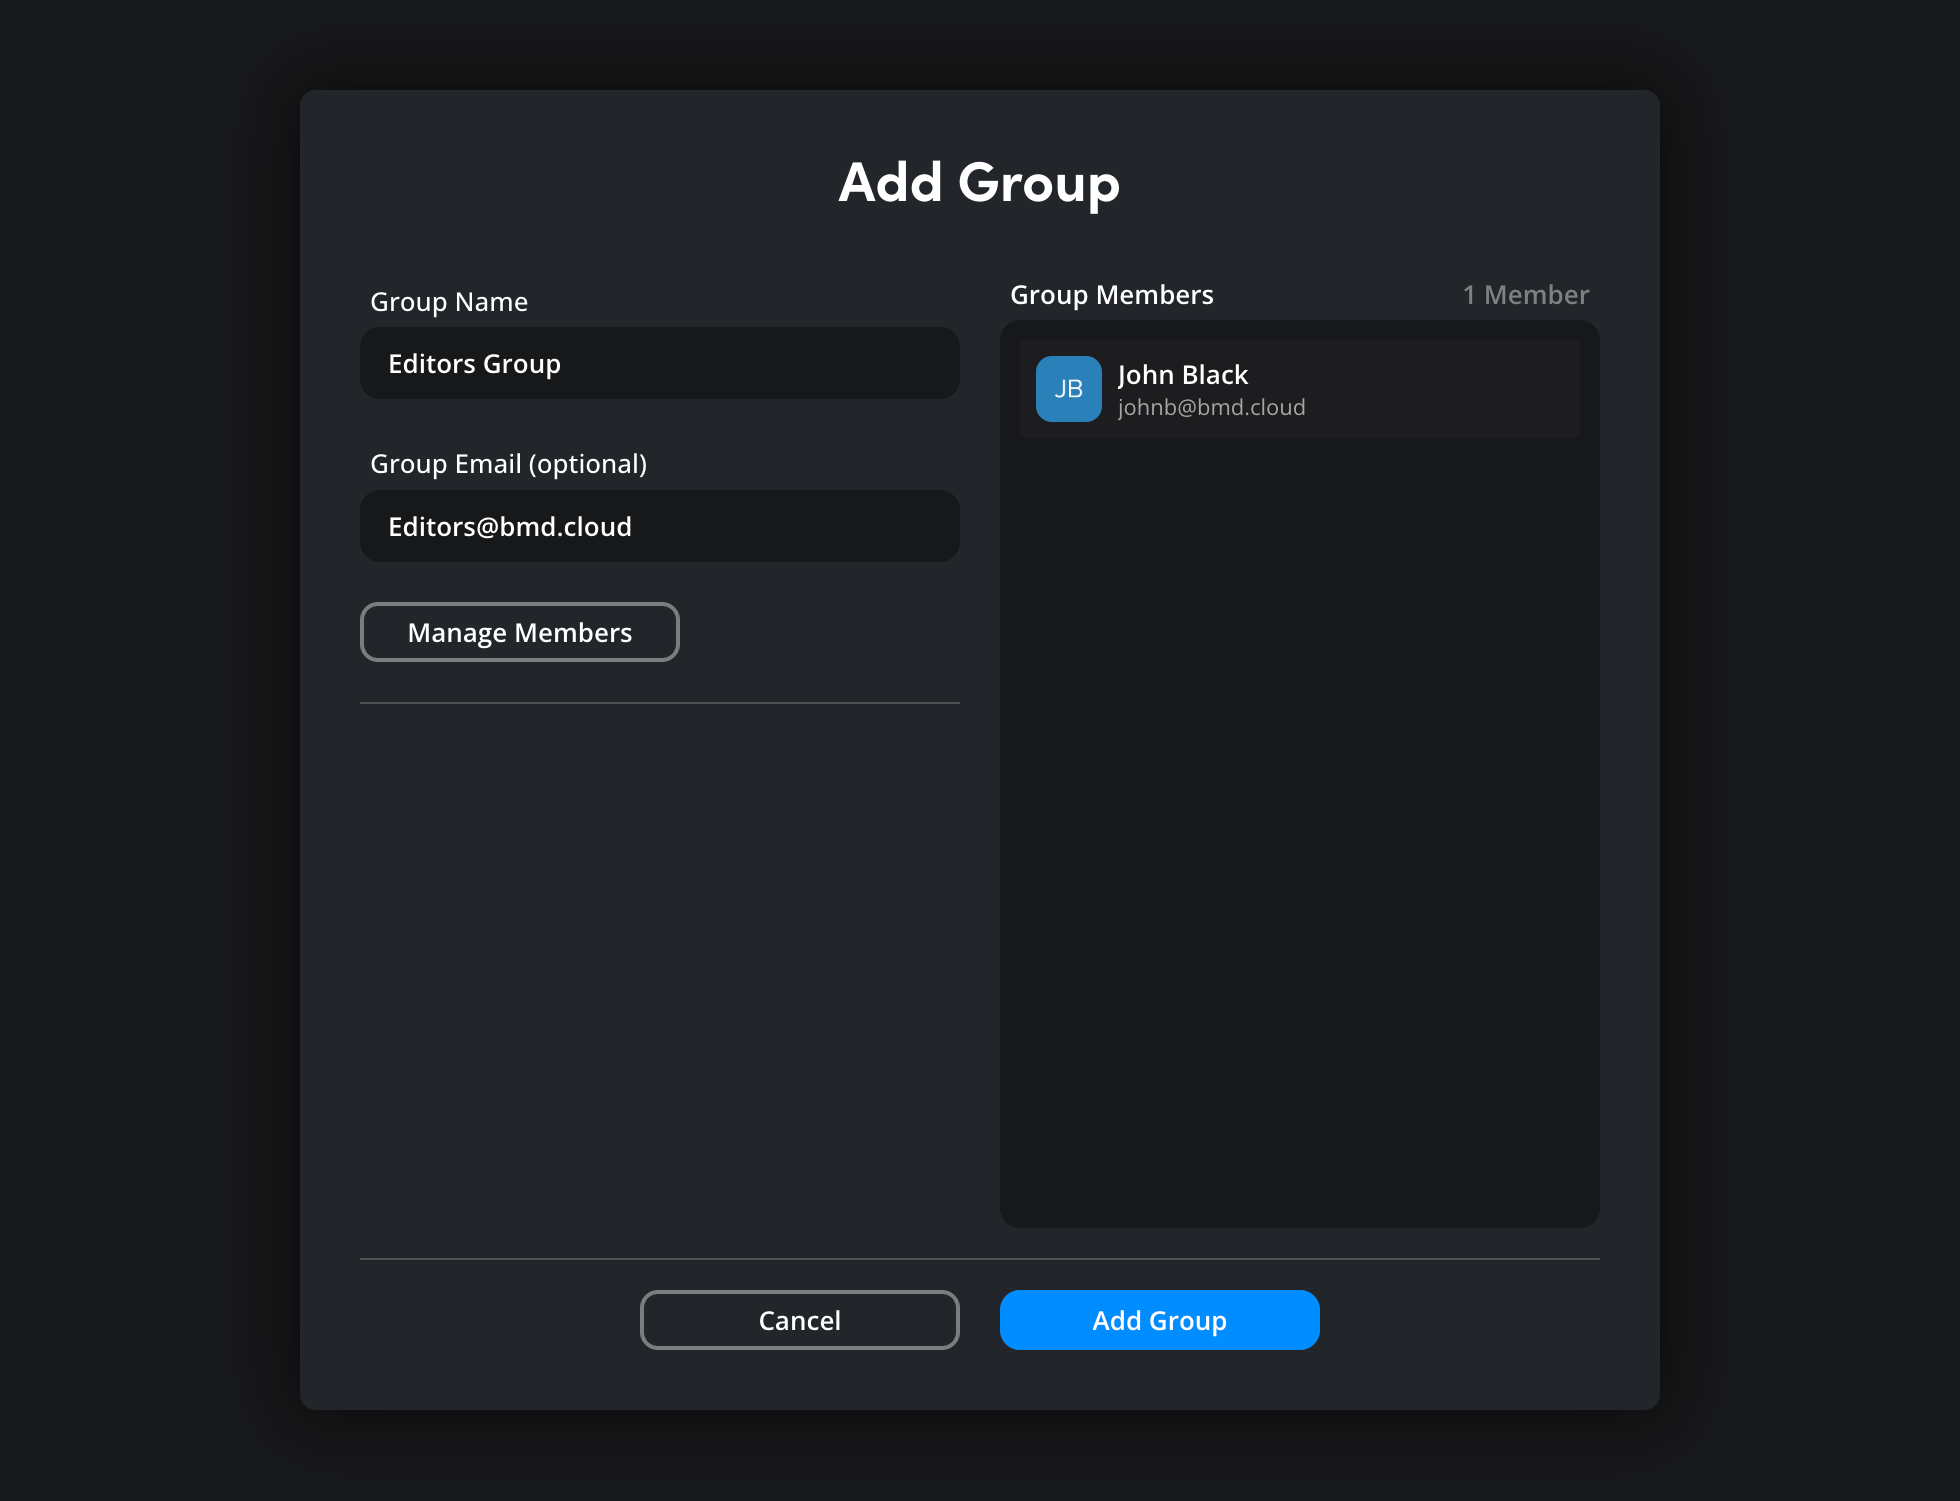
In the ‘add group’ window the selected members will be listed in the ‘group members’ column. To create the group, click the ‘add group’ button.
-
The group will now be listed in the ‘groups’ tab in the ‘members and groups’ page.
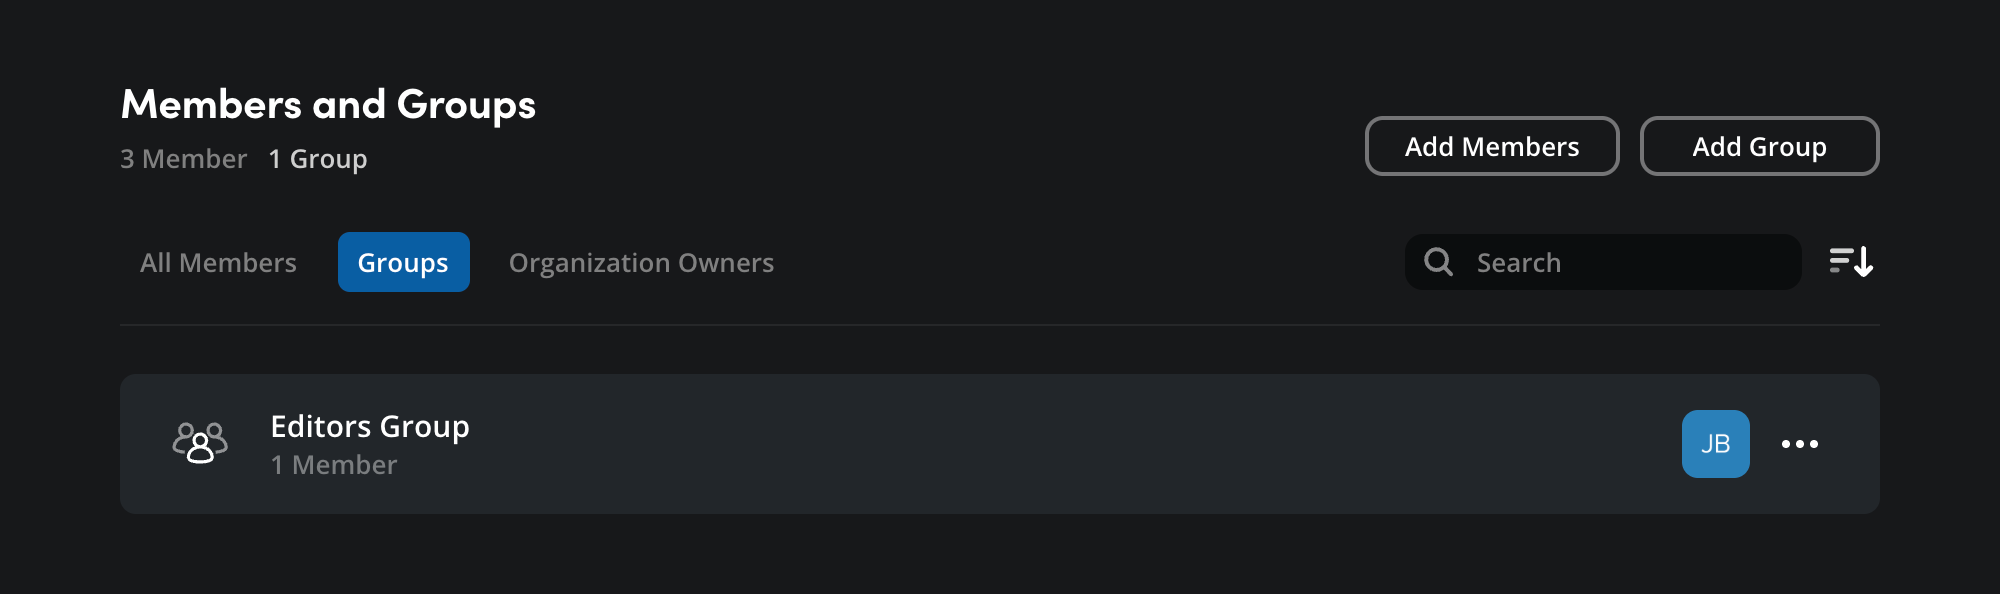
Once you have created a group, you can add or remove members, change the group name or the group email forwarding address by clicking the 3 dot menu next to the group name and clicking ‘group settings’.
You can also add organization members to an existing group from the ‘all members’ tab by clicking the 3 dot menu next to the member’s name and selecting ‘add to group’. In the ‘add to group’ window, select a group from the menu and click ‘add’.
Deleting a Group
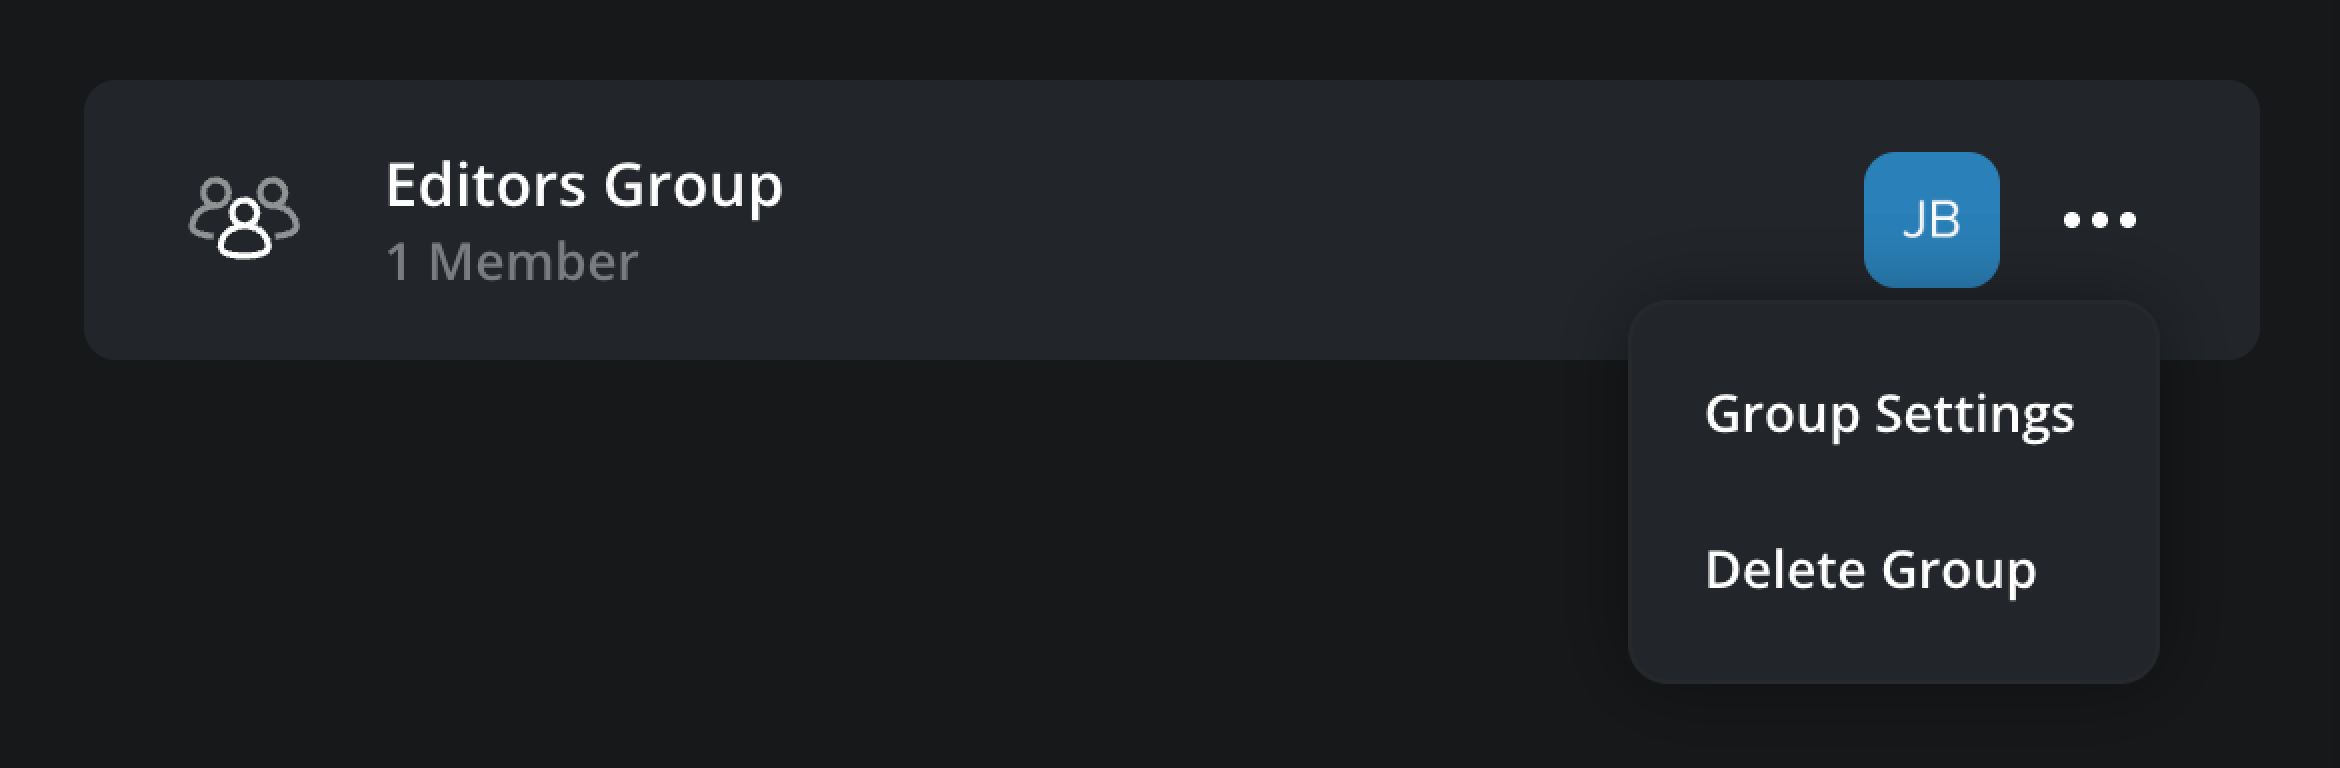
If you want to delete a group, click the 3 dot menu next to the group name and select ‘delete group’.
A confirmation message will be displayed. It’s worth noting that deleting a group is permanent; any group members will lose access to any services assigned or allocated to the group.
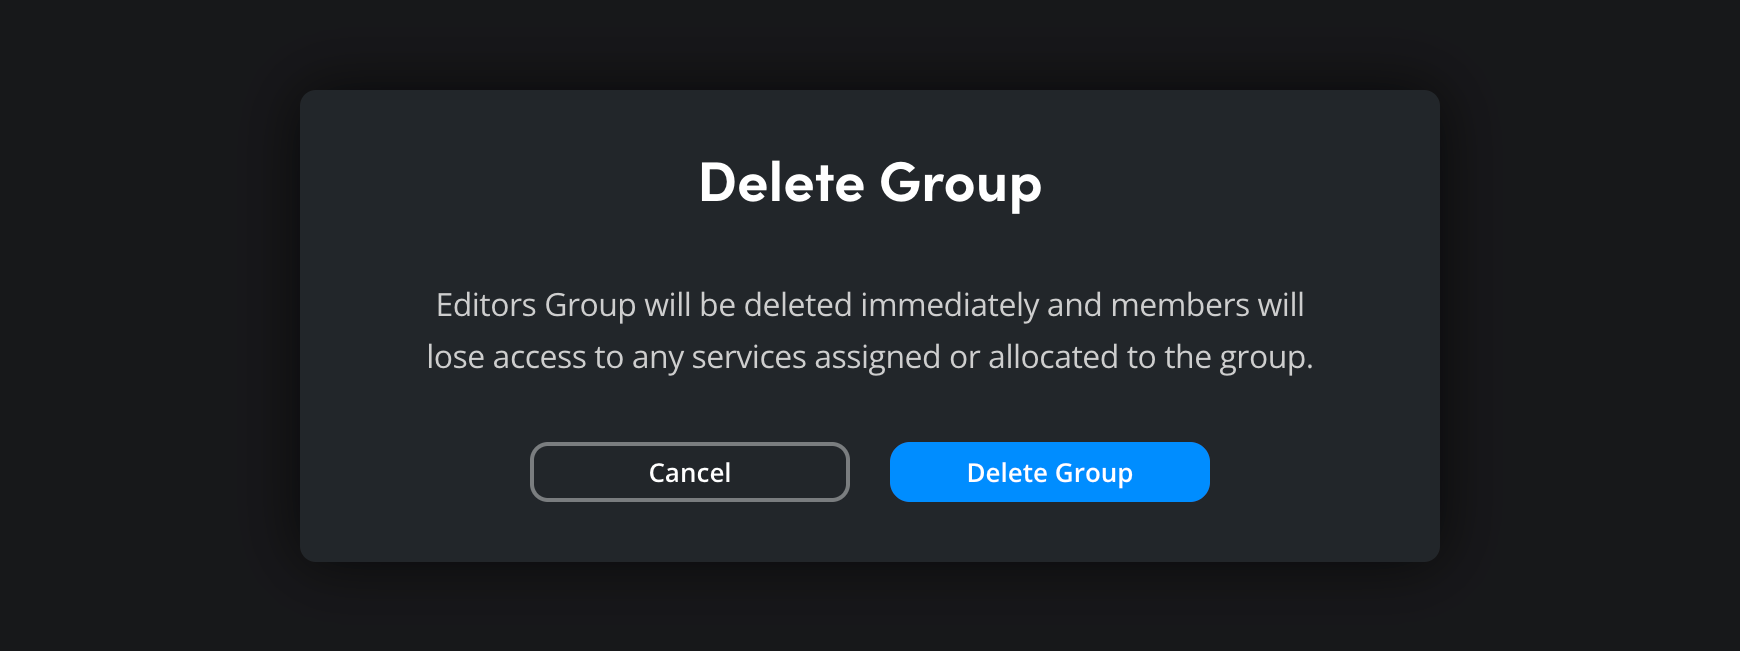
If you are sure you want to delete the group, click ‘delete group’. The group will be deleted immediately and removed from the list in the ‘groups’ tab in the ‘members and groups’ page.

